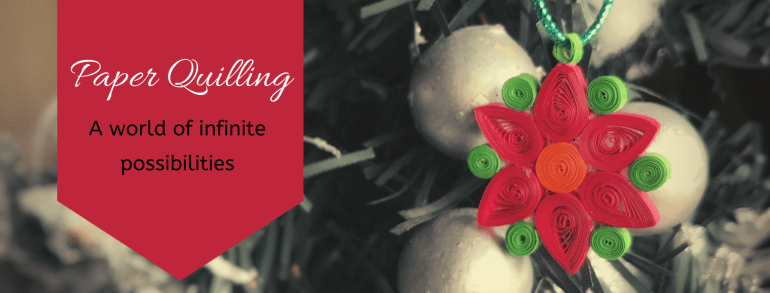
Another simple, easy, colourful and attractive Paper Craft – Paper Quilling, also known as Paper Filigree. Heard about this one? I hadn’t. It wasn’t until my niece asked me if I knew about it. She told me, she got to know about it at school. Her friend had tried it. She was so excited sharing all about it, I thought I had to look it up. I like gifting my nephews and nieces Art Materials for Christmas. Ya! I like playing the Santa. When I went to the store this time I saw Quilling Kits at all shops that keep Art and Craft supplies.
Now I definitely had to try this one! So I bought the kit, read the instructions and did the projects. It was easy to pick up and do. All that it required was creativity and patience. There was one more person I learnt some special tips from – the Aunty at the store. She made loads of Wall Art pieces of Quilling Art and kept them on display at the Art and Craft Supplies store. I told her I would buy it, if she taught me how to use it. That was my first live demo.

Strips of Paper rolled, shaped and glued to create Artworks is The Art of Paper Quilling. In a more advanced level they make 3D miniatures too. I find it similar to sewing. The paper strips are like threads and the quilling tool my needle. There are so many things we can make. Let’s understand our tools and materials first. All materials are available as a set or individually. We can buy as we like.
Quilling is a fun interesting activity. If you enjoy it, you will not realise how time flies. The kit costs less than a dollar. This is the smallest one – it has colourful quilling strips, the main quilling tool (the needle) and instructions to follow. Other than that you would need regular Craft materials like Glue, Scissors and Card Paper or Art Paper and any embellishments or extra decorations for your own inputs. Optional items would include tweezers and other quilling or measuring tools.

Paper Strips – Cut strips of card paper 3mm or 5mm or 7mm in width and 54cm in length are readily available in the market. They are called Paper Quilling strips. They are available as mixed colours or single colour packs. We can make these at home with a Paper Shredder. I wouldn’t recommend cutting them by hand. The finishing of a precise machine cut paper does make a difference.
Quilling Tool – A ‘U shaped’ needle tip encased in a wooden or plastic casing. Just like we get different sewing needles, we do get a variety of quilling needles too. Yes! It is referred to as quilling needle as well. The main needle – just one is enough to do many designs. Then as you progress, you may invest in more.
Glue – We need glue that is fast drying and assists precise application, otherwise things can get messy. My glue bottle has a tapered tip for spot application. This helps me apply only a dot to lock the edges. Fast drying so that you don’t have to hold the strips for too long.
Additional Tools – Regular Scissors to cut them, tweezers to pick / place / hold them, pins to hold twists and turns in place. I use a pro circle to measure sizes. Craft Mats, Holders, Stencils, Measuring Tools – a lot of things are available to assist the maker. When we need to make multiple pieces of the same thing, it can get tedious and so the additional tools are quite helpful during such times.

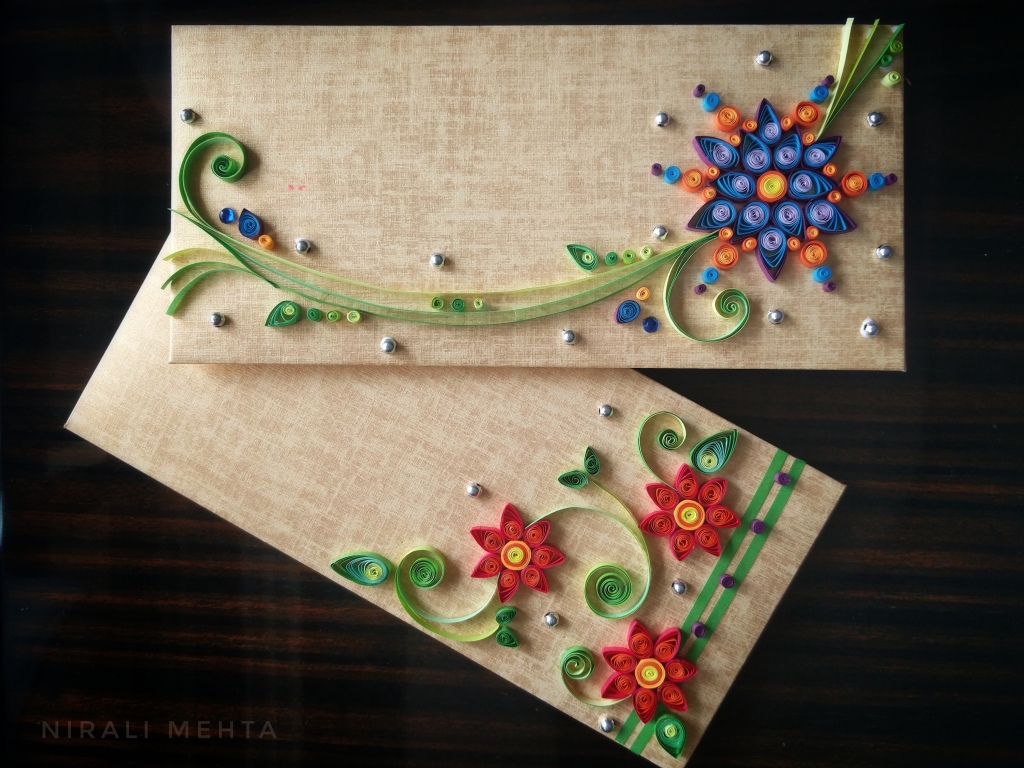
I’m going to show you two designs and we will make a floral piece out of it. You may use it to decorate your Greeting Cards, make Gift Tags or even as your special Christmas Tree Ornament. The pieces that we make, I’m going to refer to them as beads. With just two types of beads you can make so many different artworks. Please Follow the Steps in the pictures below :-

1) Take a paper quilling strip 2) thread the needle with the paper strip such that paper passes between the two points of the needle 3) We need to insert just about 2-3mm through the ‘U shaped’ hole 4) Turn the needle clockwise and roll the paper 5) Make sure it is levelled and tight 6) Glue the loose end and lock the bead.
This is for the first kind of bead. The orange centre piece in the flower. For the green ones I follow the same process but use half of the 54cm length, so it makes smaller ones. To make larger ones we glue another strip at the loose end and continue rolling. Thus making an endless rope or paper strip. We can even glue different colours and create a shaded beads. For the petals the first five steps remain the same.
6) Hold the roll tight and place it in the gap of the pro circle 7) As you keep it, it begins to loosen up 8) Let it loosen up till it fills the size of the circle 9) If it goes beyond, please control it to the size 10) Pick it up and glue the loose end to lock it at this size 11) Pinch one top end after the glue dries and you will get the shape of the petal.
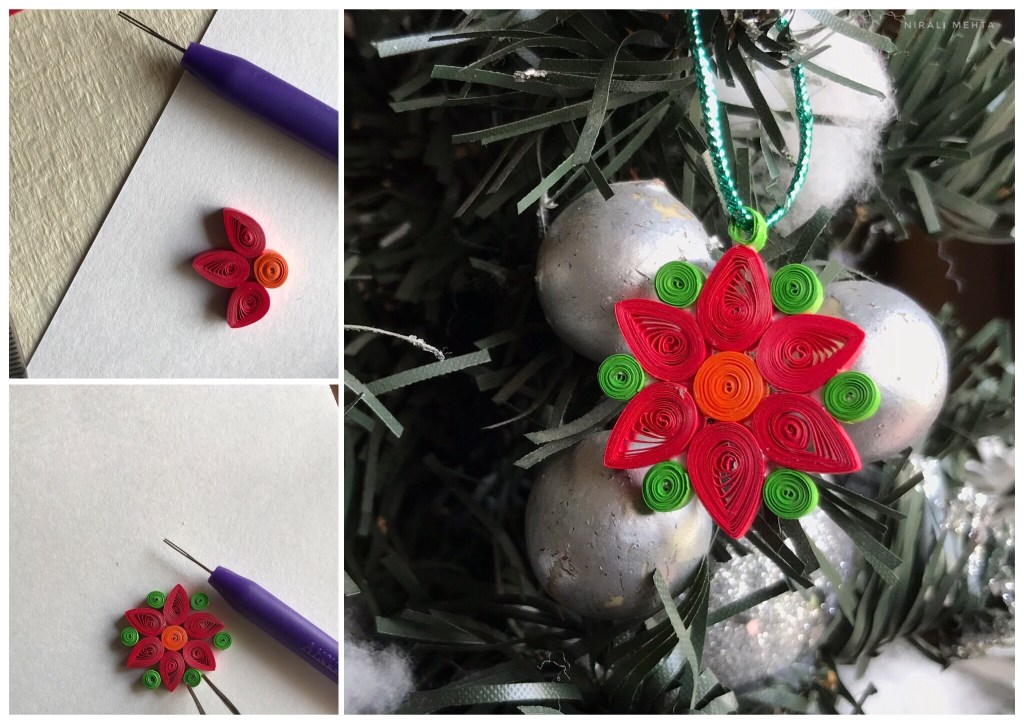
Variations in this will create different beads. Using a pro circle or any other measuring tool will enable us to make beads of the same size. Also it makes the beads look neat. Manually trying to roll each bead with a gap between turns and then measuring or not using a measuring circle will not give a neat look. With this method there isn’t much room for error. Arrange the beads as shown in the picture and glue them. Add a string to make it an ornament or stick it on card paper to make Cards.
This was the most basic roll method. Then there is the twist method and winding method and the 3D creations as well. Further to enhance our creations we can combine Paper Quilling with other Arts and Crafts and make more unique Artworks. Unfold your imagination and creativity! Have an Arty Weekend!
