Sniff! Hmm…that smells good! Wow! That looks delicious! Go ahead Taste it! Yum! Food is not just about taste and nutrition but also about what you see and smell. We click pictures of food every now and then – For Food Blogs, Dinning Selfies, Parties or Home Cooked meals.
Oh! Does that mean, now even food needs to look good? Dress up and put on makeup? Yes! of course! It does! Not in the literal sense but in a way Garnishing, Fruit and Vegetable Carving, Plating are all about the display or making Food look good.
Garnishing is like makeup, it should blend and add to the personality of the food item served, not overpower it. One thing 2020 proved true ; Cooking is a survival skill. All of us need to eat, to survive and that is why knowing a little about the kitchen and cooking is always helpful. Cooking is love made edible. Who doesn’t like a well cooked and served meal? Everybody likes it, correct!
My Mom does the cooking in our house and she is very good at it. With Mother’s Day coming up I was thinking of ways to make her feel special. I think the best gift this year for anyone is to spend some time with them. In this post I am sharing my story about this Art along with some easy garnishes that you could do with your mom, this Mother’s Day. I have a special memory associated with this day , I started to teach the Art of Fruit and Vegetable Carving on Mother’s Day – it was my first session.
‘Food Craft’ is the name of my class. I used to conduct workshops and demonstrations for Fruit and Vegetable Carving. People call it ‘Food Decorating’ and ‘Food Carving’ but it is actually ‘Garnishing Food’ and ‘Fruit and Vegetable Carving’. Fruit and Vegetable Carving is a Thai Art. ‘Culinary Art’ is the term for Cooking and Food presentation.

The very first time I saw carvings made from Fruits and Vegetables was on a Cruise in Singapore. It was an activity for the guests. After that I started noticing these displays at restaurants. During those days I got an opportunity to travel to almost the whole of South East Asia more than once. My interest in carving developed. I understood that it was not possible to create such grand displays at home. And it was the result of a team effort and not by any one individual.
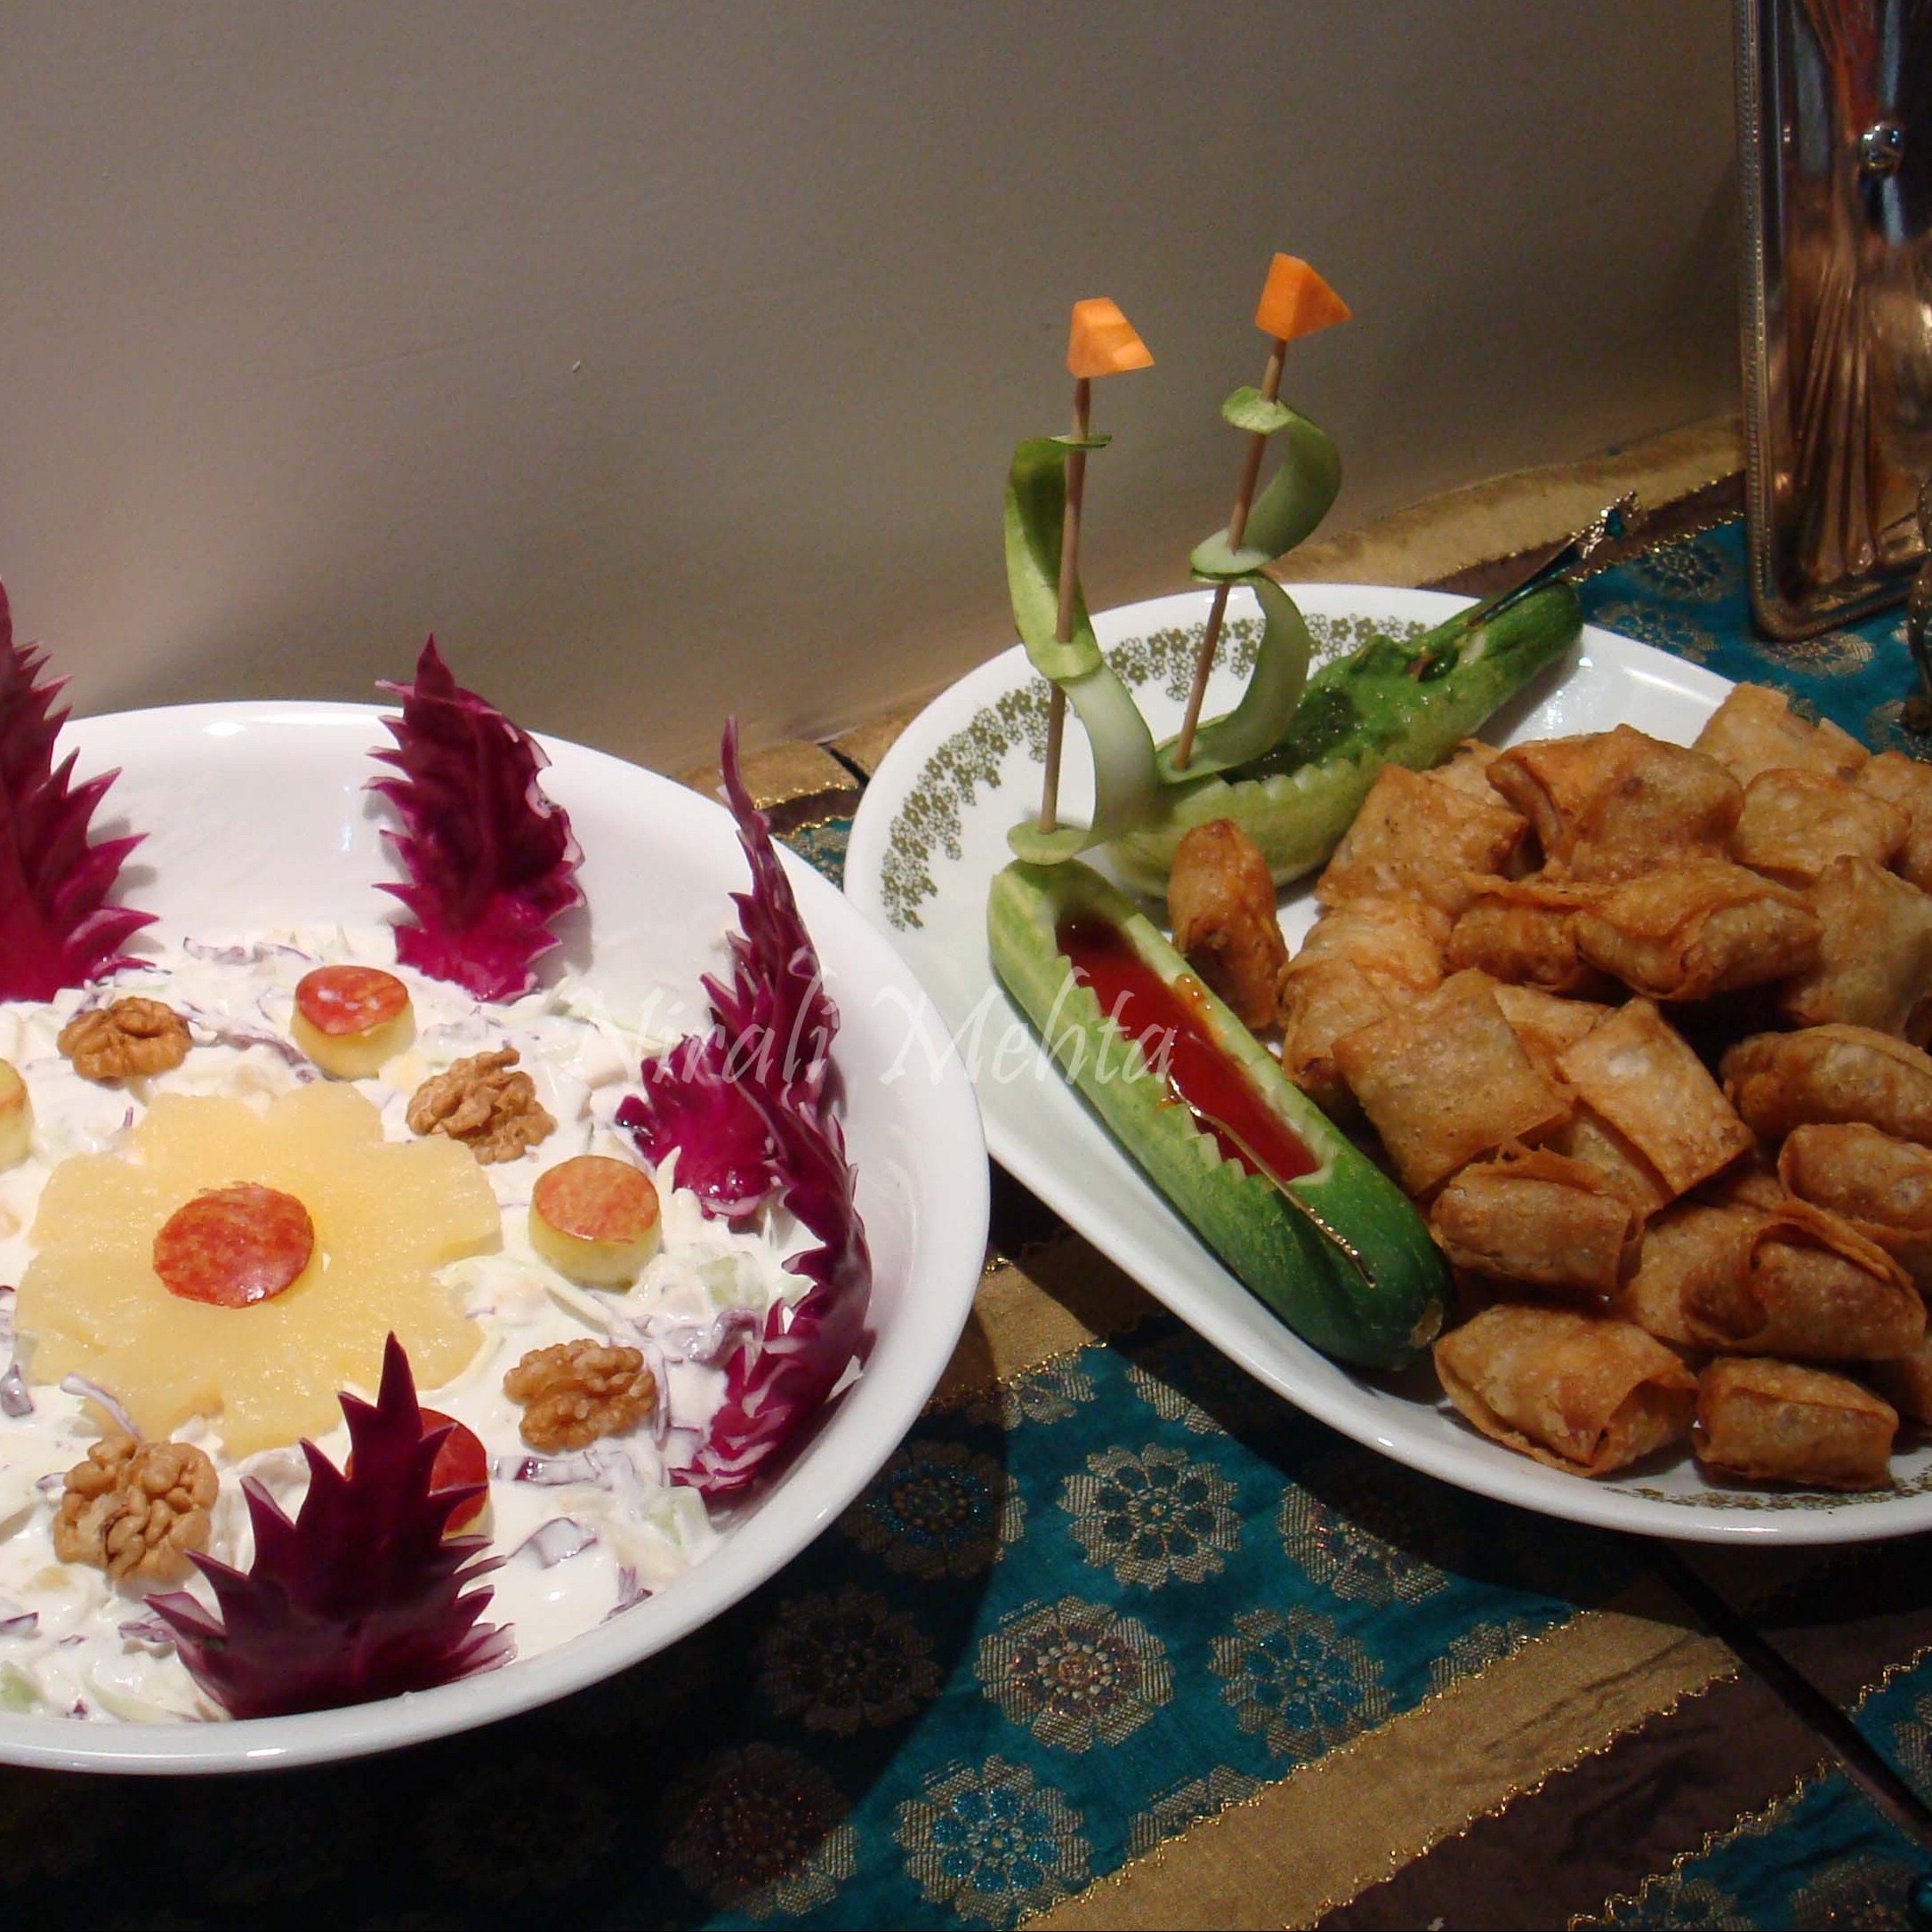
My nephew had a salad decorating contest coming up in school. My sister-in-law wanted me to help them come up with something. I looked up on the Internet. Found a few videos. We also found a few ideas in the cook books my mom had collected. After a few unsuccessful attempts we made a Peacock Salad Bowl. Yes! He did win the contest. First Prize! Later a friend asked me if I could help her to decorate a dish for a cooking contest in their building. Yippie! First Prize again! The winning spree continued for many years to come.
One thing I have known is people don’t take you seriously until you charge a fee. I kept a minimum fee for my time and started conducting classes. When you conduct classes you need to know much more than one or two artefacts. What I realised is, I could see and learn this Art only because of my previous experience and base in Art. I started bringing home Fruits and Vegetables to try and make artefacts shown in the videos on the Internet. There was a Thai Lady who had uploaded detailed videos and taught step by step. Those were very helpful. The Fruits and vegetables that were available locally were different from the ones she used though.
I bought books, carving knives and tools every time I went to Bangkok or asked people to bring them for me from abroad. I managed to get them in China and Singapore too. By now I had tried a lot of things. I knew how to select Fruits and Vegetables and had worked with different knives and tools. Then I short listed the items for the class. I feel fortunate to have taught over 500 people through workshops and demonstrations.
My focus in Garnishing as well as Carving was mainly for home use. Things that you can make at home or for small parties that we have at home. My best experience was that of conducting live demonstrations at Malls during the festive season. Handling large crowds seems easy but is a very difficult task. Every new day came with a different set of challenges and taught me something new. It was a continuous learning process for me. That is why they say ‘teaching is the best way to learn’.
Cucumber Boats 
Red Chilly Flowers 
Tomato Flowers 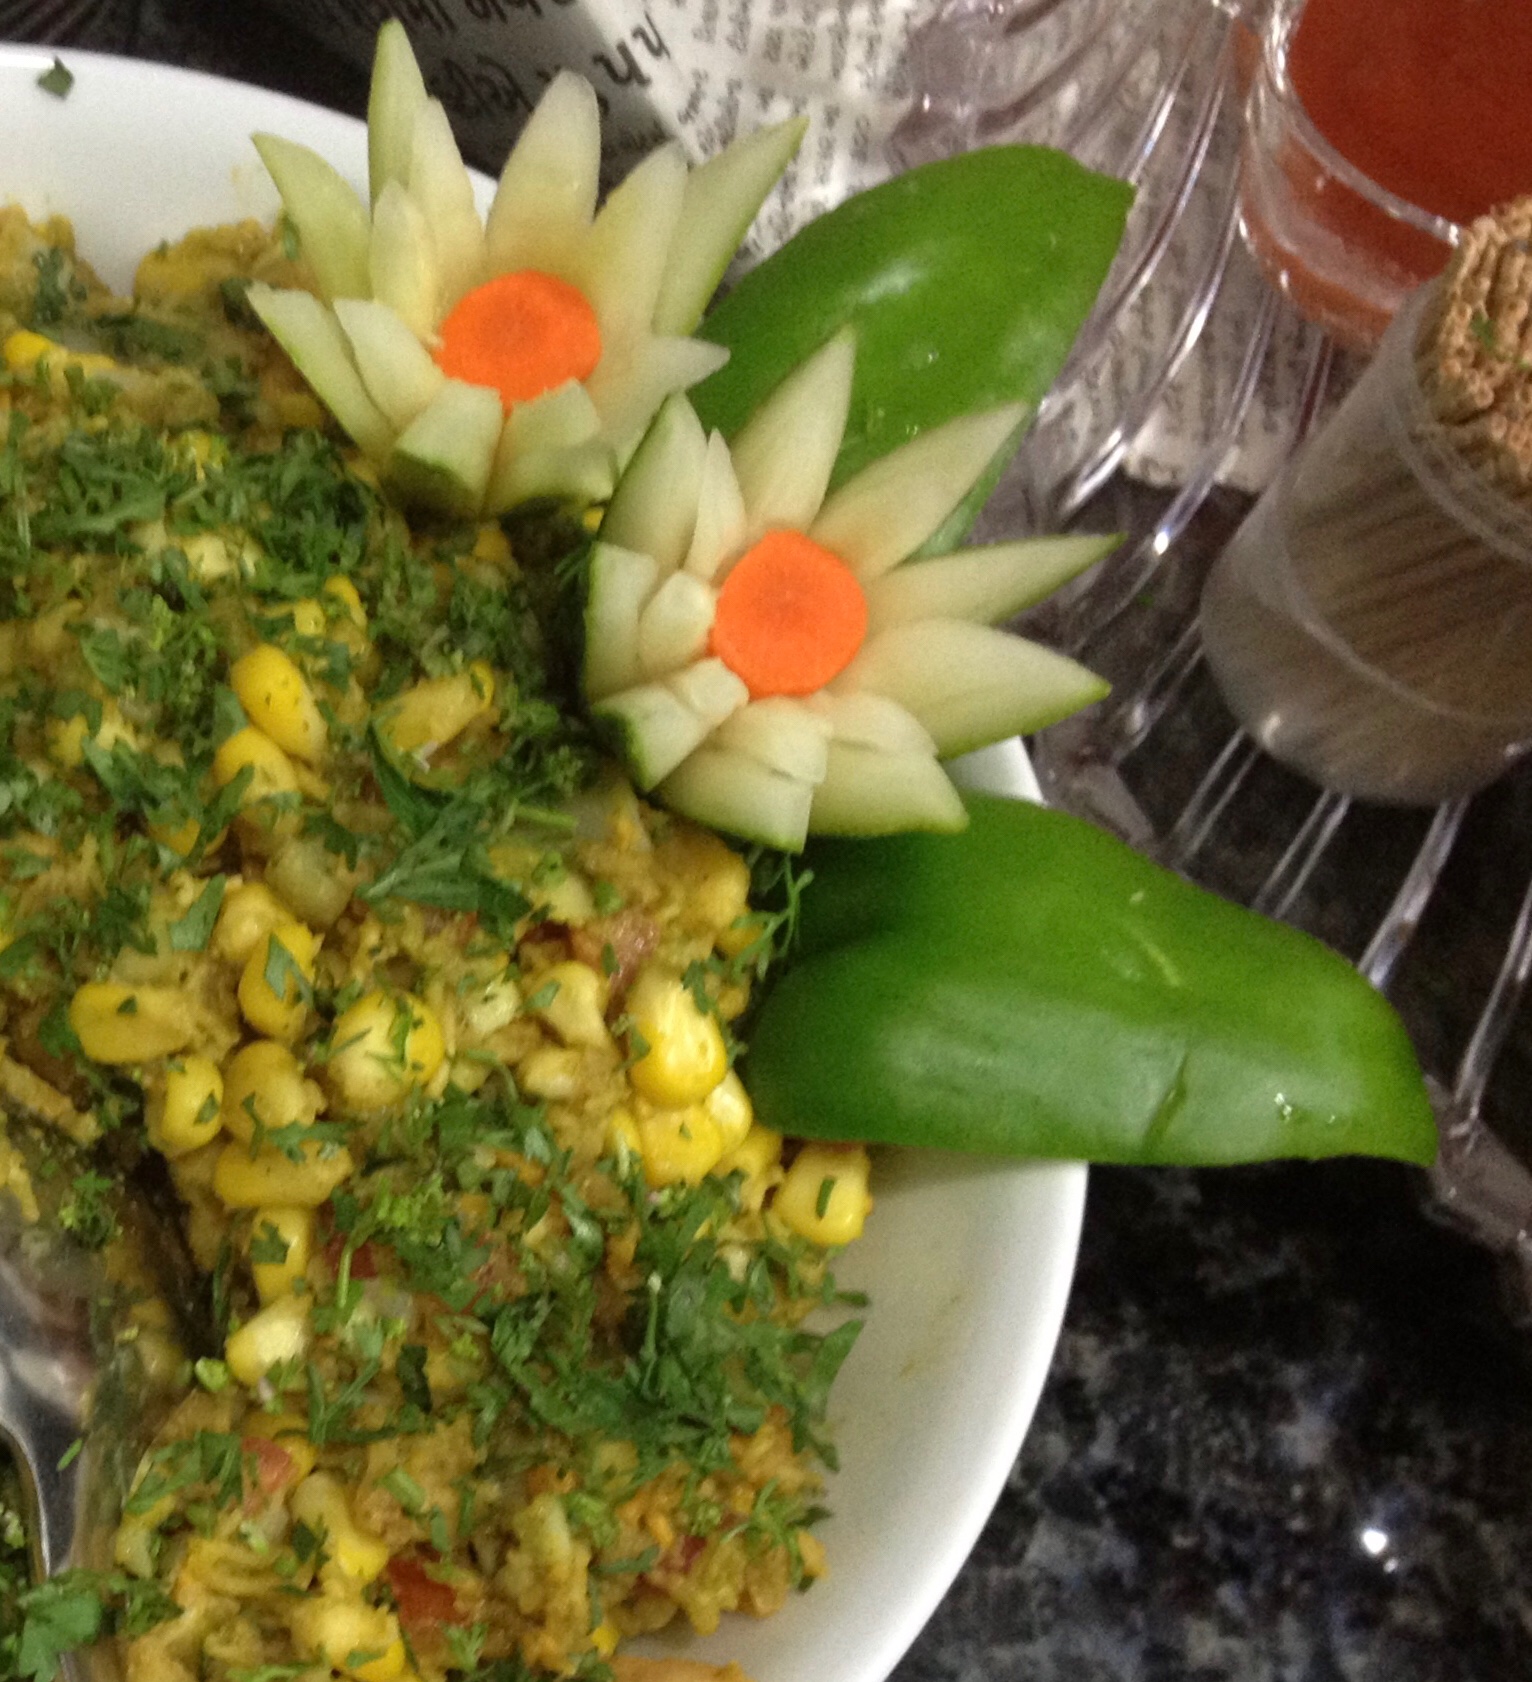
Cucumber Flowers 
Sea Shell from Papaya 
Cats from Lemons
During parties we have so much work to do that making garnishes can seem like an additional chore. To reduce the burden some preparations can be made a day before and it can be stored in the refrigerator. The Final setup and assembly can be done just before the party. At room temperature we can wrap it up in a wet cloth to preserve the water content to keep them looking fresh for a longer time. Making large professional displays requires skilled training. A lot of information is there on the Internet for anyone who wishes to keep this Art at a hobby level. One would have to source the tools though.
Tools that you would need:
1. Carving Knife or Paring Knife – A short handle sharp knife that one can comfortably hold like a pen. If you are unable to source a Thai carving knife, one can use a bird beak knife for beginner level. Some Chefs make their own knives. It is because these are a special set of knives used only for Fruit and Vegetable Carving.
2. Regular Cutting or Chopping Kitchen Knives and a Peeler, Cookie Cutters, Slicer and Chopping Board.
3. Fixers – Toothpicks or Bamboo Skewers, Pins our Rubber bands. (Pins only if it is strictly for decorating. Cannot come in contact with the edible portion). Use toothpicks to join or attach two objects. Rubber bands only to hold things in place till it sets.
Additional decorating tools such as crinkled cutters, spiral slicers, U and V shaped Knives are also useful. Sometimes we also add food colours.

Onions are the easiest to work with. It is an ingredient for so many dishes and hence can be used as a garnish for most of them. Fruit Bowls from Watermelon, Musk Melon and Papaya are popular. Other than these tomato, cucumber, radish and carrots can make good decorative garnishes too. Carving intricate designs requires professional training. In addition to this one needs to have an eye to look out for shapes and colours when buying any Fruit or Vegetable. Select fresh Fruits and Vegetables as they are better to work with, as compared to the ones stored in deep freeze.
Carving is like drawing without an eraser. Anything once cut cannot be reattached to what it was. We need to be able to imagine things in fruits and vegetables. I once did an exercise with a group of children where we gave them pieces of vegetables (peeled and cut in shapes) and asked them to make whatever they wish. We were surprised with the kind of things they made. Children have the best imagination I think. So let your imagination run wild and let’s see what you can come up with. Have an Arty weekend!
Little Birds from Spring Onions

What all we will require:
- 5-6 spring onions of different sized bulb. Smaller ones for the head and larger one for the body. Remaining for the base and flowers.
- Carrot slices for the beak. Orange flowers are also from carrots.
- Green stock of spring onions for leaves.
- Toothpicks to attach everything.
- Cloves for eyes.
- Bird beak Knife or Paring Knife and Chopping Board
- Ice water in a container

- Hold the spring onion bulb with the root end on top as shown.
- Leave about 2cm or till the mid of the bulge. Pierce downwards in straight lines making cuts as shown in green. Make sure the knife slits all the way to the centre of the bulb and not across. Complete this cut till the stalk. Top to bottom direction.
- Make more slits as shown in green. Radius not diameter, cutting vertically.
- The onion will open up and look like the third diagram. Immerse it in ice water for 1/2 hour to 45mins. The greens will automatically curl up.
- Make 4 such bulbs. Two for the body and two for the head.
- Cut the toothpick into a small portion, insert into the two bulbs and attach as shown.
- Take a thick carrot slice. Cut it into a triangle as shown. Take a toothpick and attach it to the root portion of the onion bulb used as the head.
- Take a toothpick and create a small hole for the eyes on both sides of the head. Insert cloves for eyes or peppercorn.
Can use the onion bulb as flower also. Mount it onto a bamboo skewer and cover it with the onion green stalk.

- The greens that you see around the birds are made from the green leafy portion of the spring onion.
- Cut slits leaving a minimum of 3cm of the stalk intact. It is the strength that holds the leaves together.
- Immerse in ice water for half an hour to 45mins. The greens will automatically curl up.
- Mount it on a base made from the carrot using bamboo skewers. A thick barrel block that doesn’t roll over. Can use radish or potato for the base as well. It looks like a rock. Make sure it doesn’t roll or cut a small portion to make it steady.
- Mount the Birds on to the base using toothpicks.
- Additional decorations to your creativity.
- Use as decoration by placing it on the side of your dish and filling the plate up with the food to be served.
Thank You!
