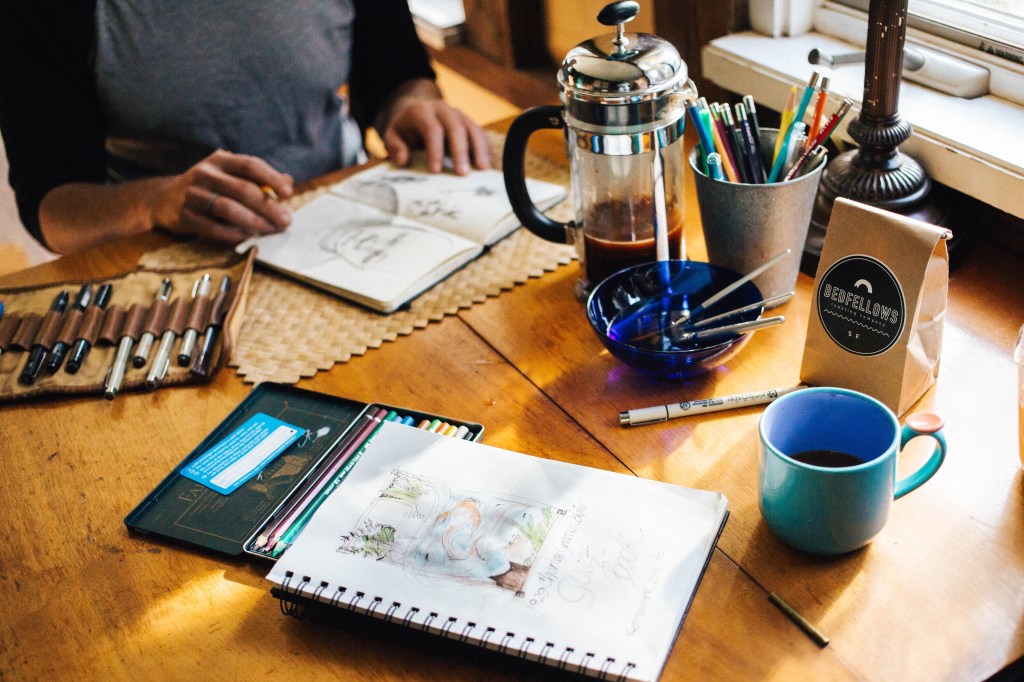
Ever looked at your finished Art and thought something is missing. Somehow I am not completely happy with it. There could be something to improve but I just don’t know what? Further sometimes we don’t even know where to look, which part of it needs to be fine tuned. If we work on one portion, something else looks out of place. I know this feeling, it happens.
So do you know how to get it right? That is the question I am going to try and answer in this post. In this article when I say Artwork: it means Drawing, Painting and Sketching. And when I say object- it refers to whatever we are drawing, painting or sketching. I don’t have a checklist of any kind but I can definitely tell you the five ways to fine tune your Artwork in order to improve and make it better based on my learnings and experience.
These are also the observations we need to make when doing Art. If you observe these and are able to check them right, not only would you be good at Art but also find it easy to understand and learn different Art styles. This is more or less an exhaustive list. It does have sub topics or points. In a way it is also 5 mistakes to avoid while making Art.
It is like a grade meter, how much fine tuning is required for each of the parameters will have to be determined by you. That is because it is to your taste. Over a period of time with observation and experience you will be able to decide your own parameters for each of these. Perfection isn’t when all of it is present, it is when all of it is in the right quantities. So let’s begin listing them.
1. Shapes and Patterns
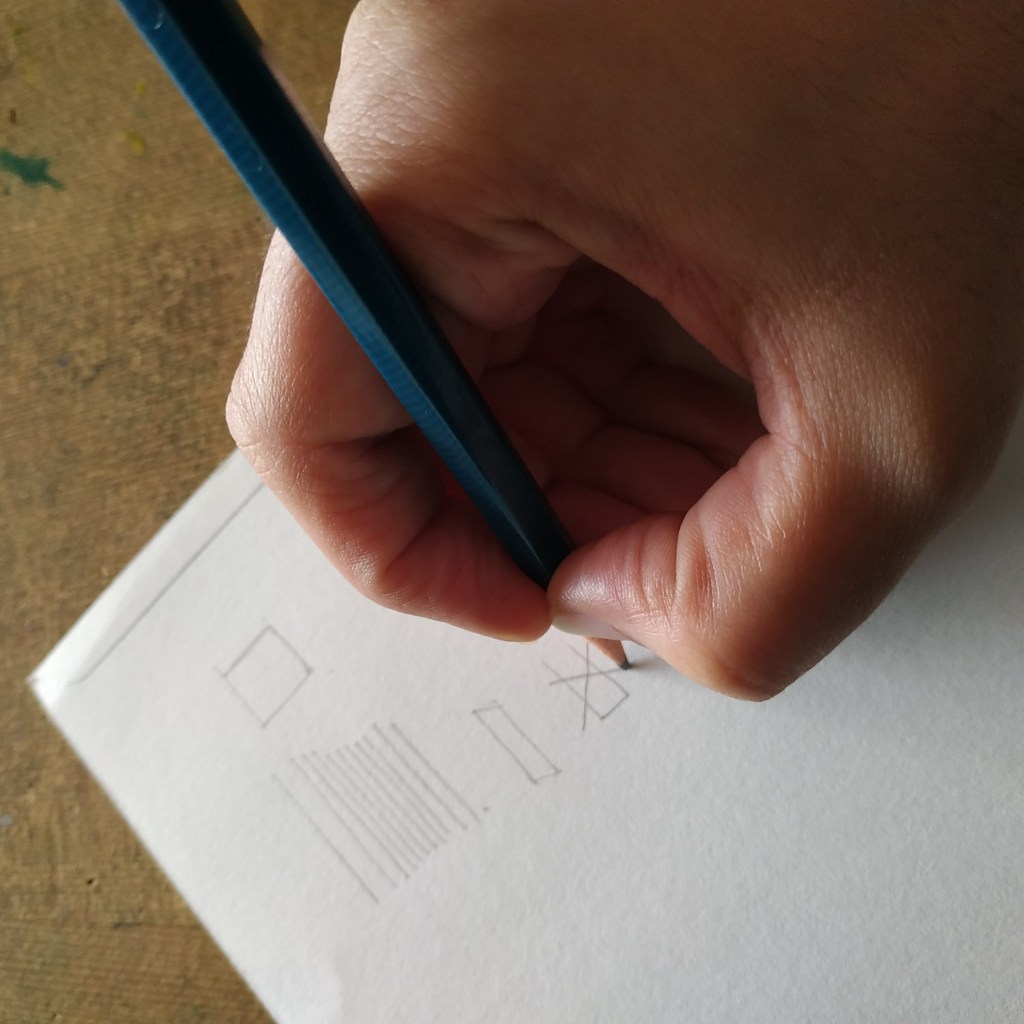
Everything has a main outer shape and maybe more smaller shapes. It is important to observe this. First we draw this main shape and then do the details. Consider it as rough work to your final answer. This also helps decide the placement for various objects in the Picture. You can also take them as a marking of the space each object can take on the canvas. It is important to place things evenly or rather correctly space them out on the canvas. Most people make the mistake of skipping this step and begin to draw directly.
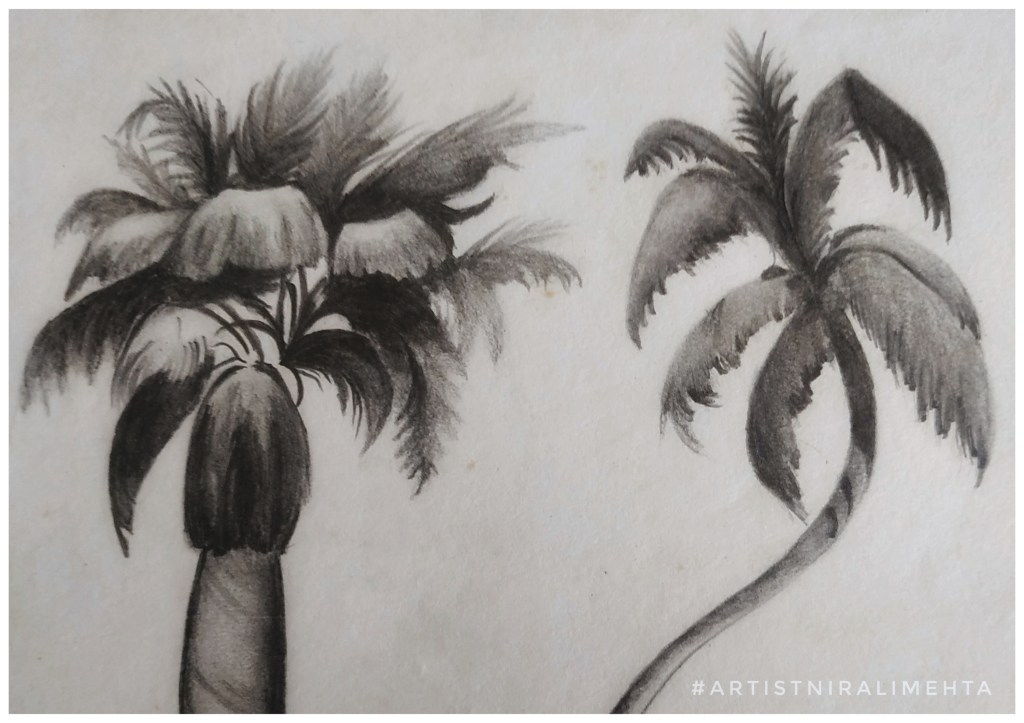
Let’s consider drawing something like ‘My House’. If you are drawing this landscape, make the large main shapes of the tree, the fence, the house, the sun or sky, the human with his pet, the ground and so on. Then add the details. Erase the rough work. It is the correct method to draw.
Some videos on the Internet will show super awesome Artists who complete one particular corner of the art with full finished details while the rest of the canvas is blank. Wow! They are super humans but we are normal humans and this is how we draw. It is mostly a digitally edited video, very rarely can anyone draw like that. They need to get into the book of records for such exemplary skill if they really can. For the rest of the normal people this is the first step for drawing anything.
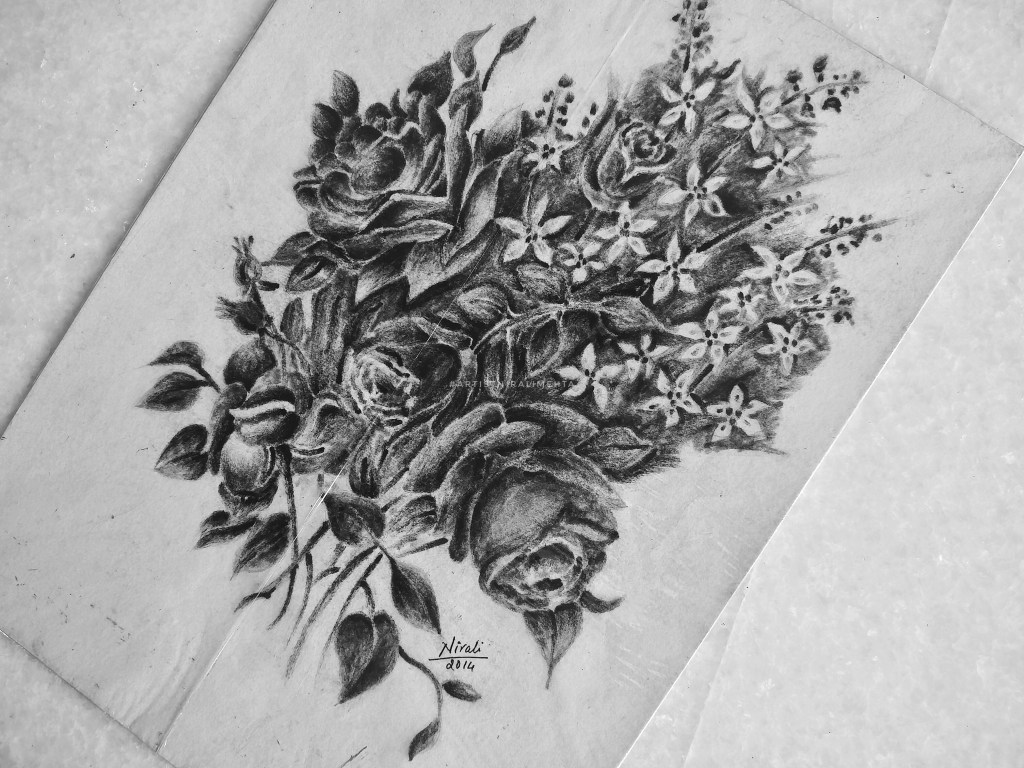
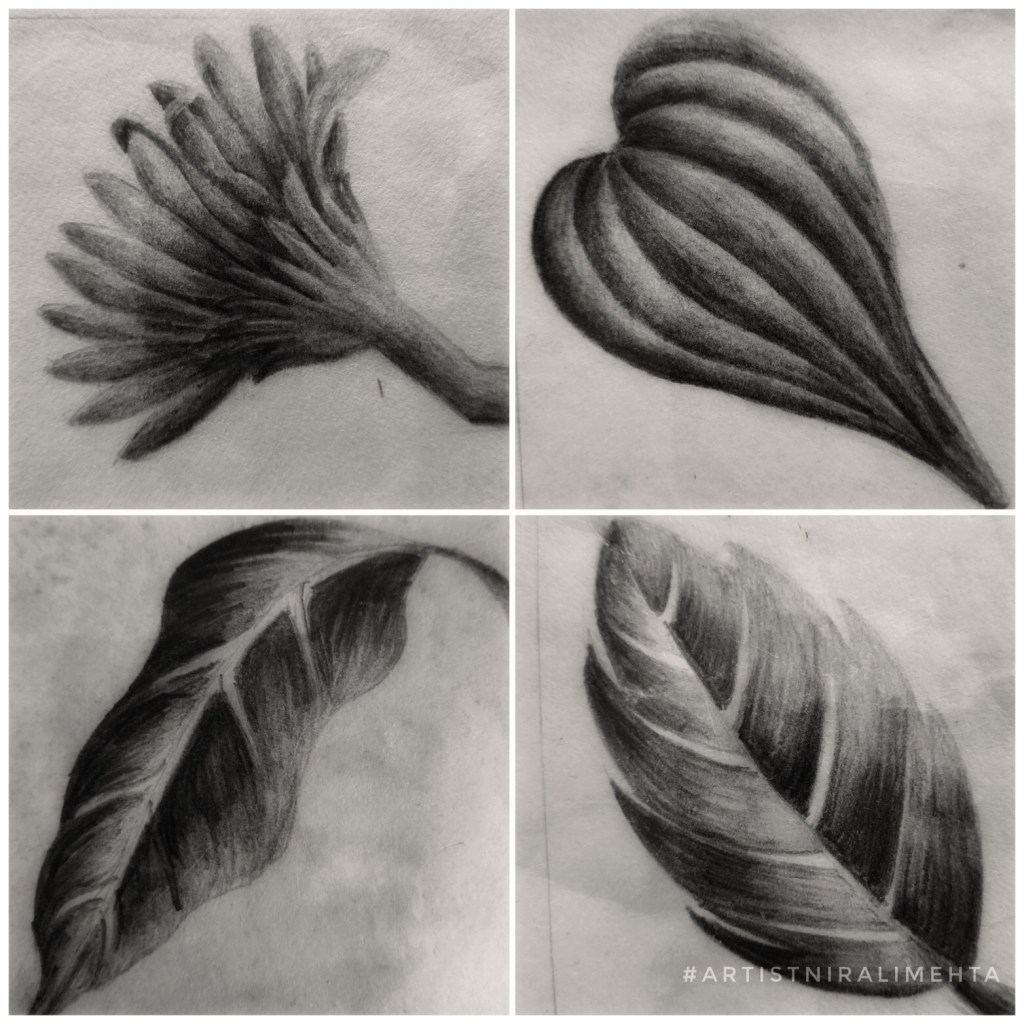
Everything in nature has a pattern. So for example when you draw a flower. Look for this main shape of a circle or an ellipse. See the pattern of the petals are they – above or below, in odd numbers or even. See the shape of the petals – pointed or round, long or circular. Further see the centre of the flower and look for a shape there. The pollens will have a pattern – are all of them in the same direction, how many turn right or left. These things we need to observe and then when we draw, we match it with our reference.
2. Proportions and Scale
Many people confuse these terms. So in another words it is the size and ratio of the objects drawn. So in your landscape a bird cannot look bigger than the tree, that is scale. Now how much space of the tree is the branches and how much the leaves – that is proportion. That is what we need to observe. How the object looks in context with the other objects in the picture and what are the proportions of its own parts. When drawing a human face you would note the proportion of the eyes to the eyebrows, the nose and lips. The scale would be the size of the actual face. They are connected and not used in isolation.
3. Perspectives and Backgrounds
Which angle or point are you looking at it from? Top or bottom, right or extreme right. The distance- up close or far away. The objects which are closer are detailed, while the objects farther away at a distance in the background may not have all the details. If you draw details of all the objects in a picture, it is like keeping everyone in the front row. It will look like everyone is shouting for attention. The focus is always on some objects in the front and less on those in the background. Artworks with backgrounds look complete.
Perspective adds depth. The third dimension or 3D. This makes the object look natural as against flat image. 3D means 3 axis – X axis, Y axis and Z axis. Length, width and depth or thickness. The most common example is if you draw a rectangle. Now try imagining this as a box, as that of the wall of a house or this wall Humpty is sitting on.
Your position while looking at the object determines how it is visible to you. For example four different people looking at a car from four different spots – the top, from the right, the left and the bottom will all draw it differently based on what they see. Correct? What your view is, is your perspective. This brings about a balance in the picture.
4. Light, Shadows and Highlights
In one picture there can be one source or two sources of light. Two when there is one natural source like the Sun and two when there is a light fitted or the created source. The light coming from any point does not fall equally on all the objects. The rays fall in a straight line and not in curves. So the whole picture has be in sync with it. The Shadow of an object is determined by the direction of the light and also falls straight. Depending on the position, the size of the shadow will change. There could be a situation where the shadow of one object also falls on another.
There is something called highlight – when a significant portion of the light falls at a spot and it almost looks white. We colour or shade from light to dark or dark to light and then add the shadows and highlights. This adds depth to the painting. Also observe how an object reflects the light. The texture and surface of the object determines that.
It really looks funny when all objects have different sources of light and random shadows. There has to be a flow in the picture.
5. Colours, Shades and Tones
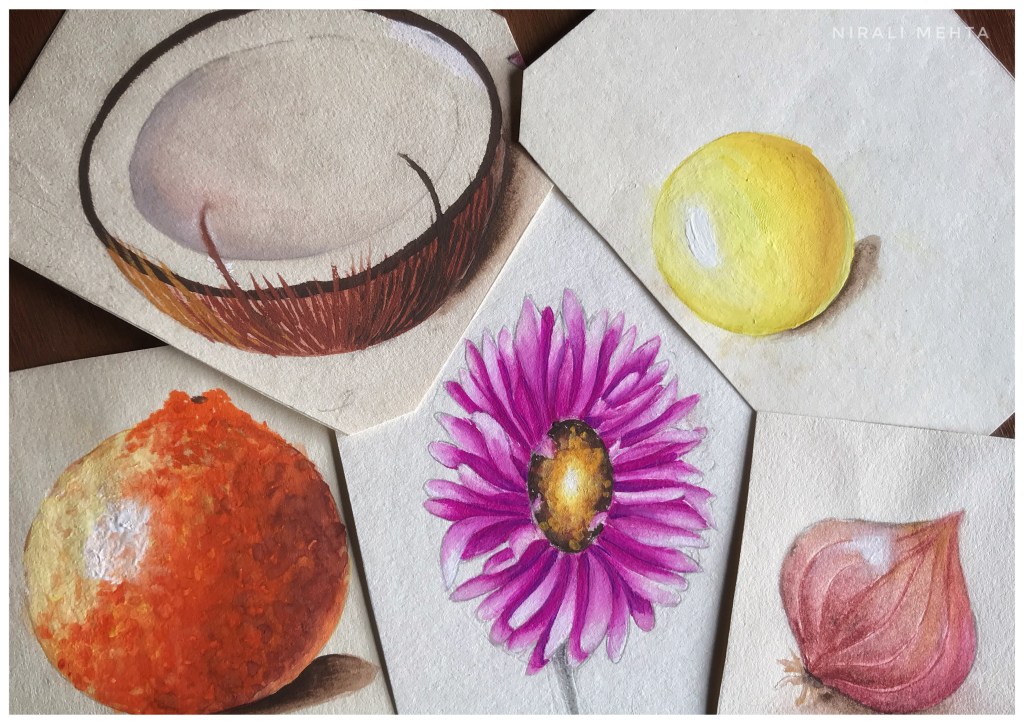
Tones is Dark, medium and light. This is determined by the source of light in your picture. When you do an artwork in black and white it will still have these. The gradient is smooth and blending it is important. Where we want to show it as blocks, we make sure the edges are crisp. When we colour the objects, we can try as much as possible to match the exact colour to the real object. Mixing of colours to make various tints, tones and shades can be understood with the help of the colour wheel.
There should be a contrast between the dark, medium and light tones otherwise the image will look flat. Meaning how dark the colour looks against the medium tone colour. Whether the difference is significant or very little. Sometimes all you need to do is make the dark shade a bit darker. A pro tip here is not all colours can be made lighter by adding white or darker by adding black. When you observe an object see the dark colour, does it have traces of other shades. For example the dark colour could be brown with little of green and not always necessarily black.
These topics need to be studied in detail. The only way to understand these is to observe and try it out practically. Now that you have basic information about these, the next time you are drawing, sketching or painting look and observe these things in your Artwork. Whatever you are drawing – be it a portrait, a landscape, an object, nature or design. Check for these and mark the difference with your Art as against your reference. Your artwork will show significant improvements.
If possible, take an object like a flower or a vase or a pen or a bottle or a landscape picture, keep in it front of you and then read this article once again while observing these and mentally making a marking of each. Then begin to draw. It isn’t a one time exercise, you keep going back and forth. I am sure you will be pleased with the outcome. There is a possibility that after years of practice some artists can do a mental calculation of these. After all Art is about being able to imagine that object on your canvas, so that you can draw and paint it.
Have an Arty Week!