
Originally used only as a protective charm for infants by native Americans, Dreamcatchers have now gained a lot more popularity. It is believed to be good luck to receive a Dreamcatcher as a gift. True or not, I think it makes a lovely gift. I believe the thought behind the gift is what really counts.
I love trying new arts and crafts. This time I wanted to try making a Dreamcatcher. I bought a DIY kit that came with materials and instructions. After making one myself, I think I can explain it in a short and easy way. Sharing my experience and method, for the readers to try making one themselves. There are many tutorials on YouTube for various designs of Dreamcatchers.

Materials included :
- A Hoop – Wooden or Metal
- String or Lace to cover the Hoop
- String for the web
- Strings to make the hanging ones
- Decorative elements like beads and crystals
- Feathers
- Hooks to attach the feathers (optional)
- Scissors and Glue

Let’s make the Dreamcatcher :
- I used the pink string and wrapped it around the metal hoop, covering it completely.
- Continuing with the same string, I made loops for the outer layer of the web as shown in the diagram. Make sure they intersect forming a interlocked continuous web and the thread is tight.
- For the second inner layer, I continued to make loops just like the outer ones with the intersection at the centre of the outer loops.
- I continued making layers till the centre. As we move to the inner layers the loops become smaller and difficult to make. We can use a needle if required. I made sure it is a continuous string (single string) and it is secured tightly so that the loops don’t open up.
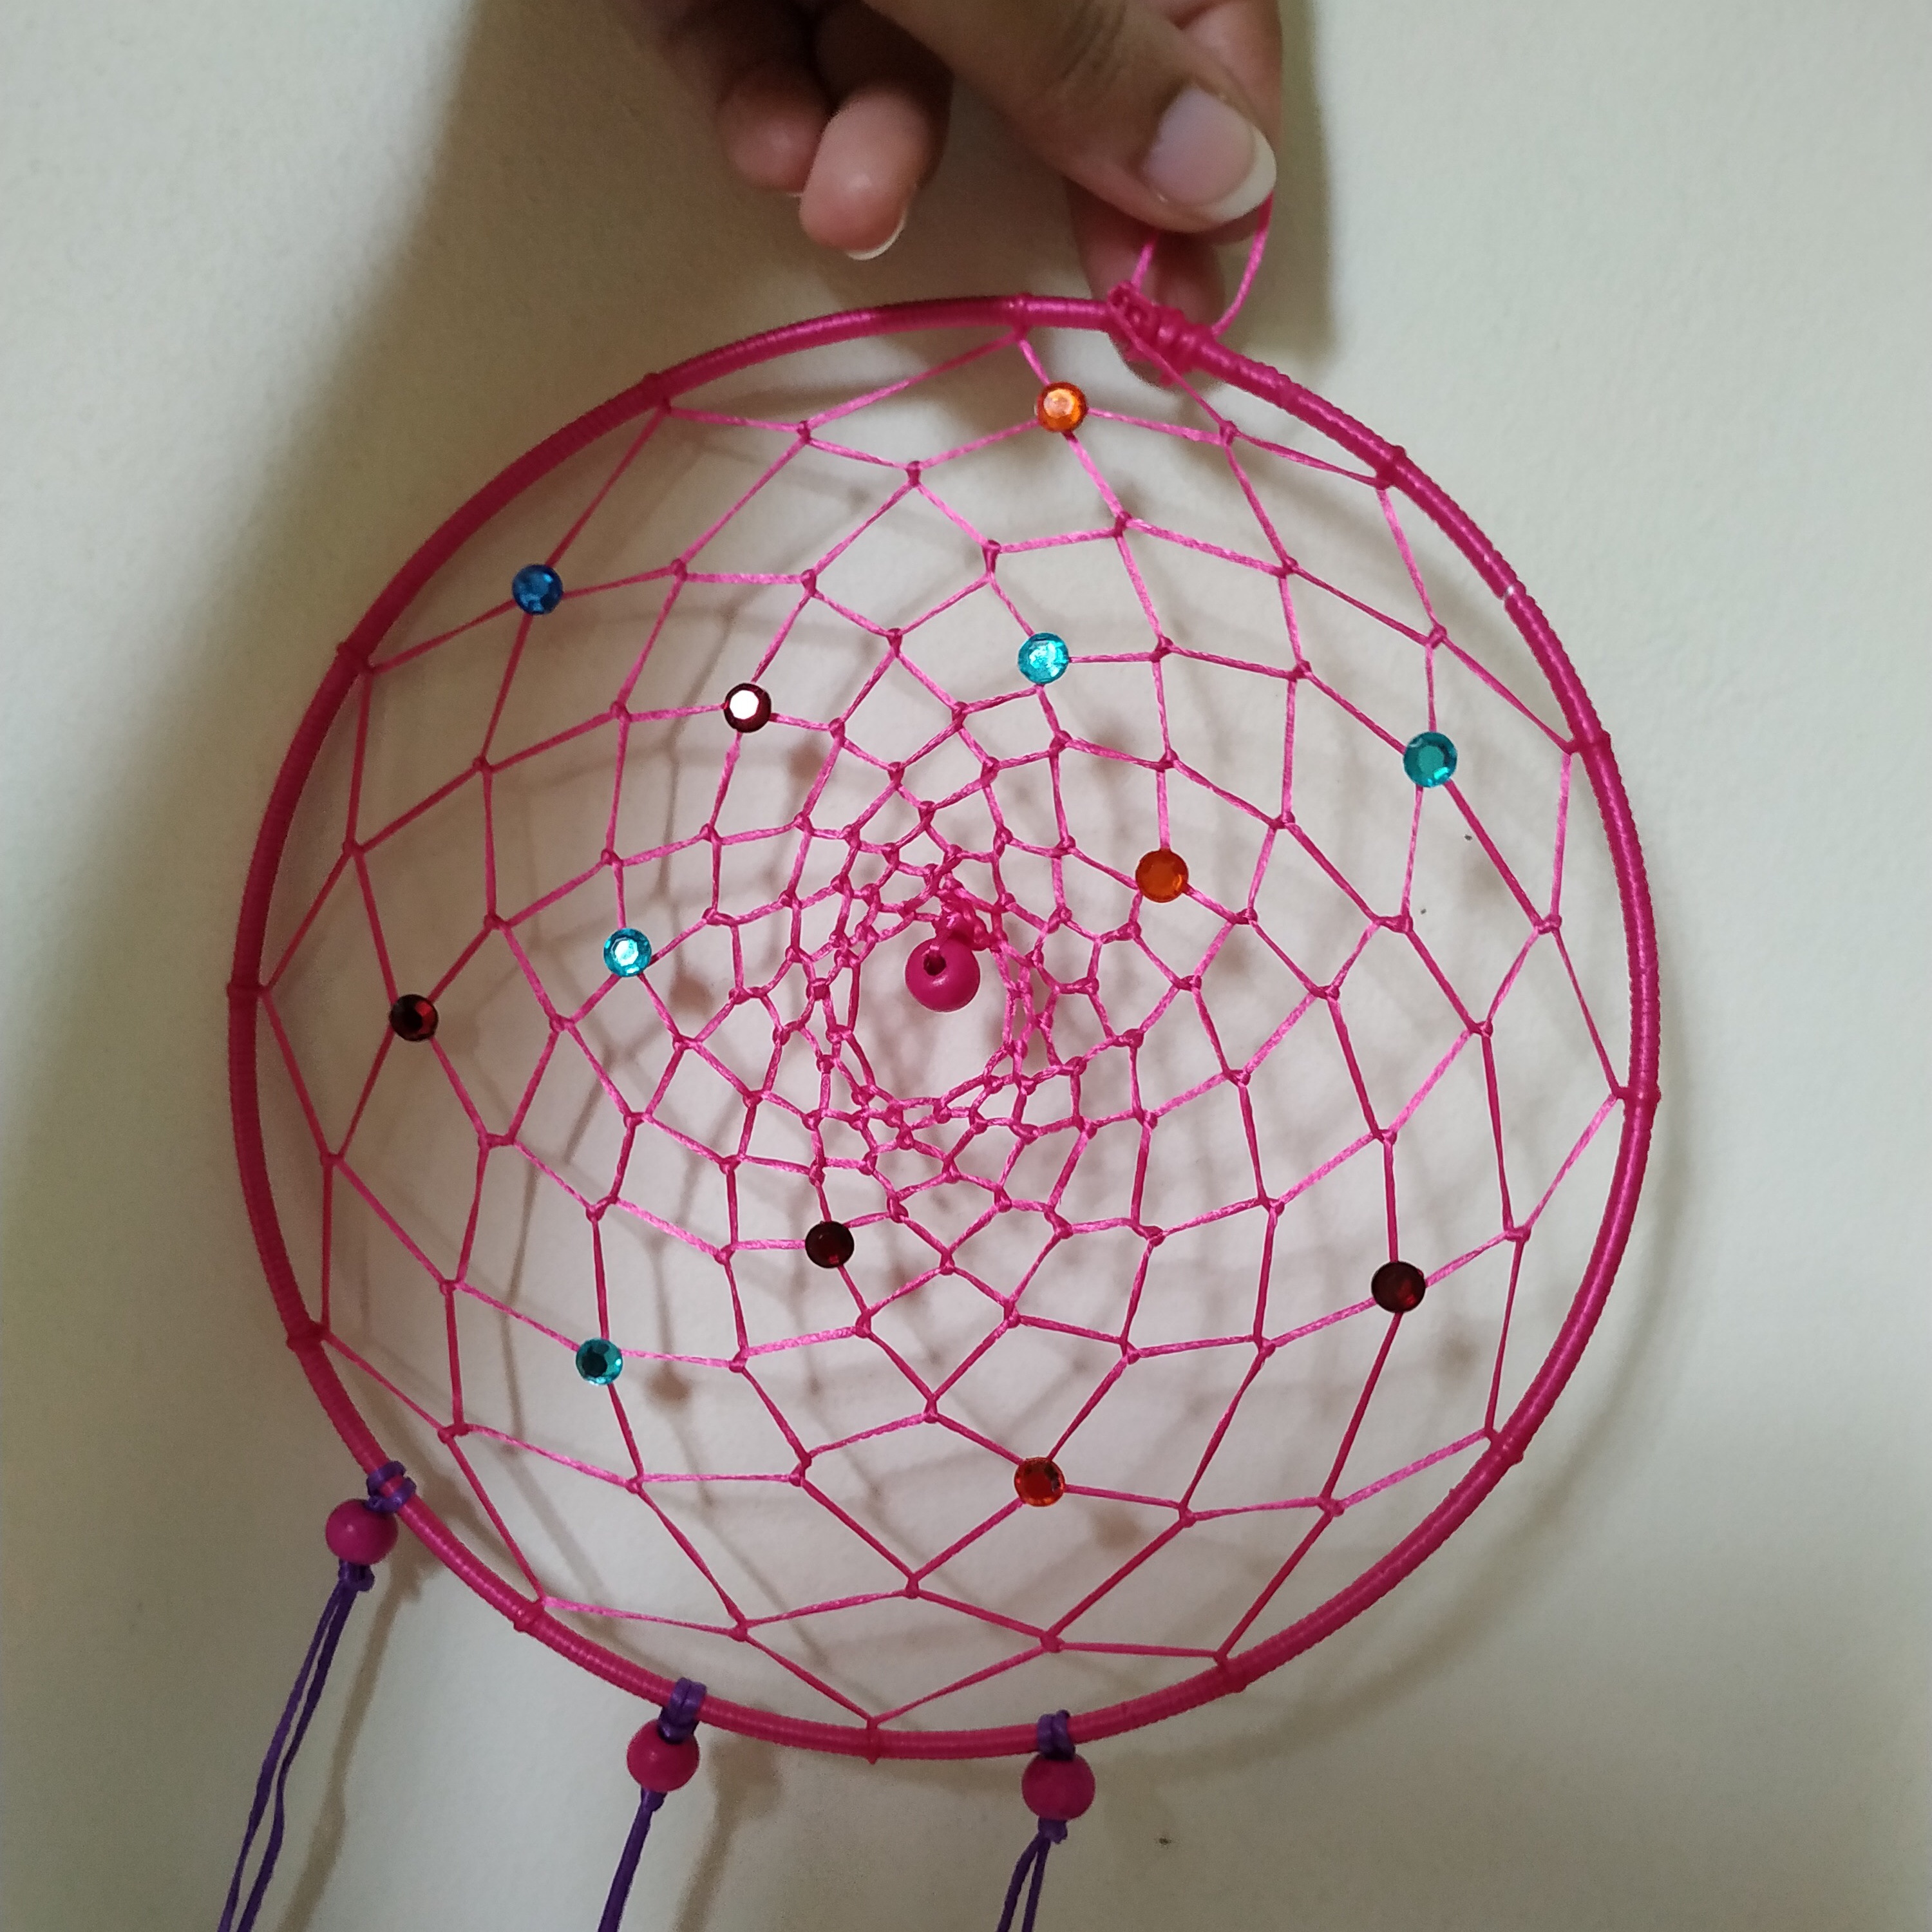
- If the string is not long enough attach more string to it, until it is complete. Then at the centre I attached a pink bead. You can have a charm of your choice. This is the end of the web. I tied the knot and stuck the ends with glue.
- Decorate the web with crystals.
- Then I tied the purple hanging strings to the hoop. I have attached five of them. Need to cut them to size first. For example if you want it to hang as long as 10 cm, then double it to 20cm and add about two cms more to tie the knots. The one on the extreme right and extreme left are of equal length and they are the shortest. The other two slightly longer and the one in the centre is the longest, it gives a u-shaped look.
- Then I attached beads and feathers alternately on the purple strings by tying knots so that they don’t slip downwards. It’s a regular knot. I have used metal hooks that came in the pack to attach the feathers. They seemed very helpful in securing the feathers. You can attach them with string also if you don’t get hooks.
- Completed! Admire your work!


Special Tip : Apply dots of quick drying transparent glue (I have used Fevi Kwik – an instant adhesive) at intersections wherever needed to avoid the string from slipping and opening up. Use it only as needed to secure beads, strings and feathers.
The difficult part is in weaving the web. Once we get that correctly everything else goes faster. I had a great time making it. I hope you enjoy the process too! And don’t forget to gift it to someone you want to look after. Have a creative weekend!

Note : The DIY Dreamcatcher kit I bought from the ItsyBitsy Craft store. One can purchase all the material individually at the store as well. All the pictures are mine and I have actually clicked them. Kindly do not use them without permission.

Nice project! 🙂 Have a great day, Nirali!
LikeLiked by 1 person
Thank You 😀 Hope you have a great day too!
LikeLiked by 1 person