Half Yearly Recap

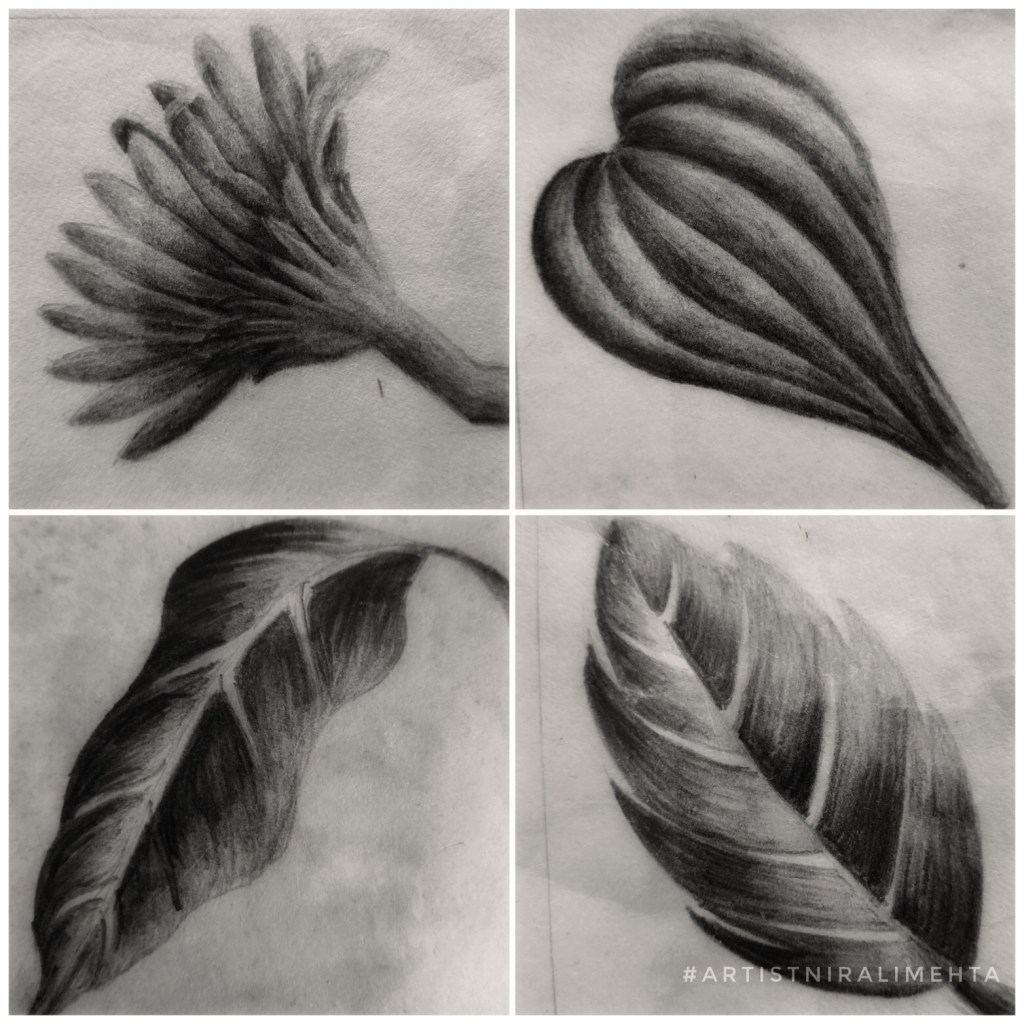
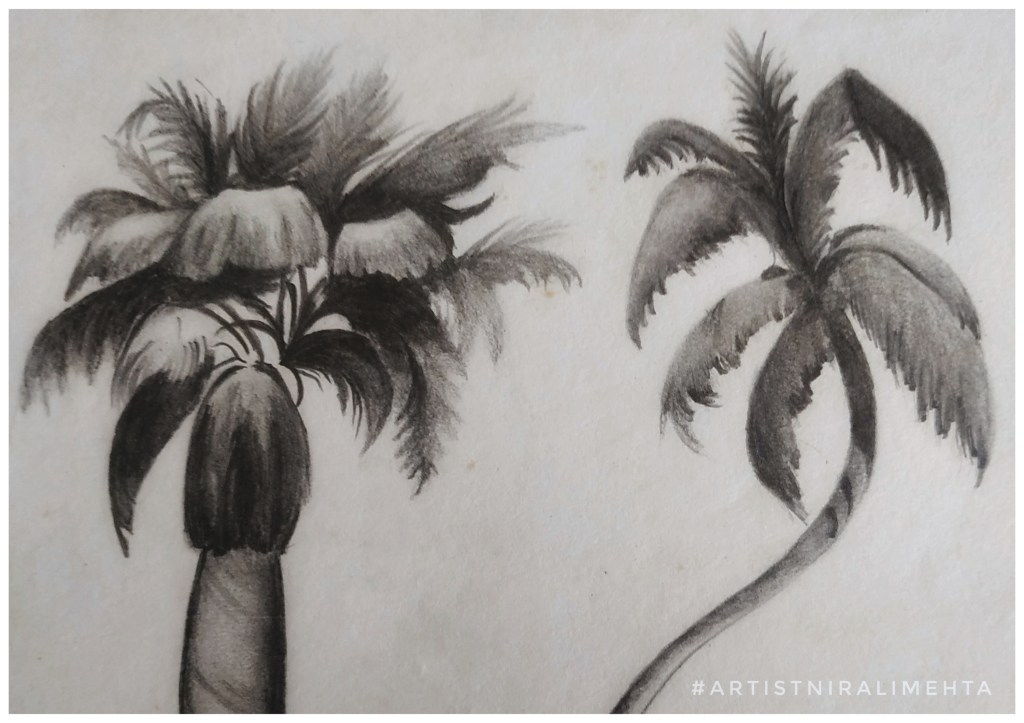
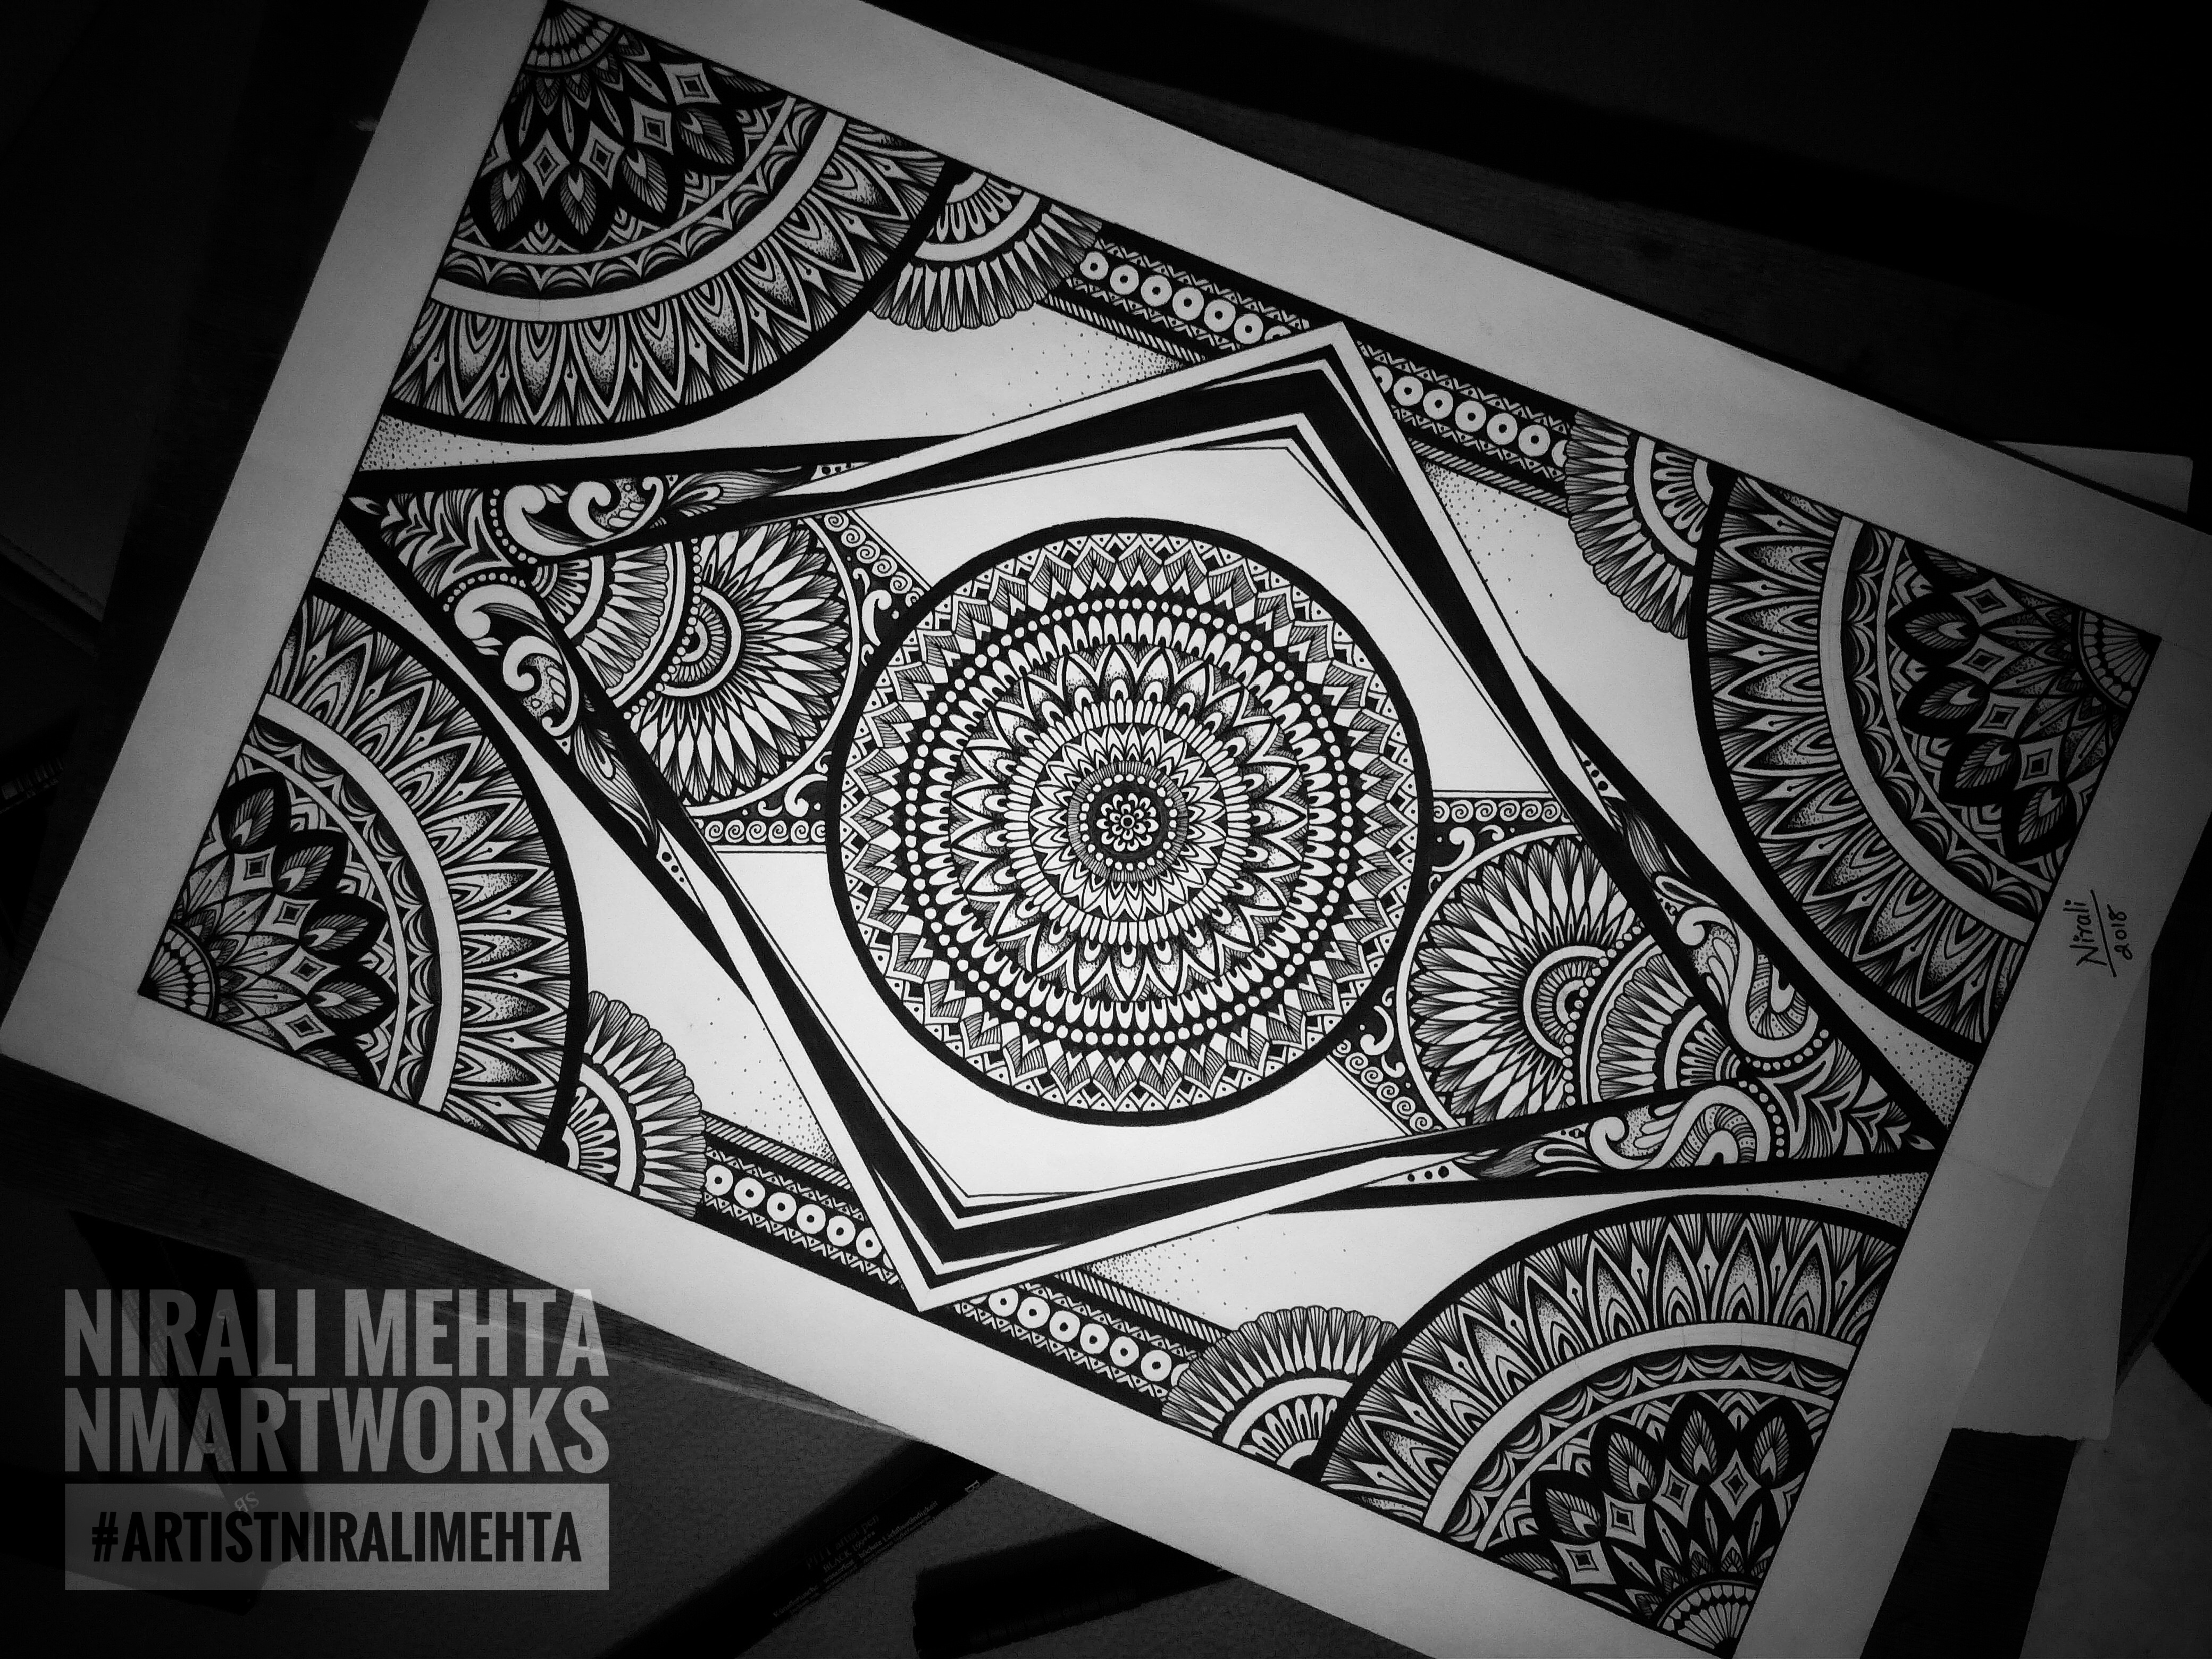
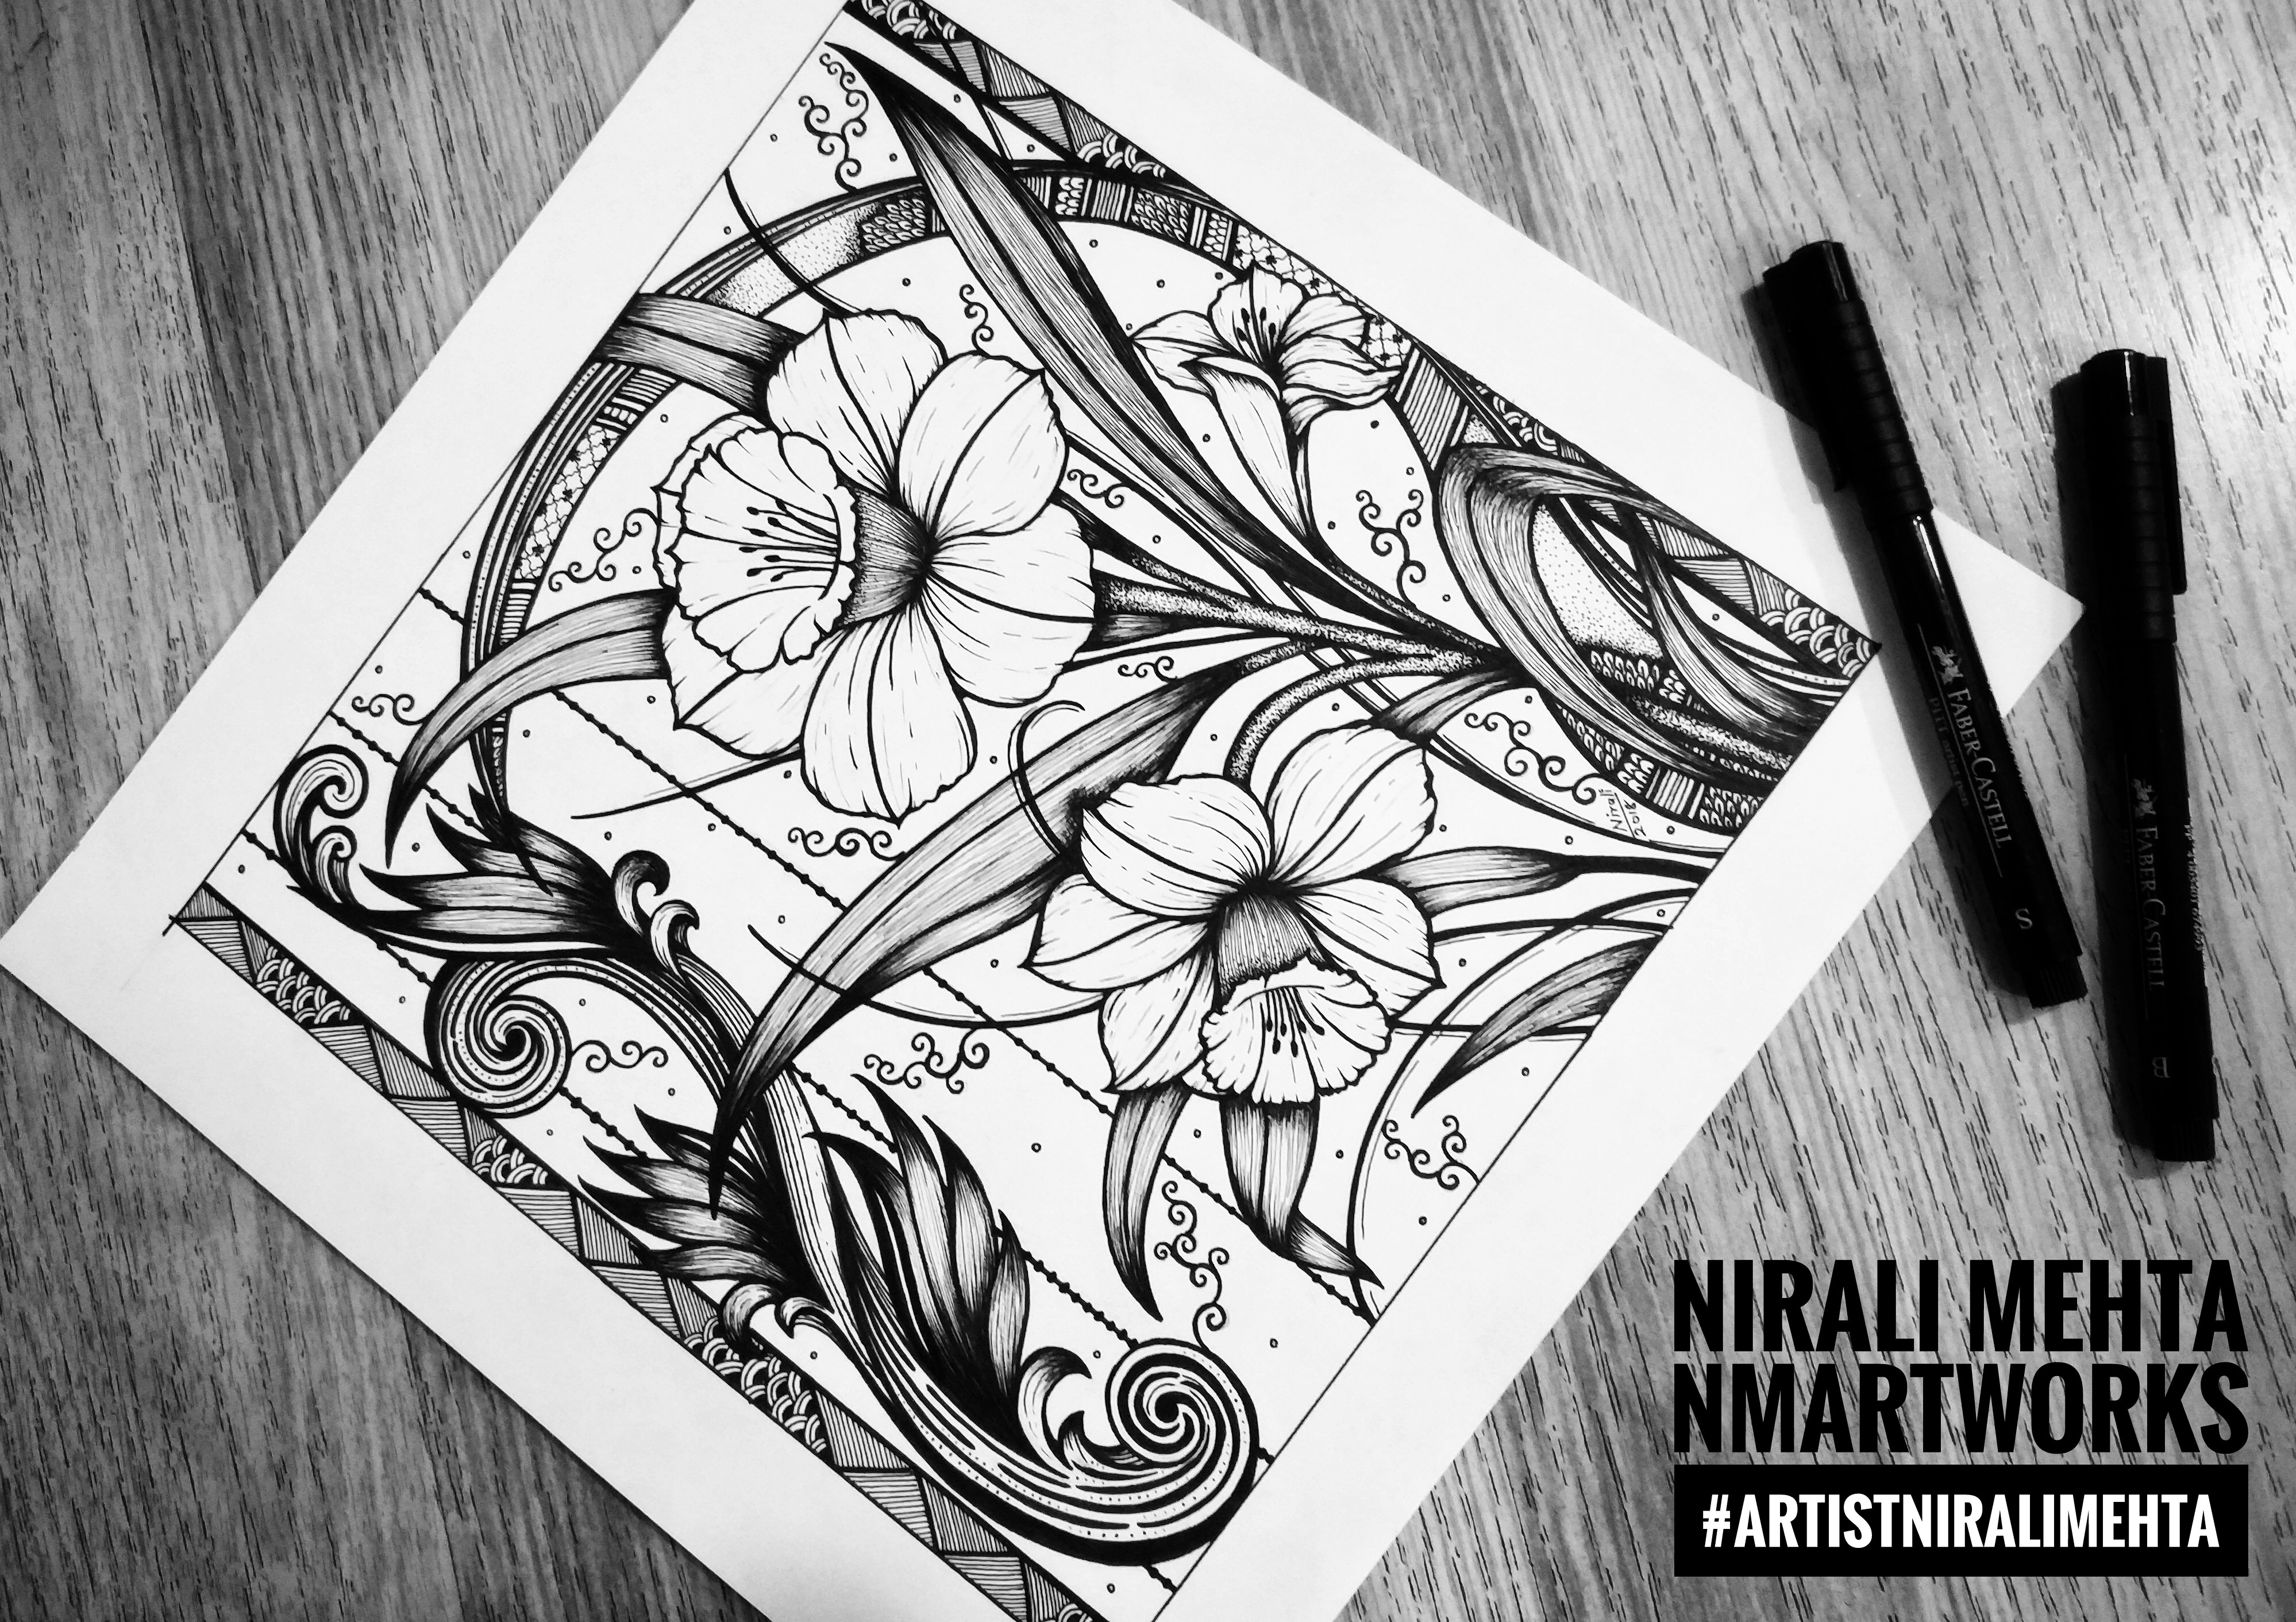
We are done with half of 2021. Here is a recap of all the posts on the blog from January 2021 to June 2021 just in case you missed out reading any of them. I will be back in July with more posts on arts and crafts.

  • ‘Embossing’ Using The ‘Gilding Method’
    There are different ways to add the sparkle to your artwork. One of them is ‘Gilding’. It creates a nice embossed sparkling effect. It could be a simple outline or dots or stats or more in that shiny effect. Embossing with the gilding method is best suited for greeting cards as well as art and craft projects in school. In this post, I am going to share some tips to get this process right!
  • Impasto – Painting with a knife
    Yes! That is the term used for a painting technique – ‘IMPASTO.’ Impasto technique in simple words is painting with a knife. A painting knife is different from a regular knife. The blades come in different shapes and sizes to create different textures. You could relate better if I named a famous artwork created with this technique – ‘Starry Night’ by Vincent Van Gogh.
  • Henna Art or Mehendi
    There is a good chance that you might have noticed a very striking similarity between my artwork with henna designs. It is also a possibility that I do more Ink Artwork, Doodle Art, Mandala Art and Zentangle Art because of my fluency in Henna Art. I learnt this art from my mom. Sharing ‘My Henna Story – Henna Art or Mehendi’
  • Happy Diwali
    Happy Diwali!!
  • Solving the Easel Puzzle
    Easels are a one-time investment and costly. Every artist uses whatever he or she is comfortable with. Not all artists draw, sketch or paint on an inclined surface. Different painting styles can mean using or not using the Easel. A short simple post answering questions about selecting an Easel or a Drawing Board. People usually have two opposing thoughts on this topic. Some feel “what is there to select? Every artist or painter needs an Easel” while others feel “it is the last thing to invest in”. There are a lot of myths about an Easel. No doubt it makes an excellent gift to give an artist, but do you know which one to select?
  • Tools and Techniques To Make Professional Greeting Cards
    Making a greeting card all by yourself may seem difficult for some. No one wants to be judged or mocked for their artistic skills. Besides not everyone can be a master at it. I understand. But what if I were to tell you that even with minimal artistic skills and creativity one can make beautiful professional looking greeting cards. Yes! In this post, we will be discussing a few tools and techniques for making professional looking greeting cards with ease.
  • Fifty it is!!!
    We have achieved a milestone! 50 posts! Yaaay!! Please do share your thoughts and feedback. Would love to hear from you!
  • ‘Still Life Painting’ – by Guest Blogger Dr Shaazia Hawai
    Our guest blogger Dr Shaazia Hawai is a dentist, who spills her love for colours onto the canvas. Join us as she shares more about her Impressionist Style Still Life Painting using acrylic paints. She also conducts live painting sessions on Instagram.
  • It’s Beautiful! Stained Glass Paintings
    The painting process is very simple. Two steps 1) Create the Outline and 2) Fill the colours. The skilled part is in doing it. And like they say, you have to do it to know it. The texture that you see is the original texture of the glass. We select the glass based on the type we want. The material except the glass isn’t very expensive. The colours in a set are enough to make two or three glass panels. So if you want to re-use or recycle a piece of glass from the renovation, consider ‘Stained Glass Panting’. It will give a fresh and majestic look to your decor.
  • Cute Little Clay Creations – by Guest Blogger Ms. Radha Srikanth
    Taking imagination and fantasy from the world of magic and transforming it into something beautiful in this world; is what I do every day. Does that sound interesting? Hello everyone, I am Radha, a clay artist. Doing something creative by shaping earth with your hands can be an incredibly humble, joyful and healing experience.
  • The Clay Effect – Air Dry vs. Bake
    For arts and crafts at home, we use Clay that is available at art and craft stores. Basically for hobby crafts and crafts at home there are two types of clay : one is the air drying and the other one that needs to be baked. We can use them to make many artistic objects from the comforts of our home. I have made wall murals, decorated wooden and glass panels, mirrors, jewellery and toy models with both types of clay. Yes! I know friends who have made saleable products from these. They are now successful small businesses.
  • Three creative ideas with Coffee – Art Craft
    Hmm.. the aroma of a freshly brewed coffee can be so refreshing, isn’t it? Sniffing coffee beans can almost reset your sense of smell. When we sample different perfumes and a particular strong smell gets to our head, it lingers. How to clear it? Take a few coffee beans in a cup and smell them. After sometime smell another perfume. We can creatively use coffee for many things other than just sipping a nice cup of coffee. You may have come across or tried these. In this post I am sharing three artistic creative ideas of arts and crafts with coffee. I have tried my hand at all the three and they can be wonderful creative outlets for anyone, especially coffee lovers. It is the skill and material that make this art unique.
  • Scan, Copy, Download, Print – How to get good prints for your Projects
    Did a hand drawn artwork and now want to make copies OR drew it digitally and now want to print it? Photographs, Graphics, Vector Art, Backgrounds, Designs, Drawings and Paintings – All of us might have tried to print these at some point of time or another. It could be for a School Project, a University Submission or a Personal Art Craft Project or for Commercial use. I see many people struggle to get good prints of their work. What went wrong? They don’t know. I often get to hear “I gave the print command and the printing device printed it.” “I took it to a professional printer and he said the art work is not done correctly. The printing service owner said the device (printer) has done it correctly.” It’s our loss as the money is wasted and we are not happy with the output. Today’s post is about ‘Getting a good print out’. I am going try and translate the language of a printer. In other words explain it in simple terms that everyone can understand.
  • Painting a Silhouette
    ‘Silhouette’ Try saying it as ‘Silu -et’. That’s right! I am not talking about a soft fabric but a technique of painting. Silhouette is also a popular method in photography. It is an object or profile in dark black against a very bright source of light, usually the Sun.
  • The Perfect Blend – Exams & Coffee
    What is Coffee got to do with Art? 😀 My young followers have exams coming up at schools, colleges and universities. Coffee will be their best friend keeping them up studying late nights. Just like a good coffee is all about the blend. Art is also all about blending and having the right combinations. All set? Prepared?
  • Getting to know ‘The Washi Tape’
    The title says it all ; this is a all you want to know kind of post and it is all about ‘The Washi Tape’. Ok! What is so special about it? Fine! It is just another tape, so use it as one. True! I think it is a door to creativity. Especially for storytellers who cannot draw well but have so much to say and share.
  • A Photo Frame – It’s Handmade
    Click! Click! Hehe! We don’t get to hear this clicking sound anymore. The cameras are silent but we still click as many pictures or probably more. Now that our phones have a very strong camera lens, we like to capture every memory. It is a memory, it is special. Then why let it remain in the phone. Let’s print it and put it in a nice photo frame. That is my topic for today’s post – a very simple easy DIY Photo Frame. Complete description with material details.

A Beginners Guide To Pencil Shading

Pencil shading is creating artworks using pencil strokes. I did my first artwork in pencil shading during my school days, probably in the 5th or 6th grade while preparing for my art exams. Later, after the 10th grade I took up a course in Charcoal Sketching. It was a vacation batch and as a preliminary step to Charcoal Painting my teacher took a few classes in Pencil Shading first. I learnt a lot both about Pencils and Charcoals in that class.

A pencil is the most easily available drawing tool. Learning pencil shading can teach a lot about shade and light in a drawing. Pencil Shading as a subject will be a part of every curriculum – at every Art School or University or College or a Masters level study. Traditionally ‘live study’ meaning the subject to be drawn or sketched is actually in front of you and you have to draw it was the way to sketching in Art.

It would be a good idea to invest and buy a few books on Pencil Shading and Sketching. It will be helpful to observe works by different artists and study their styles. We can practice and draw from the drawings in books. One can draw from photographs or online drawings at a later stage. Beginning from a book or with a tutor guides us stepwise and covers all the subtopics. Artists who wish to take up Pencils as their main medium of Art require training of an advanced level.

Begin with simple ‘Landscapes’ to more complex ones, followed by ‘Object Drawing’ and ‘Nature Drawing’ and finally to ‘Human sketches’ and ‘Portraits’. That is how I did them. Drawing and sketching always helps and is important even if you take up any other medium. I really think everyone can draw and everyone’s drawing will look different.

Here’s how I learnt it or what I learnt about Pencil Shading:-

  • To start with, select a simple single subject like a flower or leaf or a pot or a pan. (Picture 5)
  • For the first one, try to shade using only the 2B pencil. Observe the strokes, texture and blending (Pictures 1 and 2)
  • Add darker tones with 4B and 6B pencils (Picture 3)
  • Can blend using the finger, stumps or cotton buds (Picture 4)
  • Use a kneaded eraser. It helps erase a clean line when pointed and used. If you just tap it on the shaded area it will absorb the graphite like a magnet making the shaded area lighter but keeping the strokes. That is why I call it a magic eraser. (See pictures 6 to 8)
Learning Pencil Shading
Pencil Shading Explained

A beginner can start by looking at artworks and reference images in drawing books. I wouldn’t advise looking at images on the Internet because sometimes they are a bit too much for a novice. One can barely differentiate between a hand-drawn and digital artwork. Some of these are genuinely handmade artworks by professional artists, while some are computer edits. Don’t be disheartened looking at them or set the benchmark too high. That is why I suggest books or taking up formal training.

Learning  pencil shading  2
The strokes will improve with time. See bottom images and top images.

Pencil shading is the foundation to a lot of methods in drawing and painting. Once this is aced, the other methods become easier to learn. With time and practice the shading will improve. Like in this picture the leaves in the bottom images are my previous works and then with time it improved as the top two images. All the four are from my early days of learning pencil shading. Then as we feel more confident, we can take up advance levels.

I felt sharing my experience might help beginners taking up Pencil Shading. One can use Coloured Pencils for colouring as well. I have seen artists doing realistic colouring using coloured pencils. One small but important point that I would like to make here is ; with the advent of such amazing digital tools for drawing, even the best artists can get fooled as to whether the art is hand-drawn painted or digital. So please be honest with yourself and learn it without using the digital tools.

Pencil Shading Trees
Trees done in Pencil Shading

There are some additional things one needs to know about Pencil Shading. Knowing these can sort out some problems that may pop up while learning :-

1) Create strokes or lines to shade in the direction of the object surface. Rounded for the pot. The direction shows the rounded ness of the object. (Picture 9 and10) Some people create bold strokes in pencil shading like this but they should be in the flowing direction of the object. That is how they show movement also.

2) The Paper matters. The thickness, grains and texture of the paper influences the finish. I suggest Cartridge Paper of 160-200GSM if you don’t know which one to go with. After a few trials, you will surely be able to select the paper that works best for your style. (Picture 10)

3) The graphite powder can stick to the hand ruining your work. Keep a plain paper under your hand while shading to avoid this. (Picture 11)

4) All artworks in Black and White look best with contrast. There must be a distinctly dark tone, mid-tone and a light tone in the artwork. The whole artwork could be done using only one pencil. However, there should be areas you can distinctly call dark, mid and light.

Pencil shading tree
The light, mid and dark tones must be clear.

5) For a white, we either erase a portion or leave it as it is. Shade the area around that with a mid or dark tone to give a contrast. (Picture 12 and 13) The white looks whiter when there is a dark colour around.

Pencil shading techniques
Some additional points to note

So let us start! Make smaller objects first and then an entire picture. Think of Pencil Shading as learning the ABC to Art. We don’t need to be professionals at it but we definitely need to know it – Pencil Shading. Have an Arty Weekend!

Related Posts you may also want to take a look at :-

  1. Selecting Pencils for your Art
  2. Five ways to fine tune your Art
  3. Drawing without using a scale or ruler

The Black and White of Pen and Ink Drawings – Ink Art

Clear lines, strokes and dots of Black Ink that make beautiful works of Art – Ink Work or Pen and Ink Drawings have been my forte. Original hand drawn Ink Art and Illustrations as well as Art Prints of my Pen and Ink Drawings are available at my Shops. I like to draw and paint Birds and Flowers the most. Sometimes I use Ink Pens along with Watercolour and Gouache colours for my Artworks. In this post I am going to share all about my favourite medium – Ink. Because it is Black Ink on White Paper usually, the Art works are also called Black and White Illustrations.

Link to the post on Doodle Art, Zentangle Art and Mandala Art

We have explored Zentangle Art, Doodle Art and Mandala Art in my previous posts. These Arts are mostly done in Ink. I have also shared about selecting Pens and Markers for your Art in another post. It is the main material for Ink Art. Ink and Paper are the only two materials required for Ink Art. For some techniques we may draw the initial sketch in pencil. Please refer to these posts for detailed information on these topics. It would be additional helpful information on Pen and Ink Drawings.

Link to the post on Selecting Pens and Markers for your Art

This time let’s take it a level higher. Explaining in simple words we can say – creating Drawings, Illustrations and Sketches using Ink Pens and/or Ink with bamboo sticks or brushes is called Pen and Ink Drawings. Very good quality Ink Pens with a variety of nibs are easily available. We don’t have to use brushes or Inks from bottles anymore. This has led to a lot of people taking up many of these Art styles.

Tattoo Designs, Ink Illustrations, Stippling Art, Mandala Art, Doodle Art and Zentangle Art are all very popular on Social Media. We have many artists sharing these works made with Ink. Botanical Illustrations in Ink are loved by many.

Click here to view my virtual Art Gallery and see more of my Artworks. You may also visit my shops (links on the homepage) to buy my Art. My works of Art would make suitable Wall Art for contemporary spaces both Residential and Commercial.

Artist Pens have Inks that are fade-proof, water-proof and permanent and are available in all major colours. ‘Archival Inks’ as they are referred to are also fade-proof, water-proof and permanent Inks.

Earlier Ink artworks would be made using brushes or bamboo sticks dipped in Inks, just like Calligraphy. If it interests you, do read my earlier post on the Art of Calligraphy. Painting with those would have surely been more difficult. Pens that are available now make it much much easier to draw and paint. These Pens have become so much a part of our Artworks that we use them even for something like just giving an outline or darkening a pattern.

Link to the post on Calligraphy

These Pens are available in a set as well as loose Pens. The ink, nibs and grip of Pens of all brands have a minor difference. I have used pens by almost all the major brands and have liked all of them. I use Micron Pens (Archival Inks) most often. I also use Pitt Artist Pens by Faber Castell for brush nibs and accented tips.

My other favourites would include Uni Pens and Winsor Newton Markers for a more Watercolour like finish. These are more like Artist choice Pens. It would be absolutely ok for students to do the same kind of Artwork with the other Pens or Markers that they regularly use. No problem at all. Permanent Ink is also available in bottles. We can still use the traditional method of writing or painting using Ink from bottles with brushes or bamboo sticks.

The Paper you select must be thick to absorb the Ink. Handmade Paper gives the authentic olden days look. If the Paper is thin the Ink bleeds or may move on the back side of the Paper too! The Pens should move smoothly and give a good finish to your bold and confident strokes.

Work in progress of an Ink Art
A closer look at the making of one of my Ink Illustrations

Black and White does not mean just a dark black tone. It is important to shade and show dark light areas even in Ink drawings. For this we can use any one of the following techniques or we can create one of our own. The shading adds depth and makes it look 3D and more realistic. Sometimes people use a black colour pencil and shade the colour, it is an easier way out though. Like me you can also do a combination of two or more of these Ink Art techniques if you want. Here are some of the techniques :-

Ink Art Techniques
Ink Art Techniques

I am completely in awe of the Japanese Art of Ink Wash Painting. Also known as ‘Sumi-e’ Painting. It is typically monochrome, meaning it uses shades of black on handmade white paper. I was told that the Ink and brush and/or bamboo sticks used for this Painting are same as those that were used for the Art of Calligraphy in China in earlier days. ‘Ink Wash Painting’ as they called it is said to have began during the Tang Dynasty in China.

It was introduced to Japan by the Zen Buddhist Monks. Sumi-e Artists paint Nature, People and Places. Their brushes are special and different from regular brushes and it is all about these clear black strokes. I have been wanting to learn this Art since a long time. Let’s hope I get a chance soon, may be sometime in the future!

If you have any questions on how to use this medium, feel free to ask them in the comments below. Have an Arty Week!