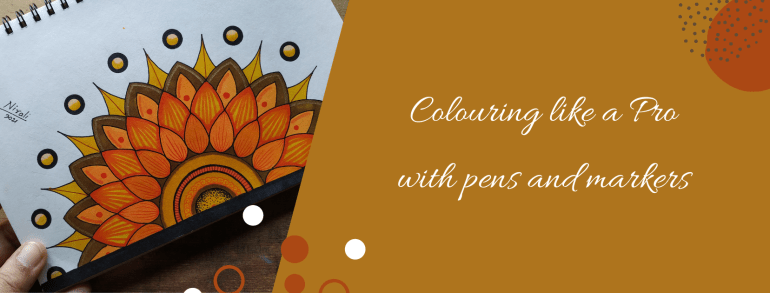
Two Artworks with the same sketch can look different only because of the colours, isn’t it? I have known people who cannot draw or paint that well but can colour amazingly well. In fact, their colouring is so good that they can turn it into a profession. Then how come nobody teaches us how to colour or why don’t we give much importance to it? “What is there to learn in that?” they say. I would say colouring is also an Art.
Everything from selecting the colours to the finished look has little things to understand. Once we know these, anyone can colour like a pro! Nowadays colouring is a popular hobby among both children and adults likewise. Art material brands offer free colouring pages. We can also download colouring apps or we can buy colouring pages online.
The drawing in colouring books have larger blocks to colour for younger kids and then as we progress to higher age groups, they have more intricate designs with small blocks to colour. Printed colouring books for children and adults are available at all book shops. It is a great activity for creative minds to do while waiting or travelling.
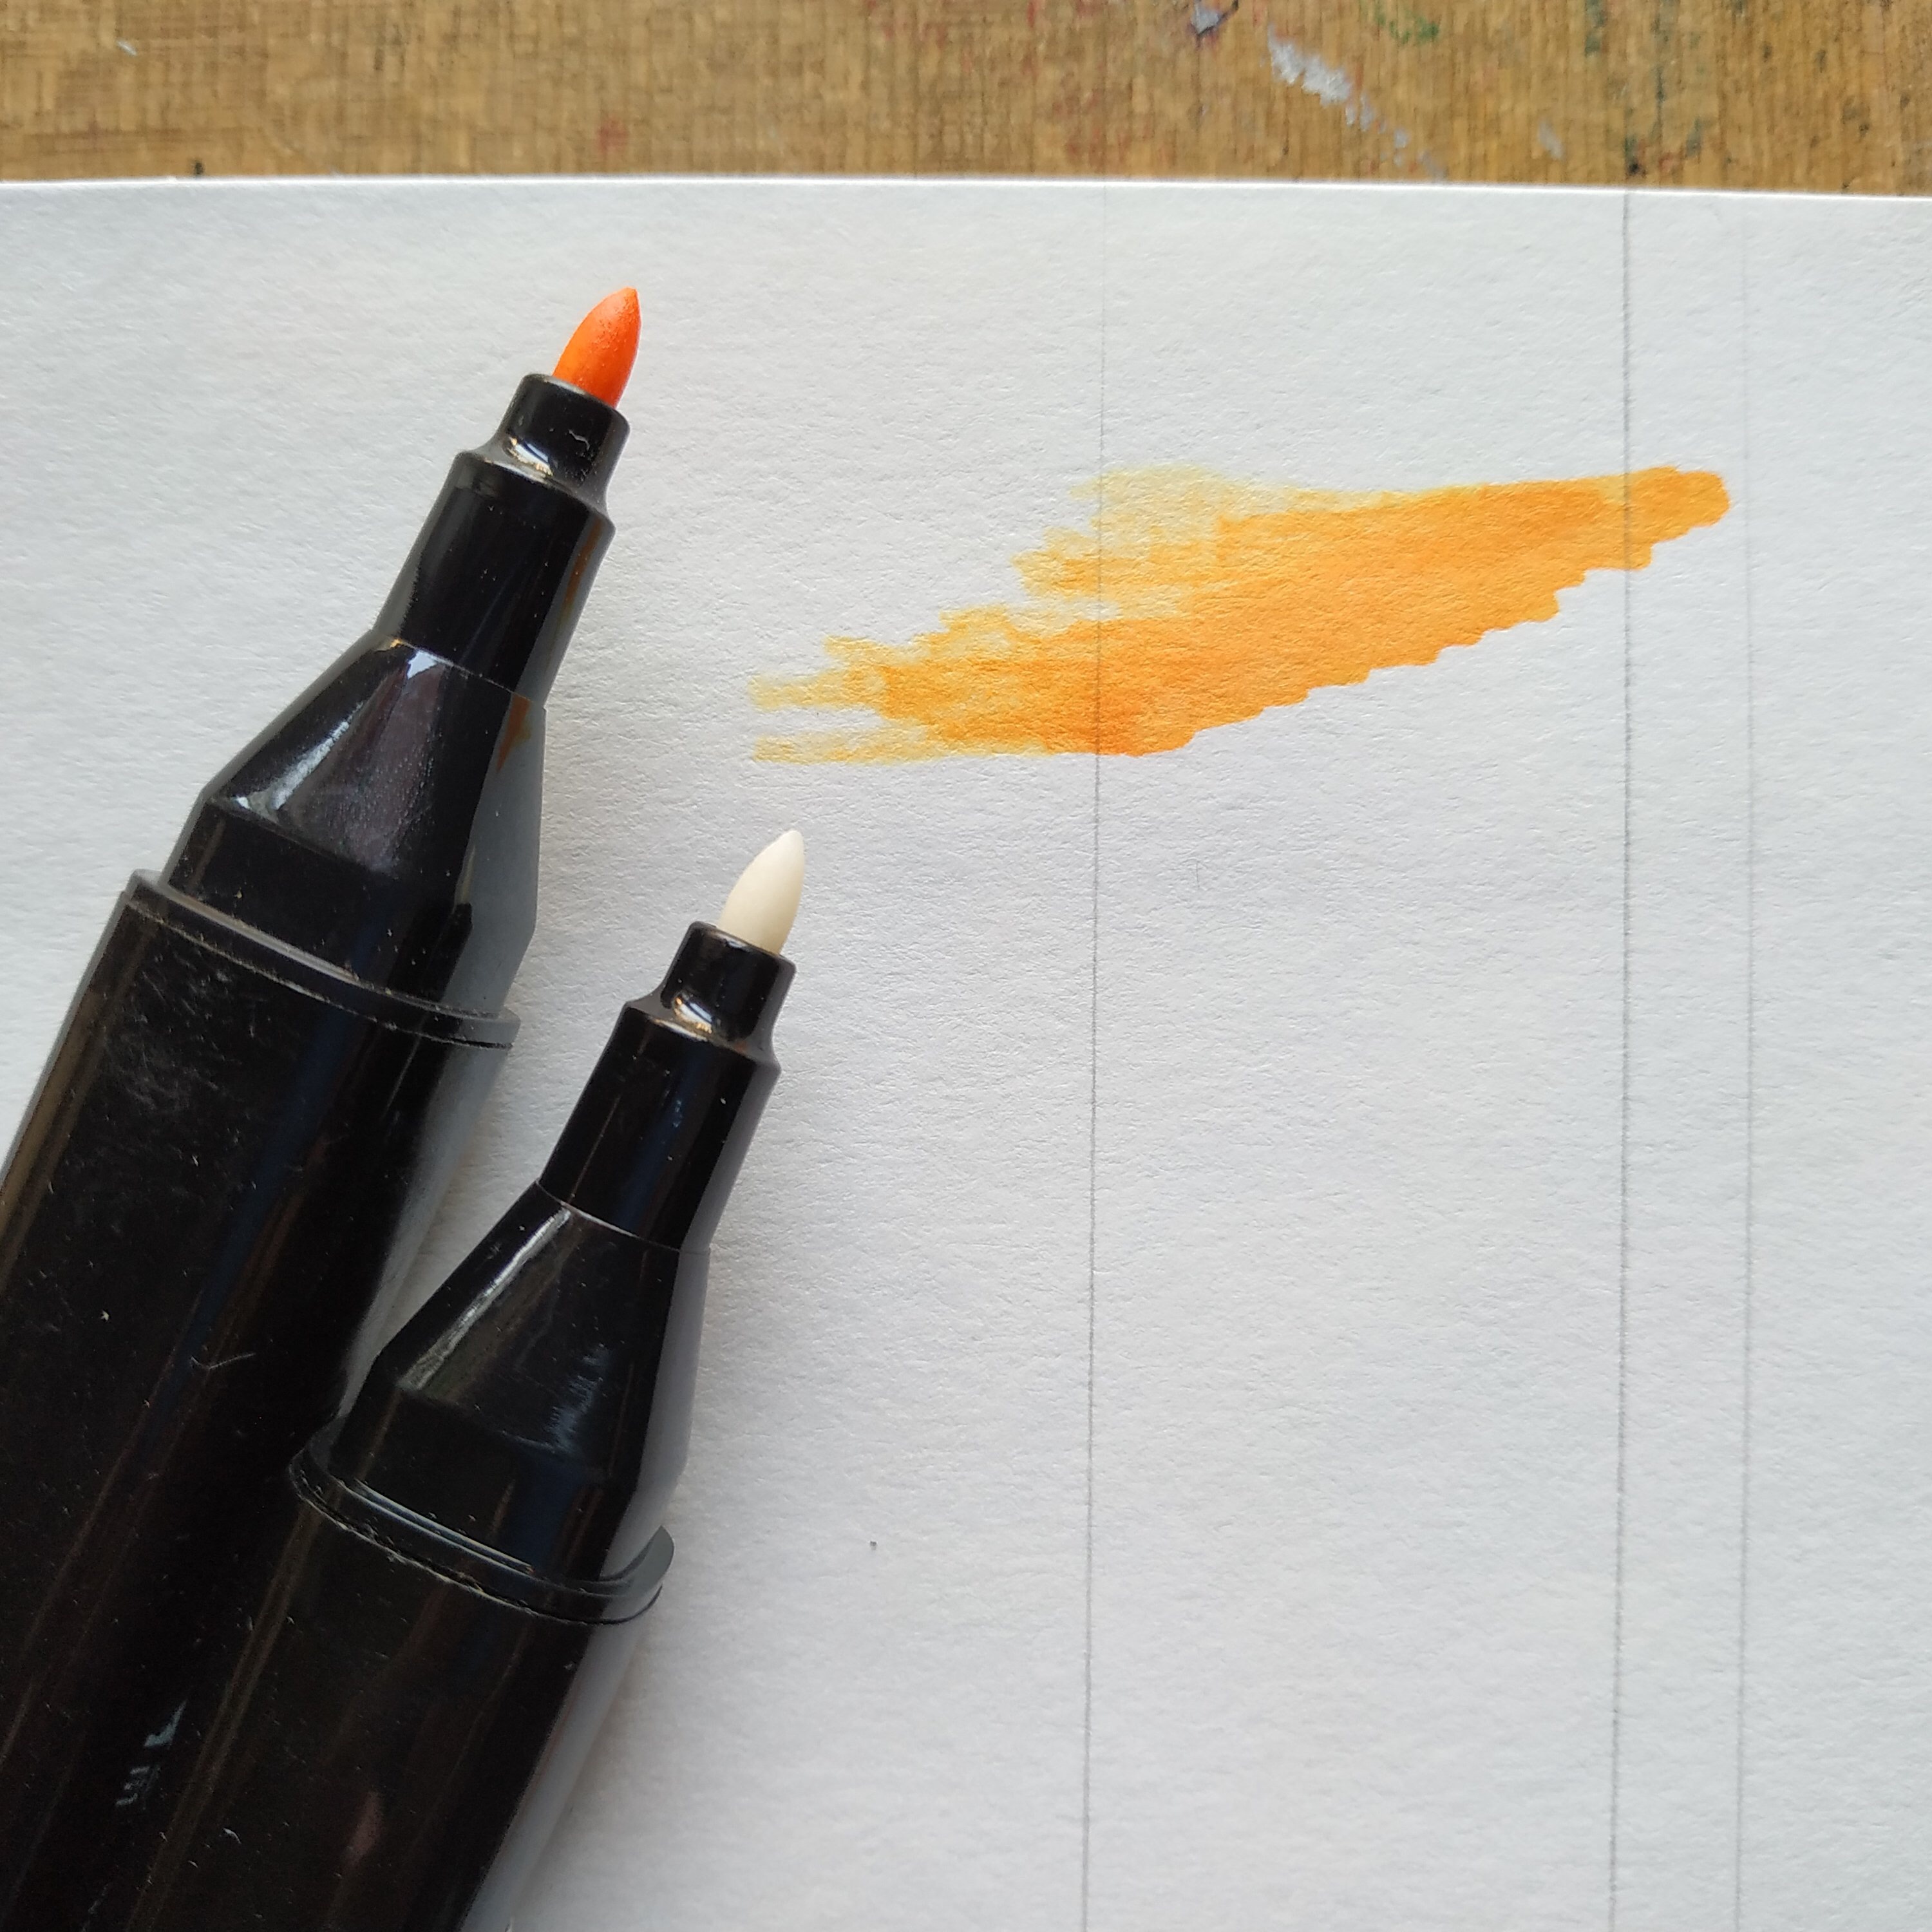
I have already done an elaborate post on selecting pens and markers before. In this post, I will share tips and tricks on colouring with them. Even today I try and learn new ways or designs to make my work better and faster.
I have worked with pens and markers by almost all popular brands. Professionals prefer using alcohol-based markers for their art and illustrations because of the finish. This includes 1) artists making greeting cards and stamping 2) illustrators making fashion illustrations 3) architects and interior designers making drawings 4) cartoonists, caricature artists, character designers and manga artists.
Watercolour artists use watercolour pens and markers for creating those effects in colouring. I like using oil-based markers for metallic colours. I also use permanent waterproof ink or archival ink pens for outlining, drawing patterns and for all my ink illustrations.
Beginners could buy a set of watercolour markers and waterproof ink pens to begin with. Then as the interest develops, it is a good idea to invest in alcohol-based markers and metallic markers. We also get acrylic markers or paint markers to draw on objects.

It is always a good idea to test the markers before buying. See the finish after drying and check if they come on to the other side of the page. If they do then we need to use a different paper for it. I have faced this problem with colouring books that don’t use good quality thick paper. Markers work differently on papers of different textures and thickness.

Whenever we use alcohol-based markers we need to place a paper or protector below our paper to avoid colouring unwanted things. I mean the drawing board or the table or surface. Watercolour markers can be washed off from surfaces but not the others. Hence washable markers are best for kids.
Here are some methods or techniques for colouring. You could have a different style as long as it suits the kind of finish you wish to achieve.

Outline in permanent ink 
Colour in the direction of object

Solid Colour – Colour in a single direction and use the pointed tip to fill the corners that may have been left out. Do not keep colouring the same place over and over. There will be colour blocking when the ink is wet. However once it dries, the colour automatically evens out in the case of most markers. When colouring larger blocks use the accented tip or the brush tip. If we use the round tip it will create a self texture in the fill; meaning we won’t get an even colour in the fill. Once again please note the direction is important or colour in tiny circles.

Highlights – Leave out the portion of the highlights. Do not colour it. The part where the light falls maximum is called highlight. It is a good idea to leave out a larger portion if you are not sure. The area can be coloured later. The white ink doesn’t work well to give highlights because the colour somehow shows through it. It isn’t even.
Blending Two Colours – Can we do shading with markers? Yes of course. Doesn’t matter which marker it is, watercolour and alcohol-based markers both can be used for shading. I recommend applying the light colour first and then the dark colour, so that just in case some of the colour comes on to the tip of the marker then a light colour marker may get spoilt. Many artists colour dark to light also but that is mostly with alcohol-based markers.
Single Colour Shading – The pressure applied is important here. We get colourless blenders for blending the colour. It is also a marker but the ink is colourless. Apply pressure and then lift the pen to create strokes for shading in single colour.

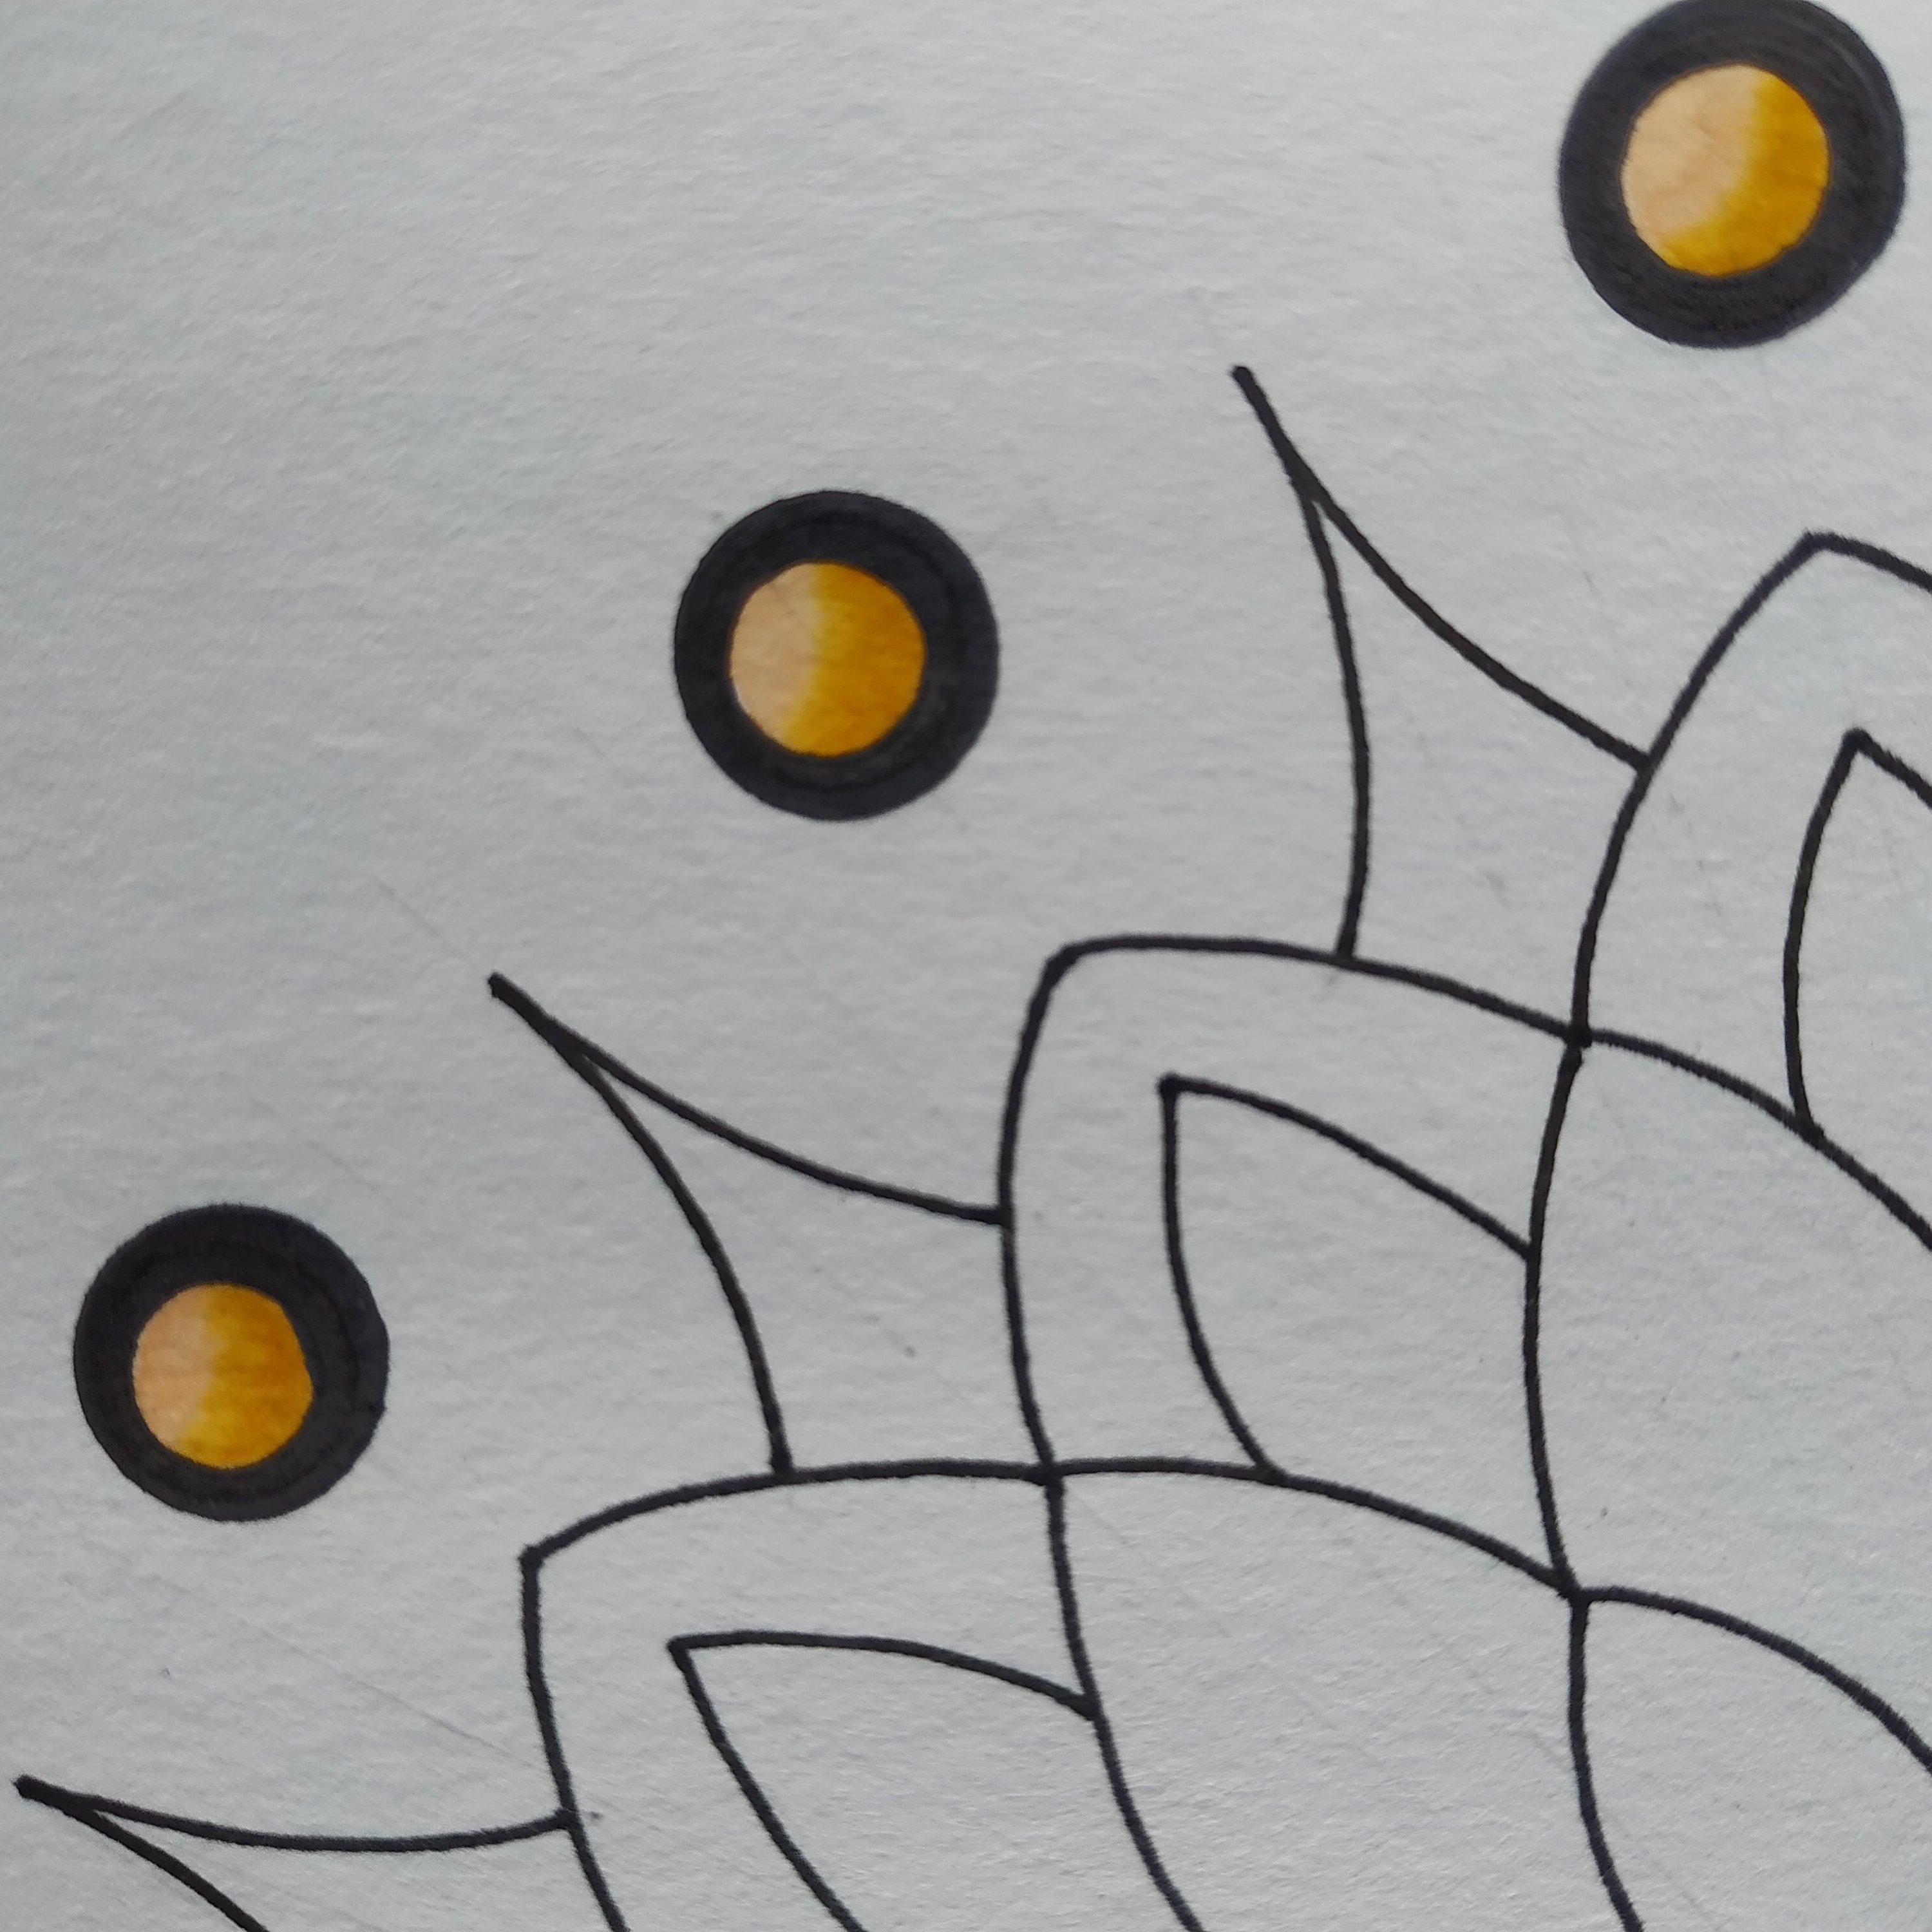
Darkening a Colour – If you apply another coat of the colour when the colour is wet, it will blend. So to create a dark line or make the same shade darker apply another coat after a few minutes. It will blend with the previous colour but will be darker. This works only for alcohol-based markers. For watercolour markers once dry the colour doesn’t blend. The green dot above has the dark colour done like that.

Creating Textures and Patterns – When we apply a stroke of two different colours next to each other, they blend. We can use these alternately and create fill textures. When we want the lines to stand out or want to create patterns without the colour blending. We can use a permanent ink marker before or after using the watercolour or alcohol-based marker. I use permanent ink pens for outlines during finish as well as my base sketch.

Colour Palettes – It is always better to think about the colour combinations beforehand. We get a lot of shades in the markers. Colour mixing isn’t possible. The paper can tear with excessive scribbling. This art has the yellow, orange, brown colour combination. Buying large boxes of markers is expensive, especially the professional or artist pens.
Selecting the right colour combination can make a huge difference to your artwork. If possible do a little research on the most popular colour palettes or international colour palettes frequently used before buying the markers. I recently bought a box of markers with the basic colours and then bought individual pens for the extra shades that I needed. It worked out to be cheaper than buying the larger box with colour shades that I didn’t need or wouldn’t use.
The colour combination in the artwork by artists of a particular region is influenced by the colours of their local surroundings. Further every colour conveys a meaning and emotion. For example, the colour red is considered auspicious in some cultures and it conveys love or anger as an emotion. I have done a post on understanding colours before this. You may want to take a look at it.

I normally draw my own sketches but you could print the colouring pages at home or with a printing service. Most of the large stores have a printing service. Do share your colouring experience with us. Have an Arty Week!
To see related previous posts please click on them here 1) Selecting Pens and Markers 2) Understanding Colours