Clear lines, strokes and dots of Black Ink that make beautiful works of Art – Ink Work or Pen and Ink Drawings have been my forte. Original hand drawn Ink Art and Illustrations as well as Art Prints of my Pen and Ink Drawings are available at my Shops. I like to draw and paint Birds and Flowers the most. Sometimes I use Ink Pens along with Watercolour and Gouache colours for my Artworks. In this post I am going to share all about my favourite medium – Ink. Because it is Black Ink on White Paper usually, the Art works are also called Black and White Illustrations.

We have explored Zentangle Art, Doodle Art and Mandala Art in my previous posts. These Arts are mostly done in Ink. I have also shared about selecting Pens and Markers for your Art in another post. It is the main material for Ink Art. Ink and Paper are the only two materials required for Ink Art. For some techniques we may draw the initial sketch in pencil. Please refer to these posts for detailed information on these topics. It would be additional helpful information on Pen and Ink Drawings.

This time let’s take it a level higher. Explaining in simple words we can say – creating Drawings, Illustrations and Sketches using Ink Pens and/or Ink with bamboo sticks or brushes is called Pen and Ink Drawings. Very good quality Ink Pens with a variety of nibs are easily available. We don’t have to use brushes or Inks from bottles anymore. This has led to a lot of people taking up many of these Art styles.
Tattoo Designs, Ink Illustrations, Stippling Art, Mandala Art, Doodle Art and Zentangle Art are all very popular on Social Media. We have many artists sharing these works made with Ink. Botanical Illustrations in Ink are loved by many.

Mandala Art 
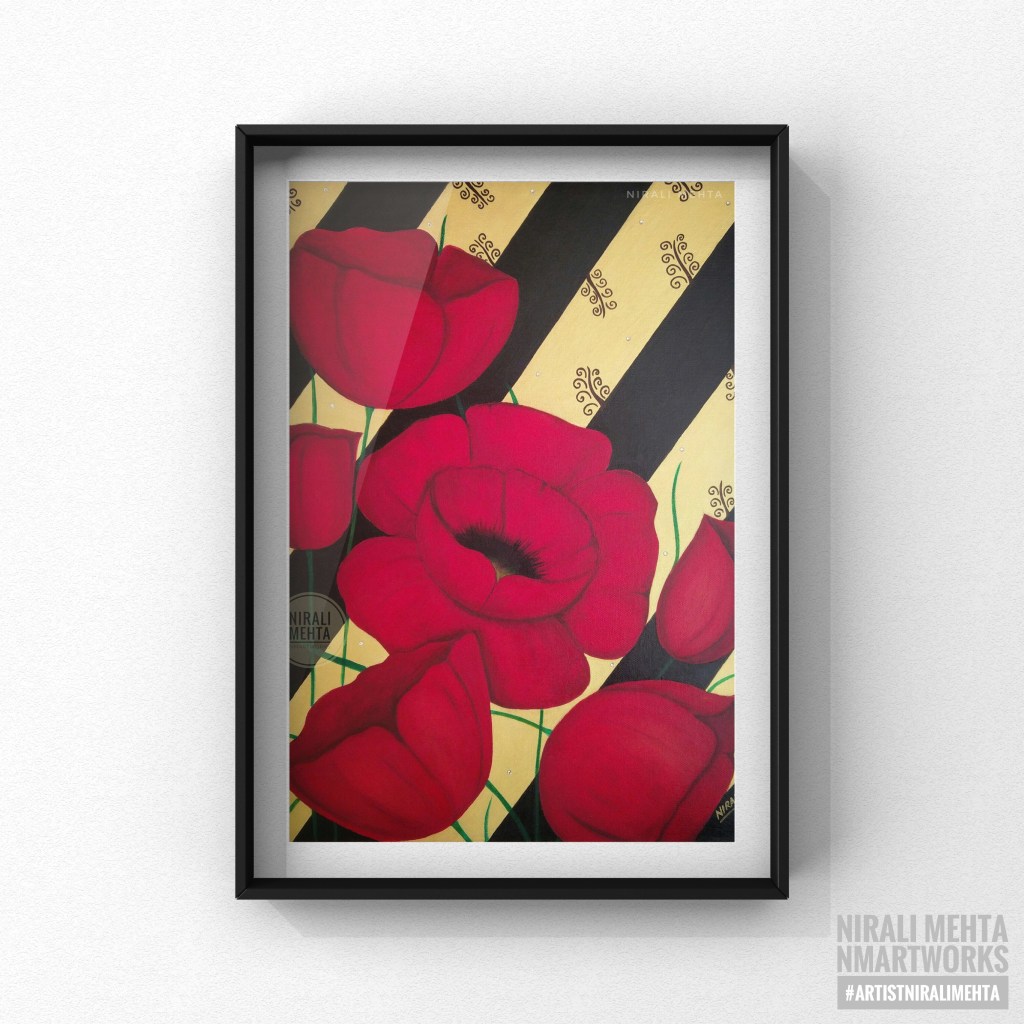
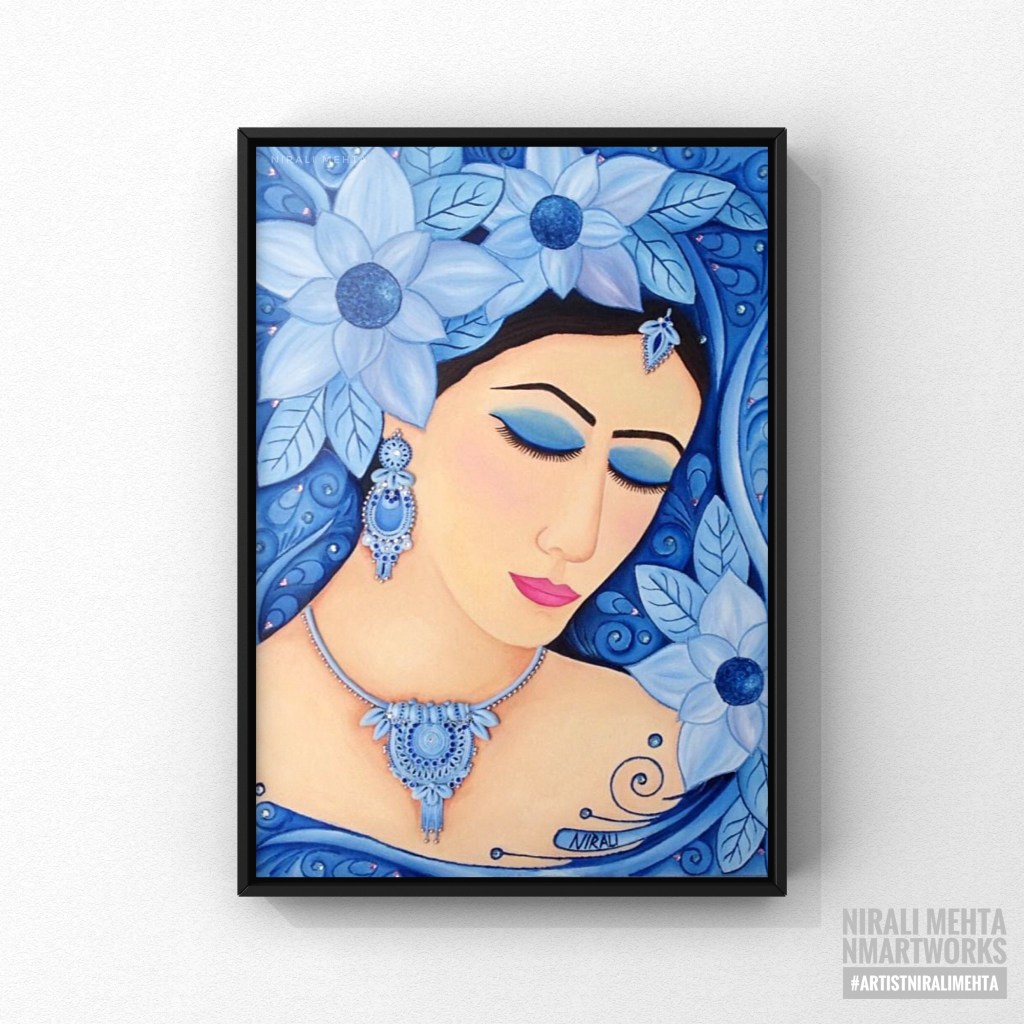
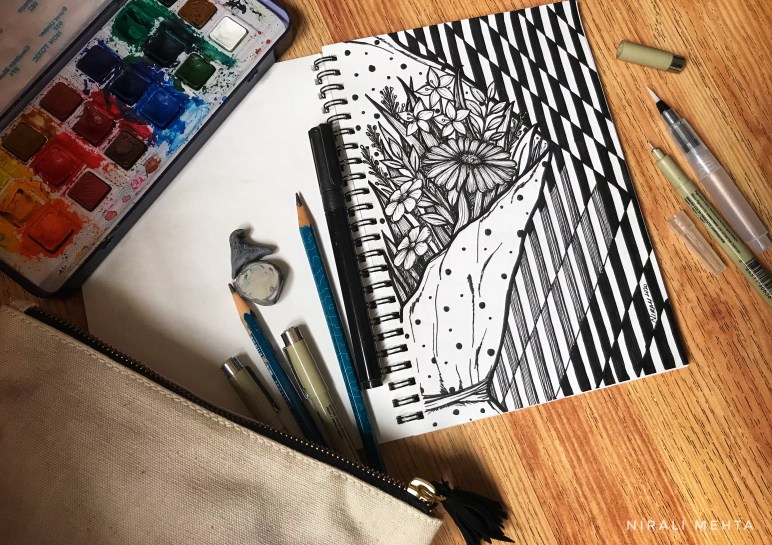
Floral Ink Illustration 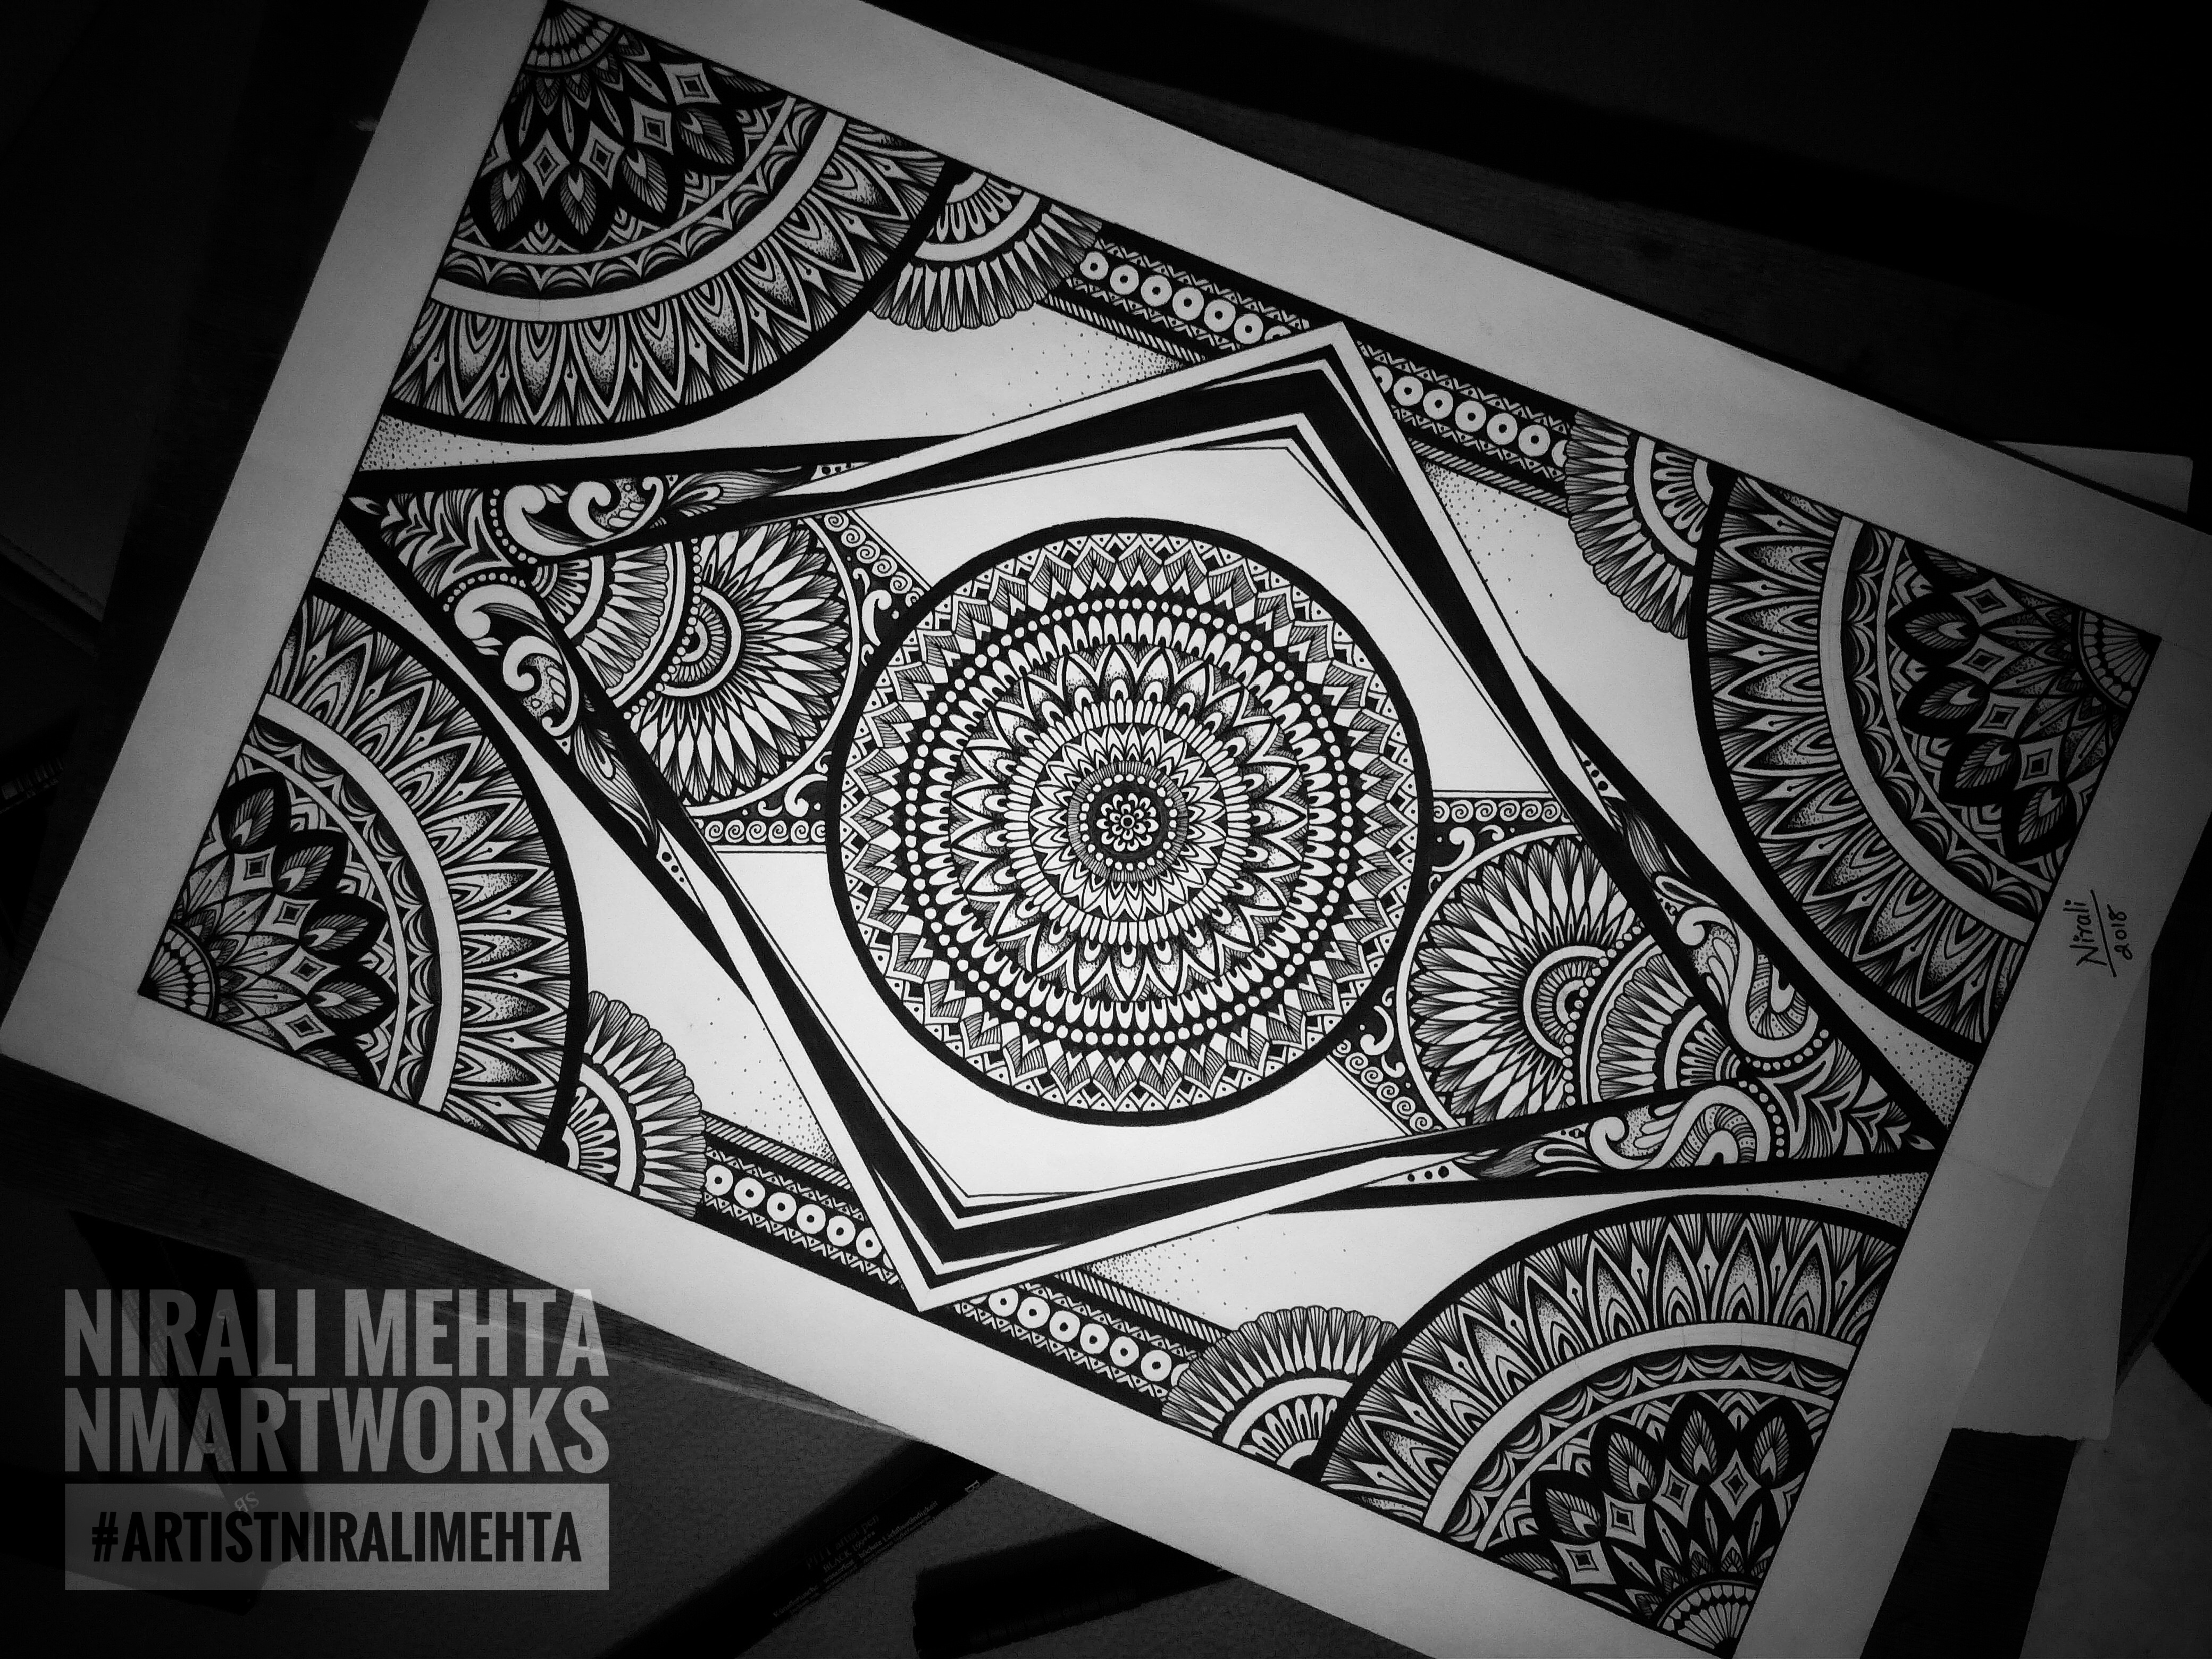
Zentangle & Doodle Art 
Stippling & Doodle Art 
Mandala & Stippling Art 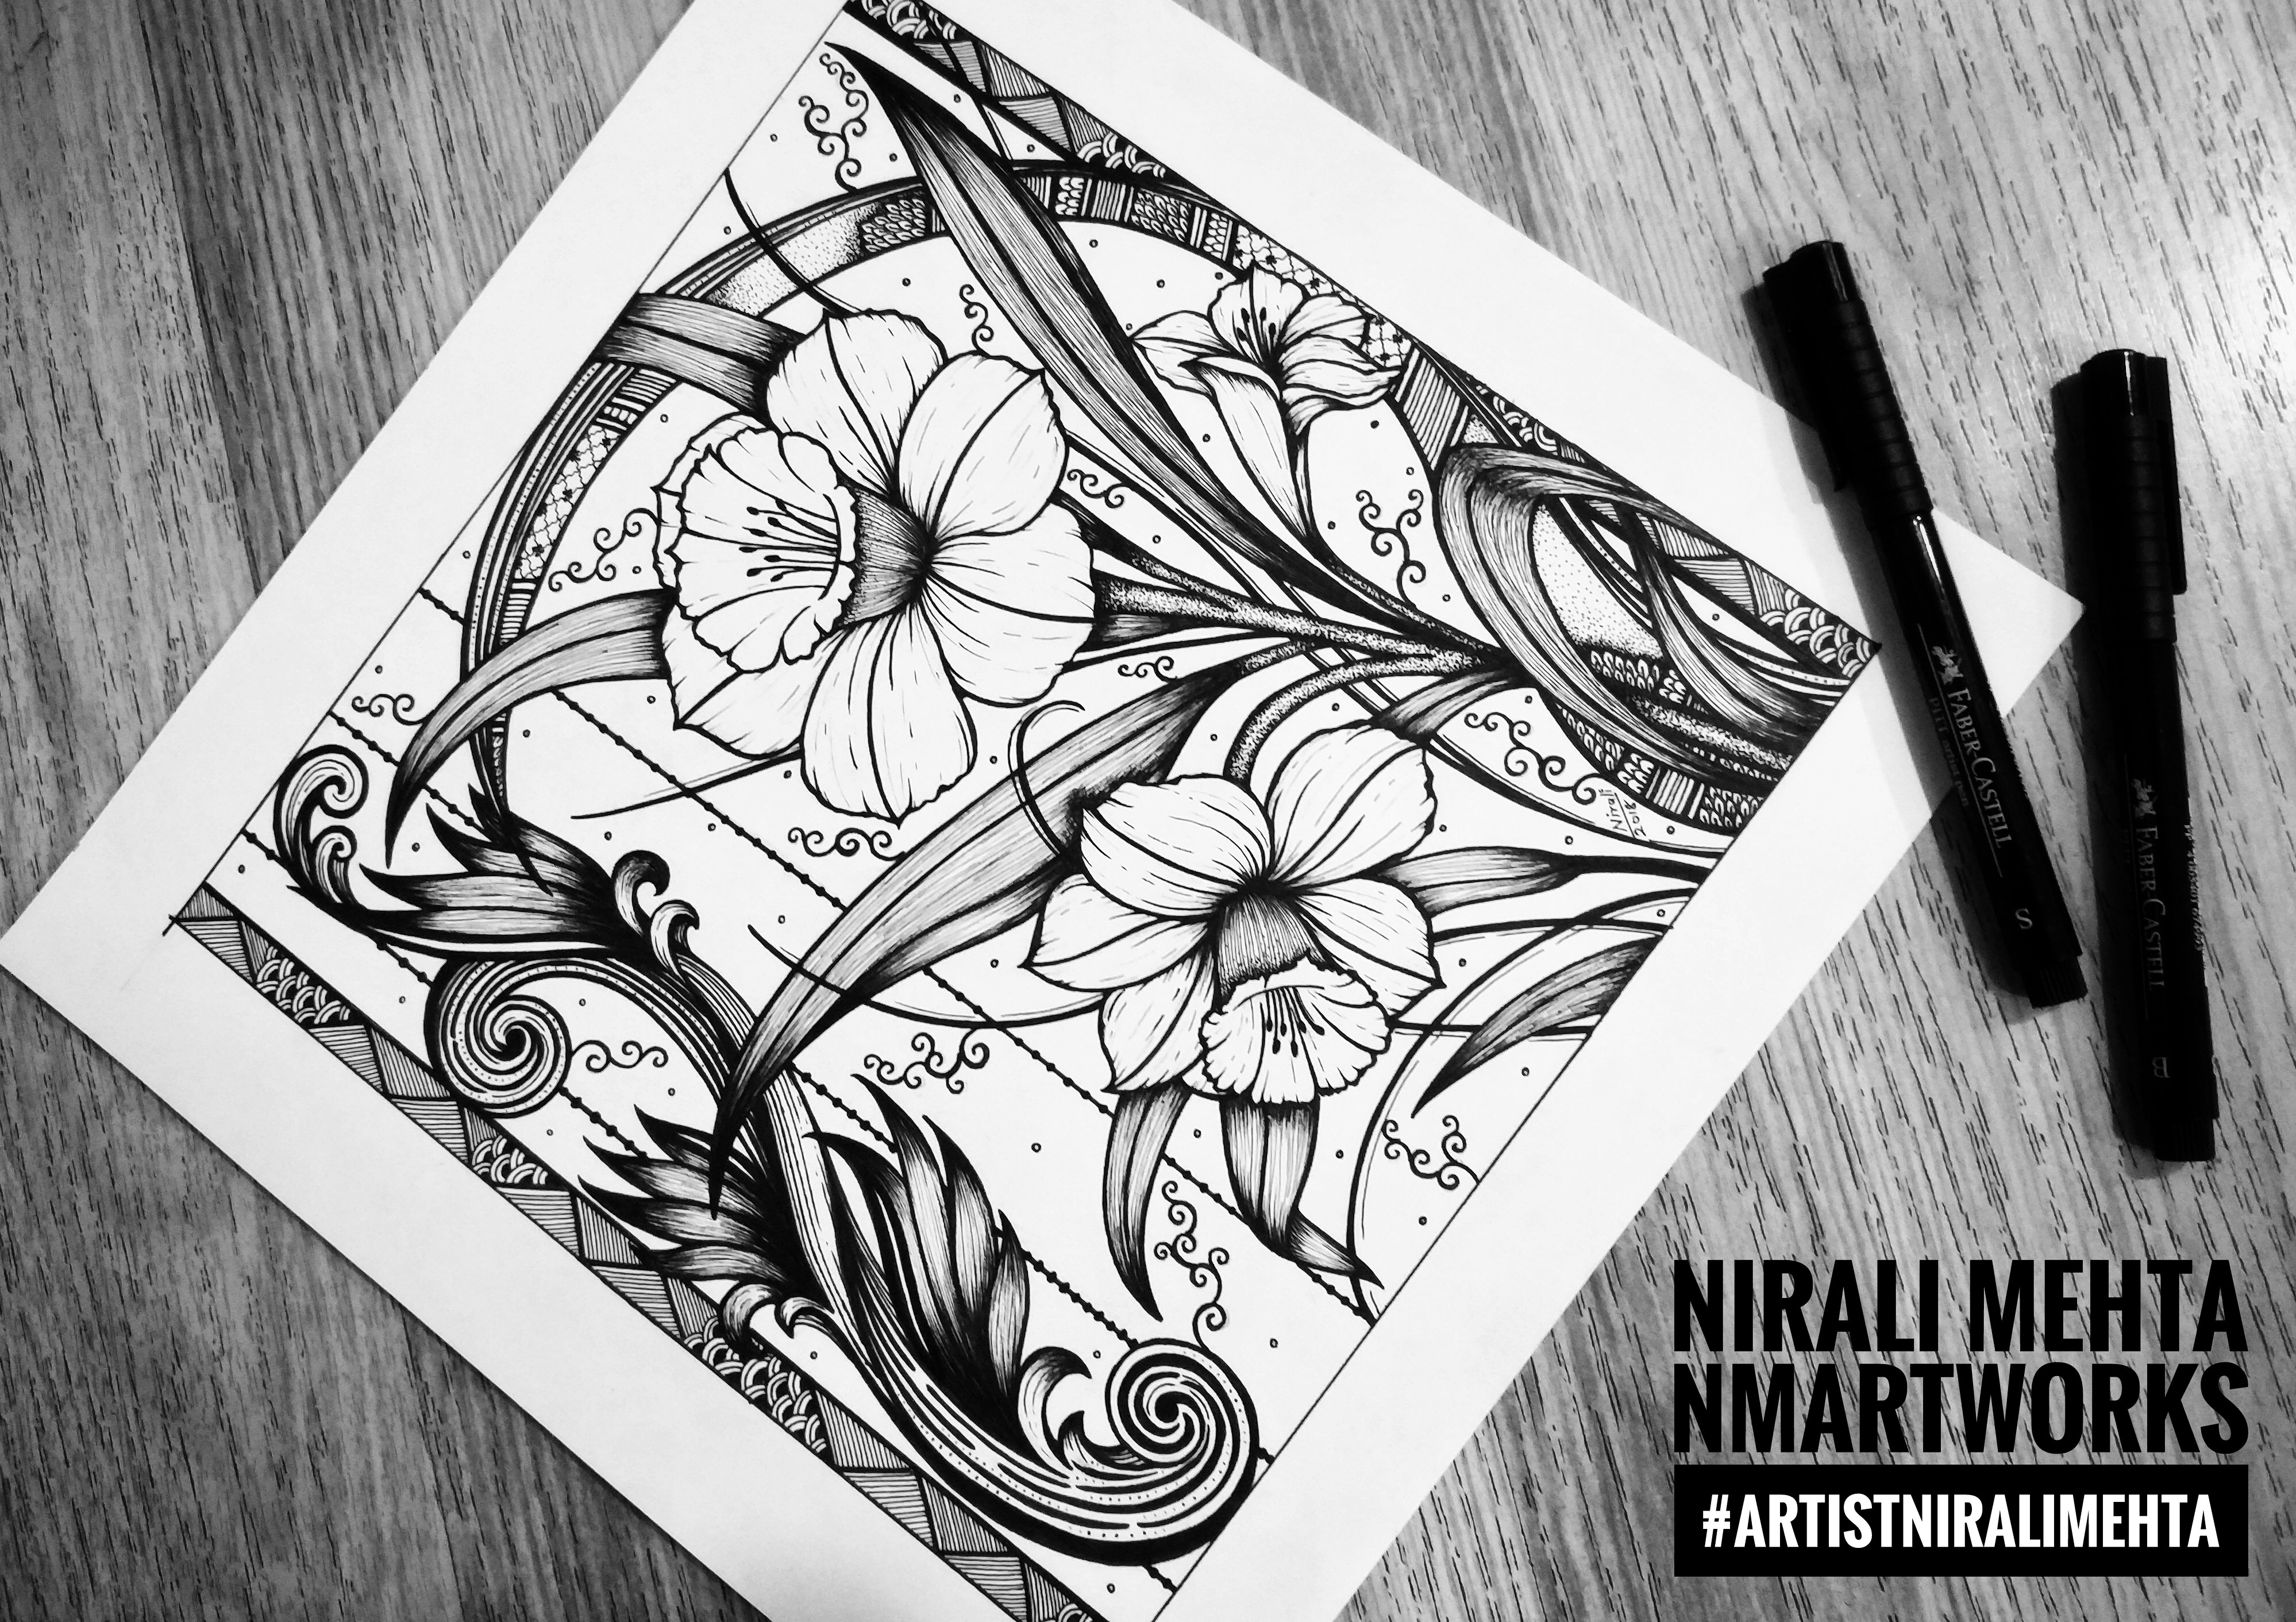
Floral Ink Drawing
Click here to view my virtual Art Gallery and see more of my Artworks. You may also visit my shops (links on the homepage) to buy my Art. My works of Art would make suitable Wall Art for contemporary spaces both Residential and Commercial.
Artist Pens have Inks that are fade-proof, water-proof and permanent and are available in all major colours. ‘Archival Inks’ as they are referred to are also fade-proof, water-proof and permanent Inks.
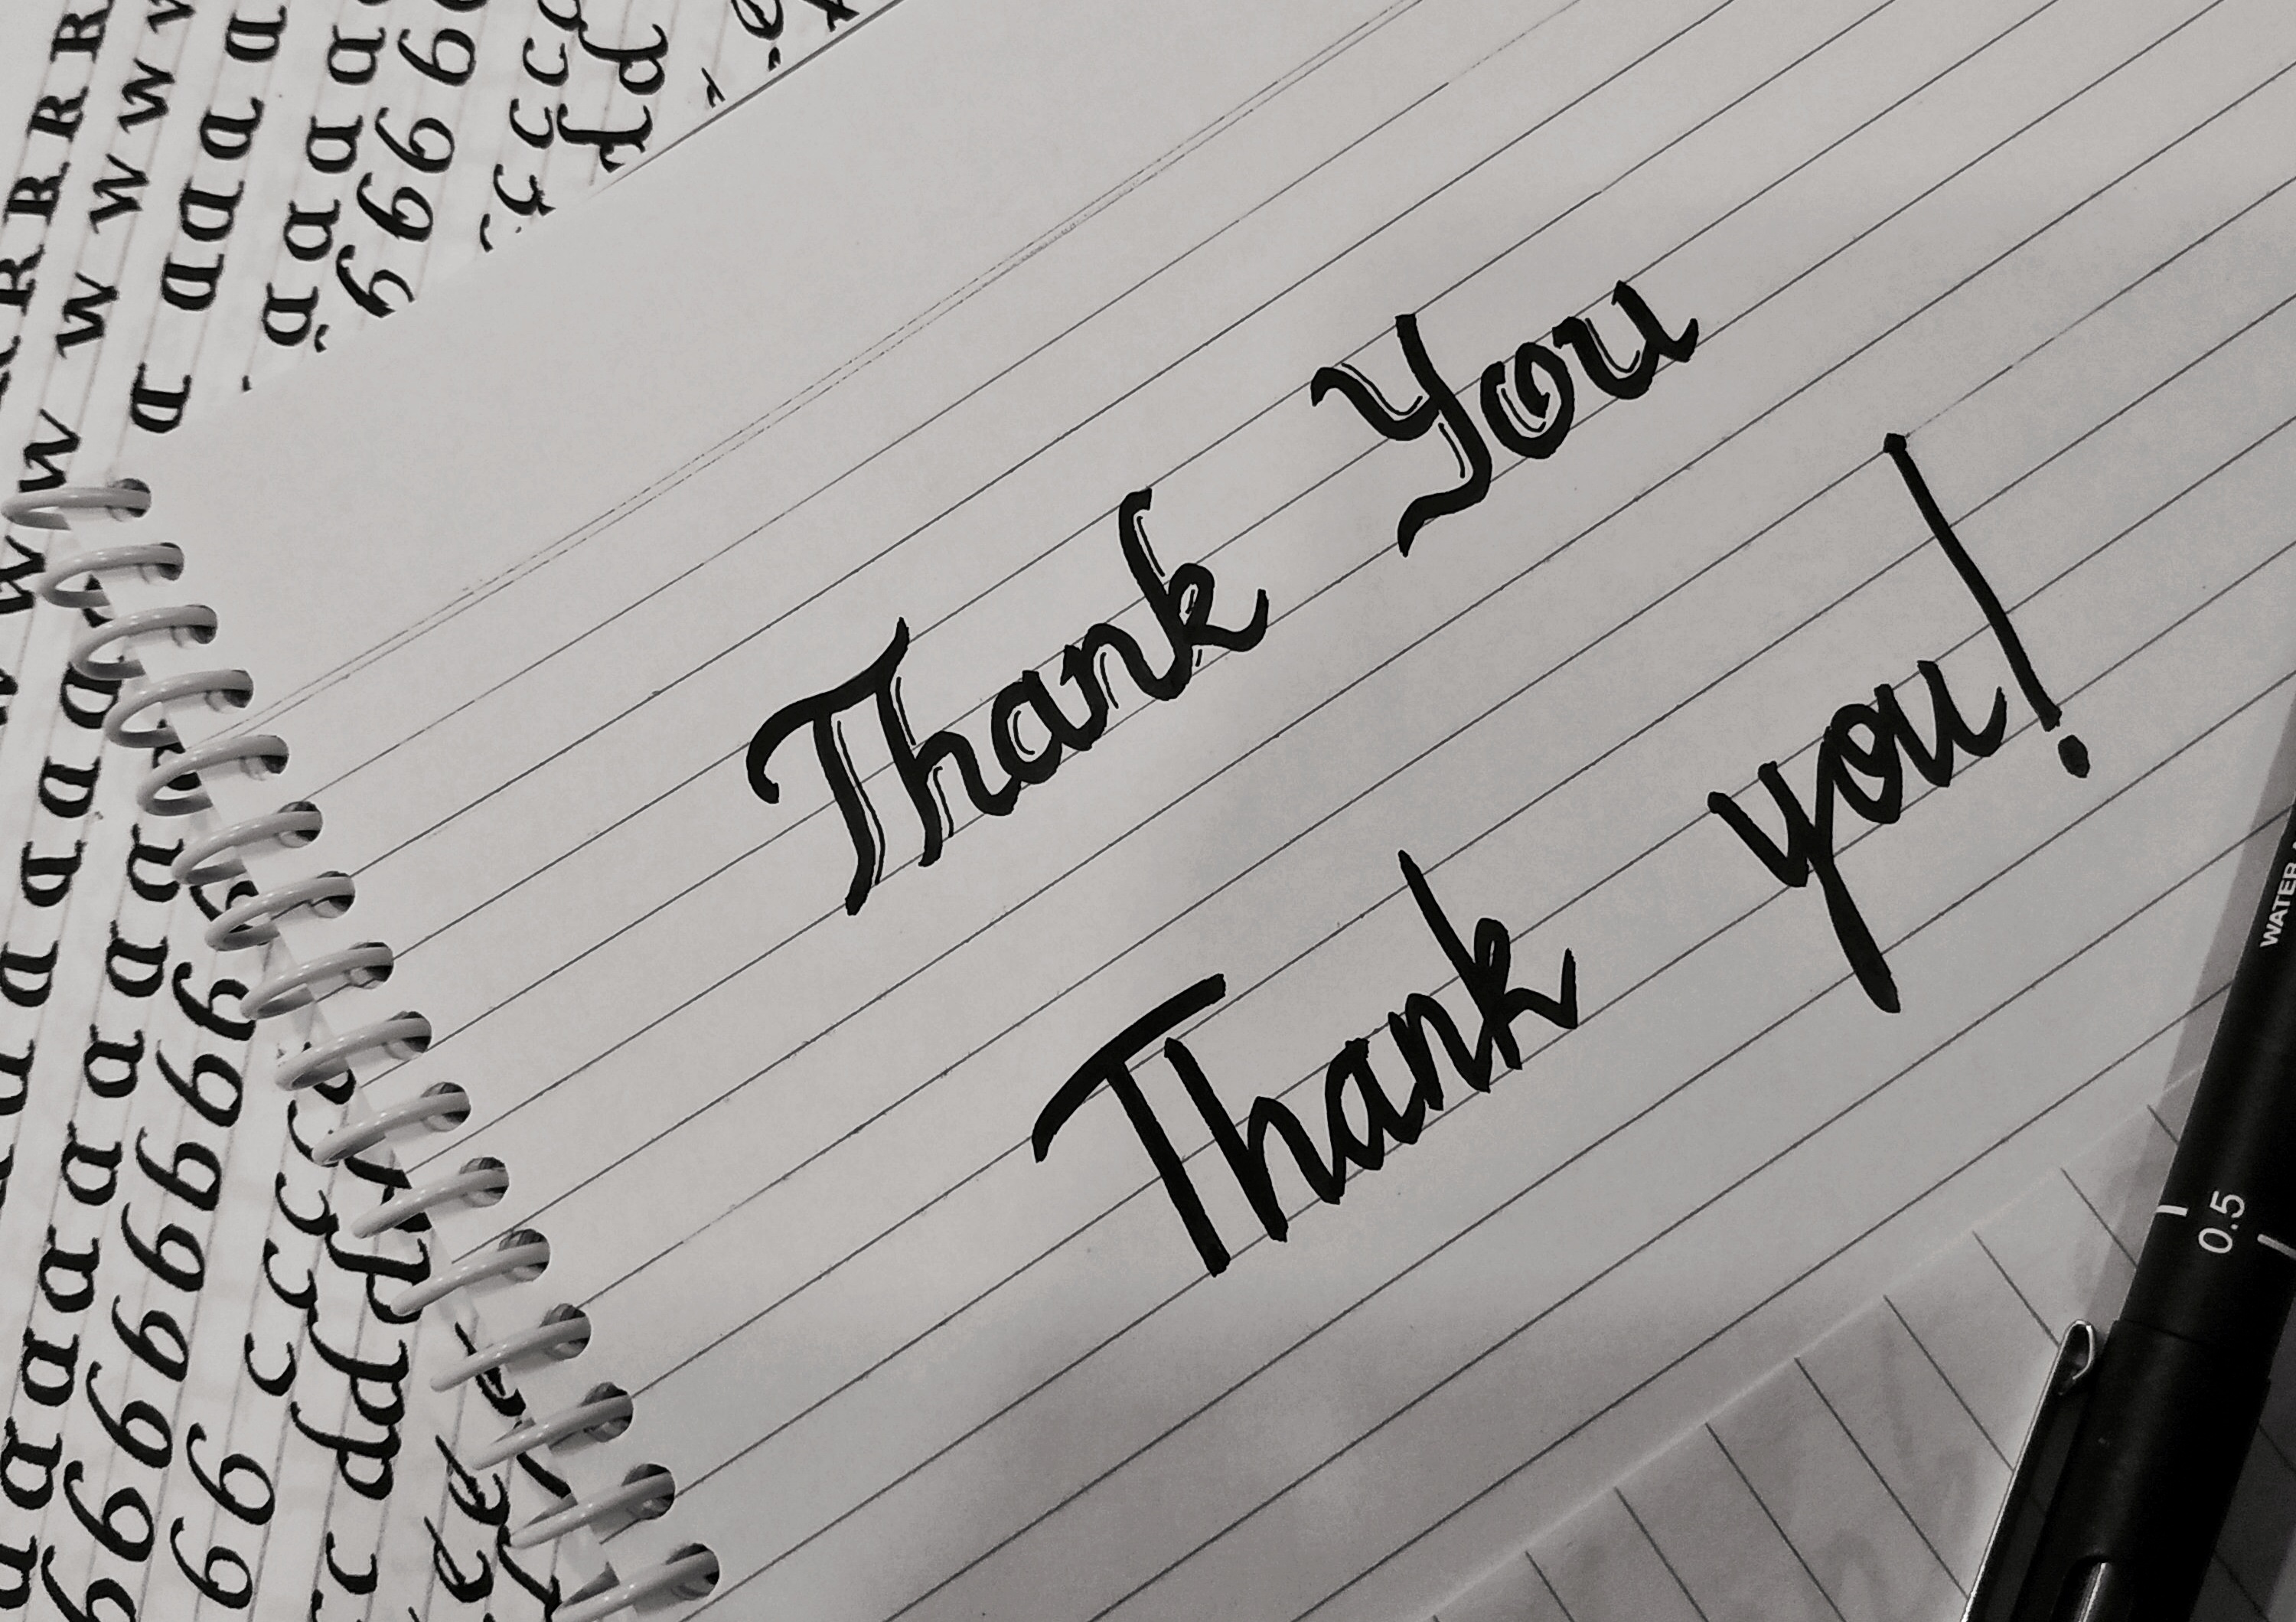
Earlier Ink artworks would be made using brushes or bamboo sticks dipped in Inks, just like Calligraphy. If it interests you, do read my earlier post on the Art of Calligraphy. Painting with those would have surely been more difficult. Pens that are available now make it much much easier to draw and paint. These Pens have become so much a part of our Artworks that we use them even for something like just giving an outline or darkening a pattern.

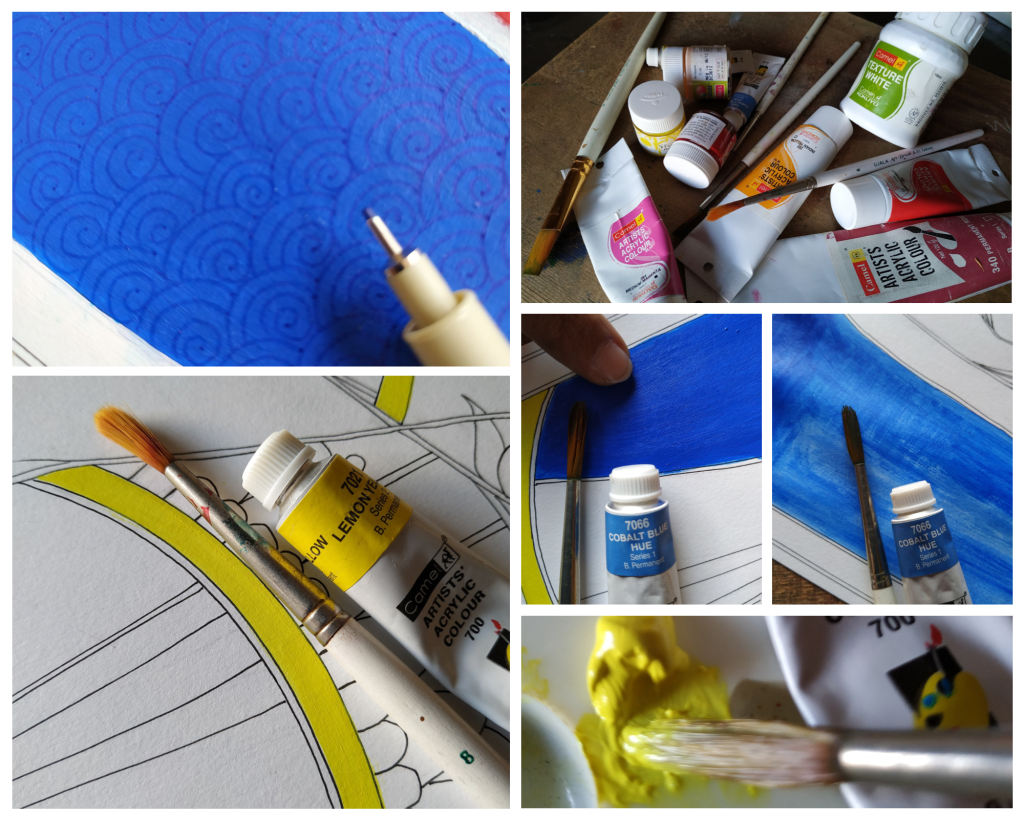
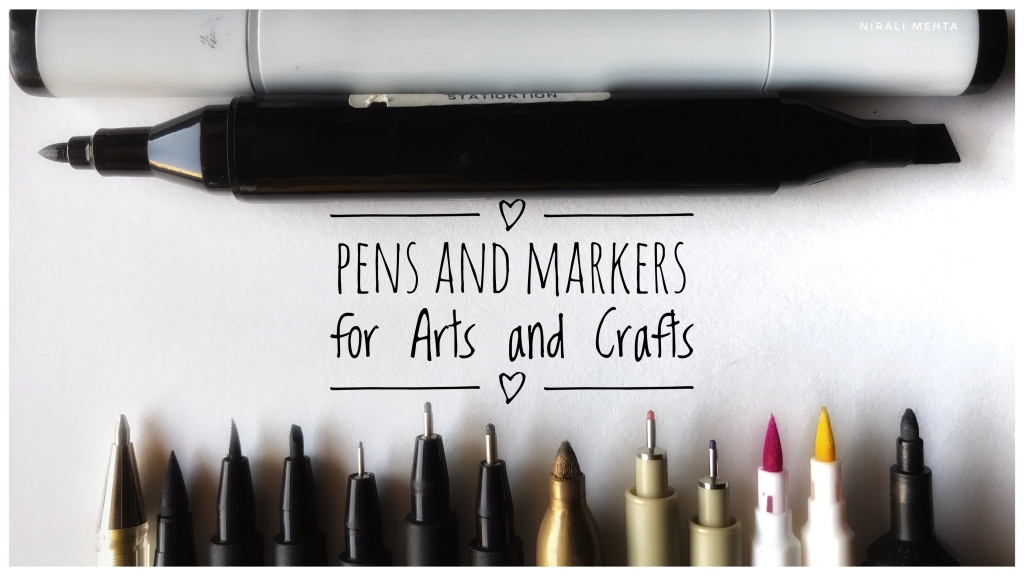
These Pens are available in a set as well as loose Pens. The ink, nibs and grip of Pens of all brands have a minor difference. I have used pens by almost all the major brands and have liked all of them. I use Micron Pens (Archival Inks) most often. I also use Pitt Artist Pens by Faber Castell for brush nibs and accented tips.
My other favourites would include Uni Pens and Winsor Newton Markers for a more Watercolour like finish. These are more like Artist choice Pens. It would be absolutely ok for students to do the same kind of Artwork with the other Pens or Markers that they regularly use. No problem at all. Permanent Ink is also available in bottles. We can still use the traditional method of writing or painting using Ink from bottles with brushes or bamboo sticks.
The Paper you select must be thick to absorb the Ink. Handmade Paper gives the authentic olden days look. If the Paper is thin the Ink bleeds or may move on the back side of the Paper too! The Pens should move smoothly and give a good finish to your bold and confident strokes.

Black and White does not mean just a dark black tone. It is important to shade and show dark light areas even in Ink drawings. For this we can use any one of the following techniques or we can create one of our own. The shading adds depth and makes it look 3D and more realistic. Sometimes people use a black colour pencil and shade the colour, it is an easier way out though. Like me you can also do a combination of two or more of these Ink Art techniques if you want. Here are some of the techniques :-

I am completely in awe of the Japanese Art of Ink Wash Painting. Also known as ‘Sumi-e’ Painting. It is typically monochrome, meaning it uses shades of black on handmade white paper. I was told that the Ink and brush and/or bamboo sticks used for this Painting are same as those that were used for the Art of Calligraphy in China in earlier days. ‘Ink Wash Painting’ as they called it is said to have began during the Tang Dynasty in China.
It was introduced to Japan by the Zen Buddhist Monks. Sumi-e Artists paint Nature, People and Places. Their brushes are special and different from regular brushes and it is all about these clear black strokes. I have been wanting to learn this Art since a long time. Let’s hope I get a chance soon, may be sometime in the future!
If you have any questions on how to use this medium, feel free to ask them in the comments below. Have an Arty Week!