In the Holiday mood, I am also going to take a break next week. Most people have already signed off till New Years. As a shop owners, we are busy making products, posting on social media, settling accounts, packing, shipping and making new and the cycle continues year round. That makes us use our phones for long hours at work. A little digital detox to spend time with yourself, family and nature can rejuvenate us.
And we can come back in the New Year refreshed and charged up for another year ahead. Many people also use this time to upgrade their skills, read up on books they always wanted to. I started my Blog this year in September 2020. I have 17 Posts by now. The response to the Blog has been overwhelming. It’s been a good journey with your love, support and encouragement.
So I thought I would do this year in a review post. Helps me connect with the new followers too! Here is a list of the posts I have done on Arts and Crafts so far. You may click on the title to go to the post. All these are listed on my Blog page – ‘The Art Life’
- My first ArtTwo Easy drawings for kids just learning to Draw. Beginner level.
- Artist on the Go!Suggestions for Art material any Art lover can carry along with them while on the go!
- Understanding ColoursDecoding some jargons and understanding colours with the Colour Wheel
- What should I draw?What should I draw? How to find an interesting topic to draw.
- Let’s make Greeting Cards with easeStep by Step DIY simple easy method to make Greeting Cards using Ink and Watercolours
- Pencil Mania – Part 1 ; Selecting the right pencils for your ArtThis article will help you make an informed purchase decision the next time you go to an Art store to buy pencils for your Art.
- Pencil Mania – Part 2; Charcoals, Pastels and Woodless PencilsHow to select Art Material for Charcoal and Pastels Painting? Explaining the technical names along with their similarities and differences with other Pencils used in Art.
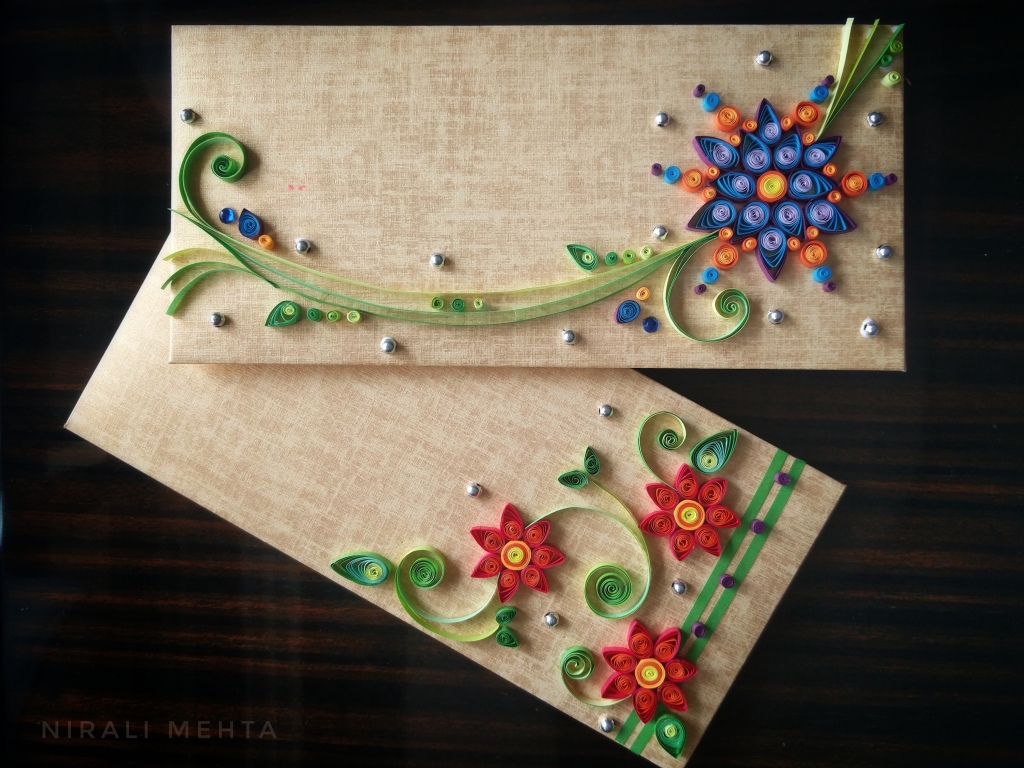
- Paper Flowers ; Decorate Paper Bags, Gift Tags or Greeting Cards for the Festive SeasonA complete step-by-Step guide to making these simple and easy decorative Paper Flowers
- Serious about Art : The way aheadIf you are serious about Art and wish to take it up. Sharing how to take it ahead. Formalised Training and Art Examinations.
- ‘Healing with Art – Art Therapy’ by Guest Blogger – Dr.Wilona Annunciation (MD)Dr. Wilona Annunciation, a practising Psychiatrist is our Guest Blogger this week. She shares her experience and thoughts on Mental Health and healing with Art – Art Therapy.
- Be Creative! Do Not Copy – Copyrights in Artistic WorksSharing what I learnt when I studied the Copyright Law in simple language for everyone to understand. Tried to keep it to our daily language of conversation while introducing the main topics to read up on.
- Rangoli ArtSharing my Rangoli Art and Wishing everyone a very Happy Diwali!
- Calligraphy : A Visual ArtLearning this beautiful unique visual art related to writing. Answering your questions on Calligraphy- What is it? Where to start? What materials to buy? And more
- Book Recommendations – Arts and CraftsFour Books I can recommend for Arts and Crafts Lovers. You may want to buy these and learn a new skill – Sewing, Candle Making, Gift Wrapping and Napkin Folding.
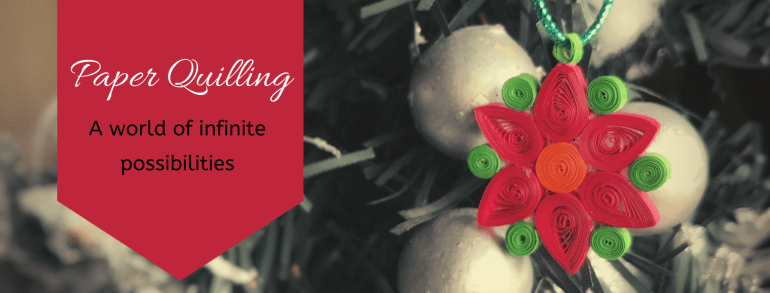
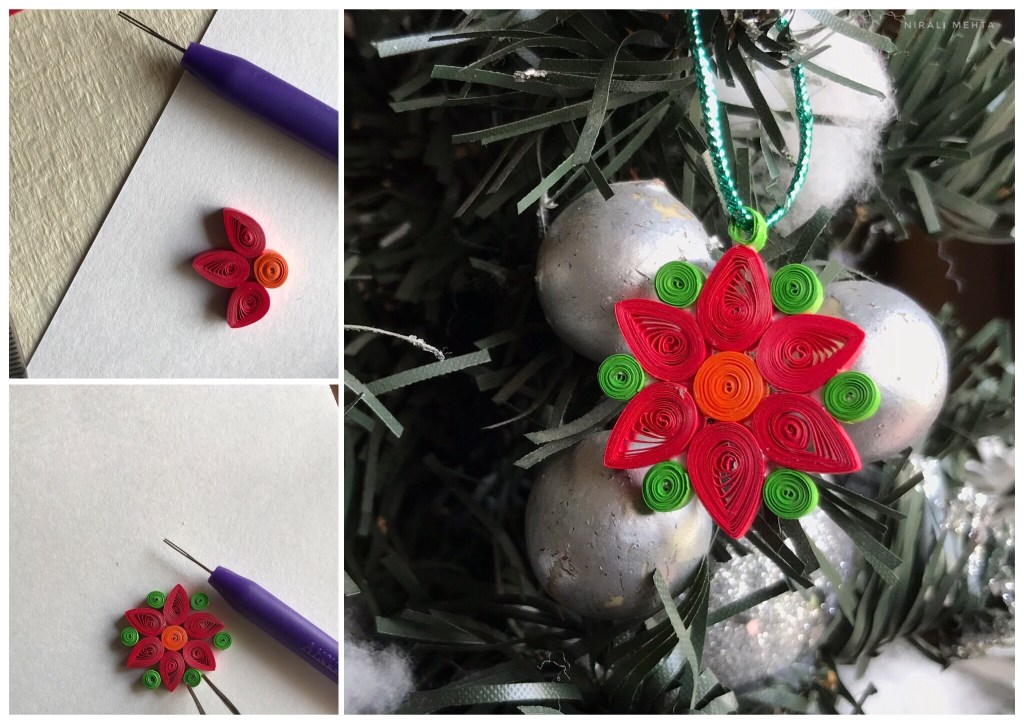
- Paper Quilling – A World Of Infinite PossibilitiesLearn about the Art of Paper Quilling and it’s world of infinite possibilities. A Step-by-Step tutorial to making two basic types of beads with explanations to the other varieties. We make a Christmas Tree Ornament using the crafting methods we learn.
- Selecting Pens and Markers for your ArtAnswering your questions on selecting Pens and Markers for your Arts and Crafts
- Year in a ReviewA list of all the Posts on the Blog so far. Easy links to the posts in case you missed out on any.
- The Art Of Paper Folding – OrigamiMy Story and experience with the Japanese Art of Paper Folding – Origami
So just in case you missed out on reading any of them, you still can. Please note the Blog page shows only the last 10posts and so to see the previous ones you may use the links above or scroll to previous posts.
If you like reading my posts and wish to continue our association, you may click follow or subscribe to the Blog. This will make the posts come to your Email Inbox and you may read them at your convenience.
Wishing everyone a Merry Christmas and a Happy New Year!

This is an Instant Digital Download (JPEG) File that can be purchased at my Etsy Shop NMARTWORKS Picture Format opens with any Photo Editing Software. Once you pay, you can instantly download and use.