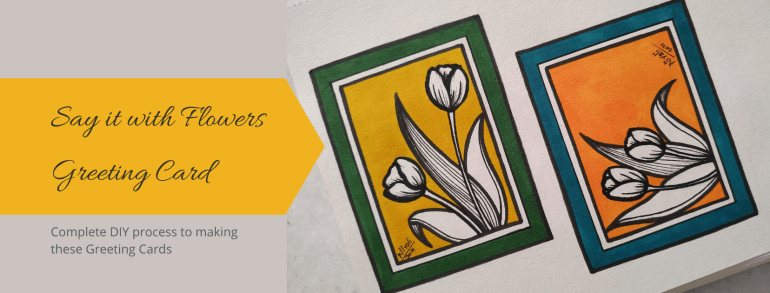
If there is something you want to say, say it! And as they say, say it with Flowers. A floral design card works for so many expressions. Please! Sorry! Thank You! and More! In this post, I am sharing an easy to do design you can try at home.
This simple, elegant and classy design will suit any occasion. We can make a gift tag, a greeting card, a postcard or have it as a letterhead on the letter to your pen pal.
You require some colours, pens, paper, basic drawing skills and your enthusiasm for making a handmade card. The same design can be made for a horizontal (landscape orientation) card as well as a vertical (portrait orientation) card.
Step-by-Step process to making this Floral Design Card
Step 1
Step 1 – DRAW : Draw double borders to the page as shown above. We want one thick outer border and a thin inner border.
Step 2A
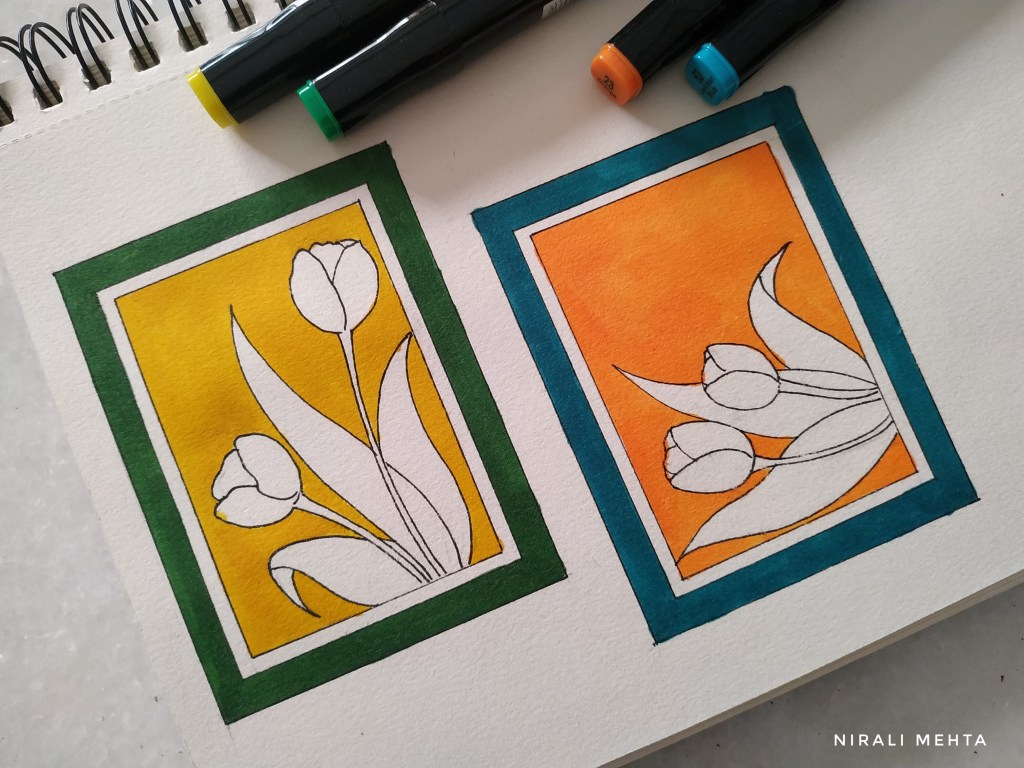
Step 2 – DRAW and OUTLINE : Draw the flowers and leaves. Tulips are the easiest to draw. They have long leaves and very few petals. A floral bunch looks better when it totals to an odd number. I have drawn two flowers and three leaves. We need not fill the entire space. Cover the area enough so that it looks well spaced out. Outline the final drawing with a waterproof black pen. If you don’t have a waterproof pen. You need not outline it at this stage.
Step 2B
Step 3 – COLOUR FILL : Fill the background with colours. Select any two colours – one for the thick border and one for background. Leave the flowers and thin border in natural white of the paper. For this card I have used markers. Even paint will look good.
Step 3
Step 4 – FINAL OUTLINES : Outline the flowers, leaves and borders with a thick marker. Leave the thin border. Add little lines or fill patterns to the flowers and leaves in black. Give the thin border a thin outline. This thick and thin outlines makes it look better.
Landscape or Horizontal Orientation Portrait or Vertical Orientation
Colour combinations like Pink – Blue, Yellow – Blue, Red – Green also look good. Bright colours or Pastel shades both look great. A design like this is a ‘you possibly cannot go wrong kind of a design’. Here are both cards together :-
Tulip Design Greeting Cards
That was easy right? So try it out yourself and let me know if you have any questions. Have an Arty Weekend!
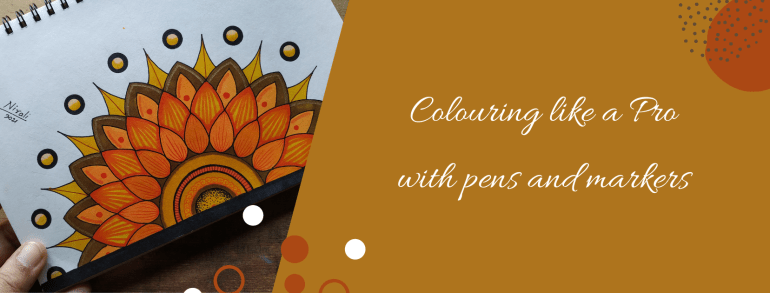
Two Artworks with the same sketch can look different only because of the colours, isn’t it? I have known people who cannot draw or paint that well but can colour amazingly well. In fact, their colouring is so good that they can turn it into a profession. Then how come nobody teaches us how to colour or why don’t we give much importance to it? “What is there to learn in that?” they say. I would say colouring is also an Art.
Everything from selecting the colours to the finished look has little things to understand. Once we know these, anyone can colour like a pro! Nowadays colouring is a popular hobby among both children and adults likewise. Art material brands offer free colouring pages. We can also download colouring apps or we can buy colouring pages online.
The drawing in colouring books have larger blocks to colour for younger kids and then as we progress to higher age groups, they have more intricate designs with small blocks to colour. Printed colouring books for children and adults are available at all book shops. It is a great activity for creative minds to do while waiting or travelling.
I have already done an elaborate post on selecting pens and markers before. In this post, I will share tips and tricks on colouring with them. Even today I try and learn new ways or designs to make my work better and faster.
I have worked with pens and markers by almost all popular brands. Professionals prefer using alcohol-based markers for their art and illustrations because of the finish. This includes 1) artists making greeting cards and stamping 2) illustrators making fashion illustrations 3) architects and interior designers making drawings 4) cartoonists, caricature artists, character designers and manga artists.
Watercolour artists use watercolour pens and markers for creating those effects in colouring. I like using oil-based markers for metallic colours. I also use permanent waterproof ink or archival ink pens for outlining, drawing patterns and for all my ink illustrations.
Beginners could buy a set of watercolour markers and waterproof ink pens to begin with. Then as the interest develops, it is a good idea to invest in alcohol-based markers and metallic markers. We also get acrylic markers or paint markers to draw on objects.
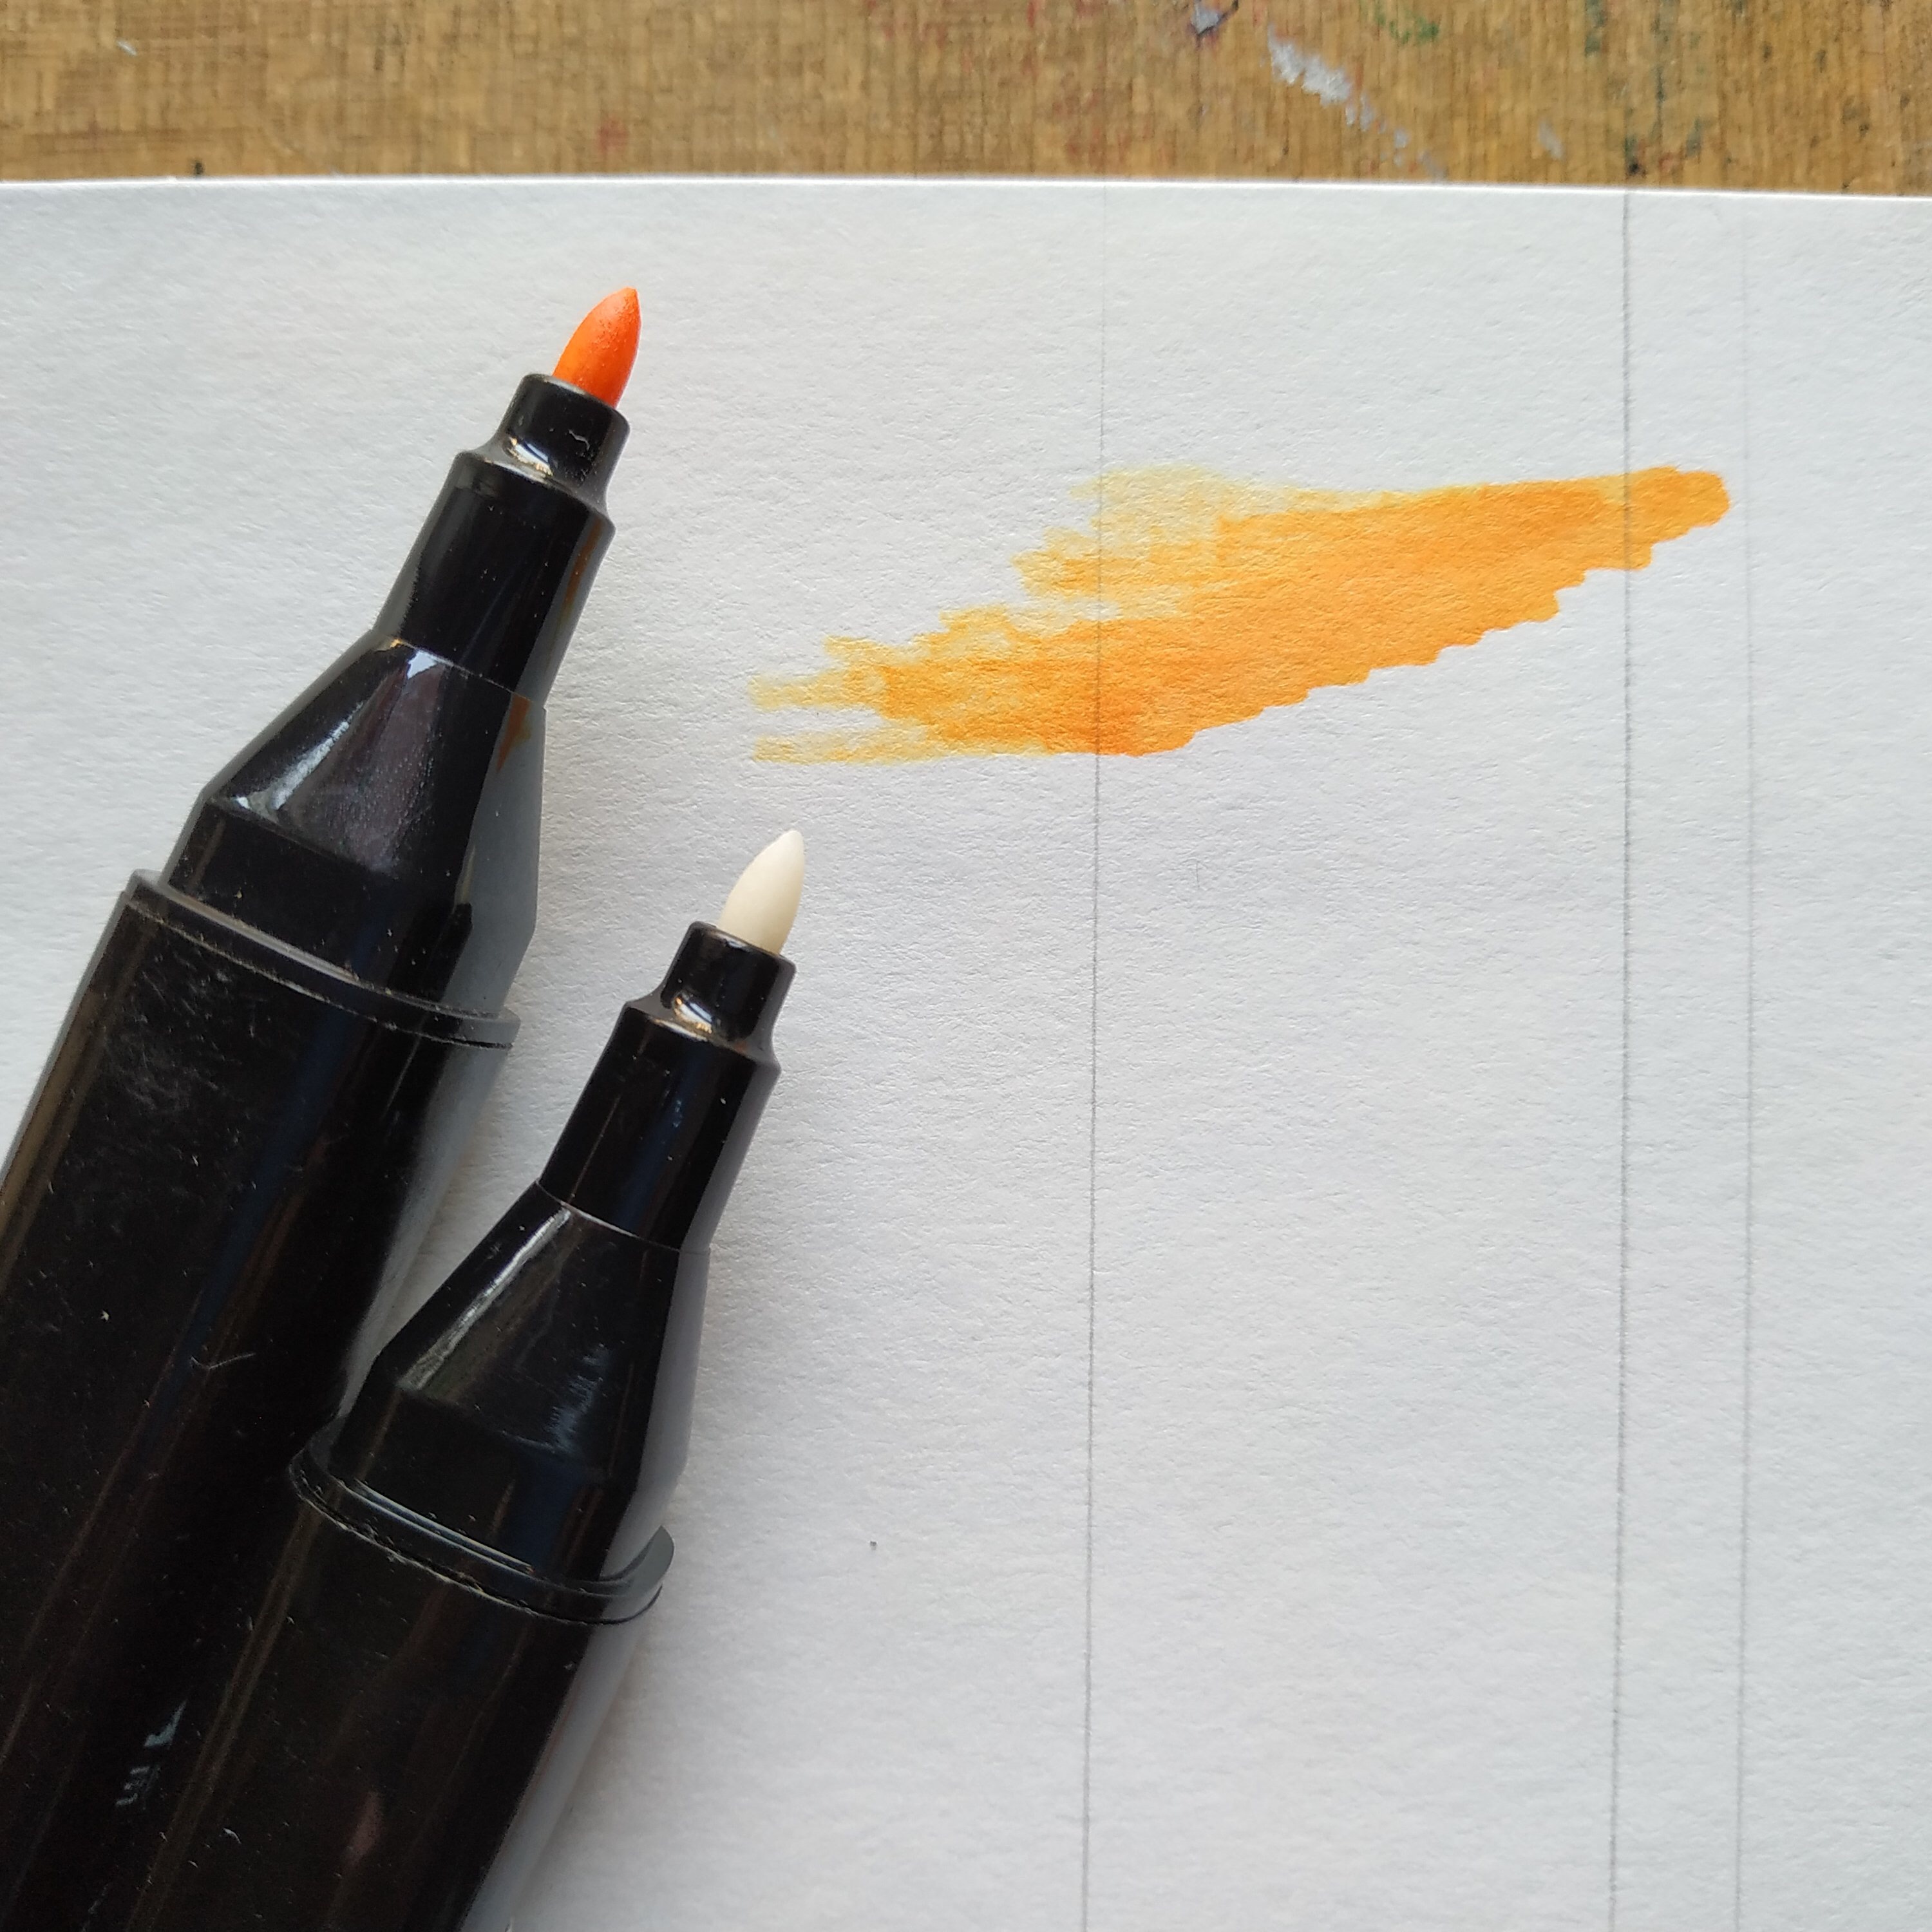
Explaining how to hold different Markers and Pens
It is always a good idea to test the markers before buying. See the finish after drying and check if they come on to the other side of the page. If they do then we need to use a different paper for it. I have faced this problem with colouring books that don’t use good quality thick paper. Markers work differently on papers of different textures and thickness.
Look the alcohol marker ink came onto the other side.
Whenever we use alcohol-based markers we need to place a paper or protector below our paper to avoid colouring unwanted things. I mean the drawing board or the table or surface. Watercolour markers can be washed off from surfaces but not the others. Hence washable markers are best for kids.
Here are some methods or techniques for colouring. You could have a different style as long as it suits the kind of finish you wish to achieve.
Outline in permanent ink
Colour in the direction of object
Starting to colour
Solid Colour – Colour in a single direction and use the pointed tip to fill the corners that may have been left out. Do not keep colouring the same place over and over. There will be colour blocking when the ink is wet. However once it dries, the colour automatically evens out in the case of most markers. When colouring larger blocks use the accented tip or the brush tip. If we use the round tip it will create a self texture in the fill; meaning we won’t get an even colour in the fill. Once again please note the direction is important or colour in tiny circles.
Highlights – Leave out the portion of the highlights. Do not colour it. The part where the light falls maximum is called highlight. It is a good idea to leave out a larger portion if you are not sure. The area can be coloured later. The white ink doesn’t work well to give highlights because the colour somehow shows through it. It isn’t even.
Blending Two Colours – Can we do shading with markers? Yes of course. Doesn’t matter which marker it is, watercolour and alcohol-based markers both can be used for shading. I recommend applying the light colour first and then the dark colour, so that just in case some of the colour comes on to the tip of the marker then a light colour marker may get spoilt. Many artists colour dark to light also but that is mostly with alcohol-based markers.
Single Colour Shading – The pressure applied is important here. We get colourless blenders for blending the colour. It is also a marker but the ink is colourless. Apply pressure and then lift the pen to create strokes for shading in single colour.
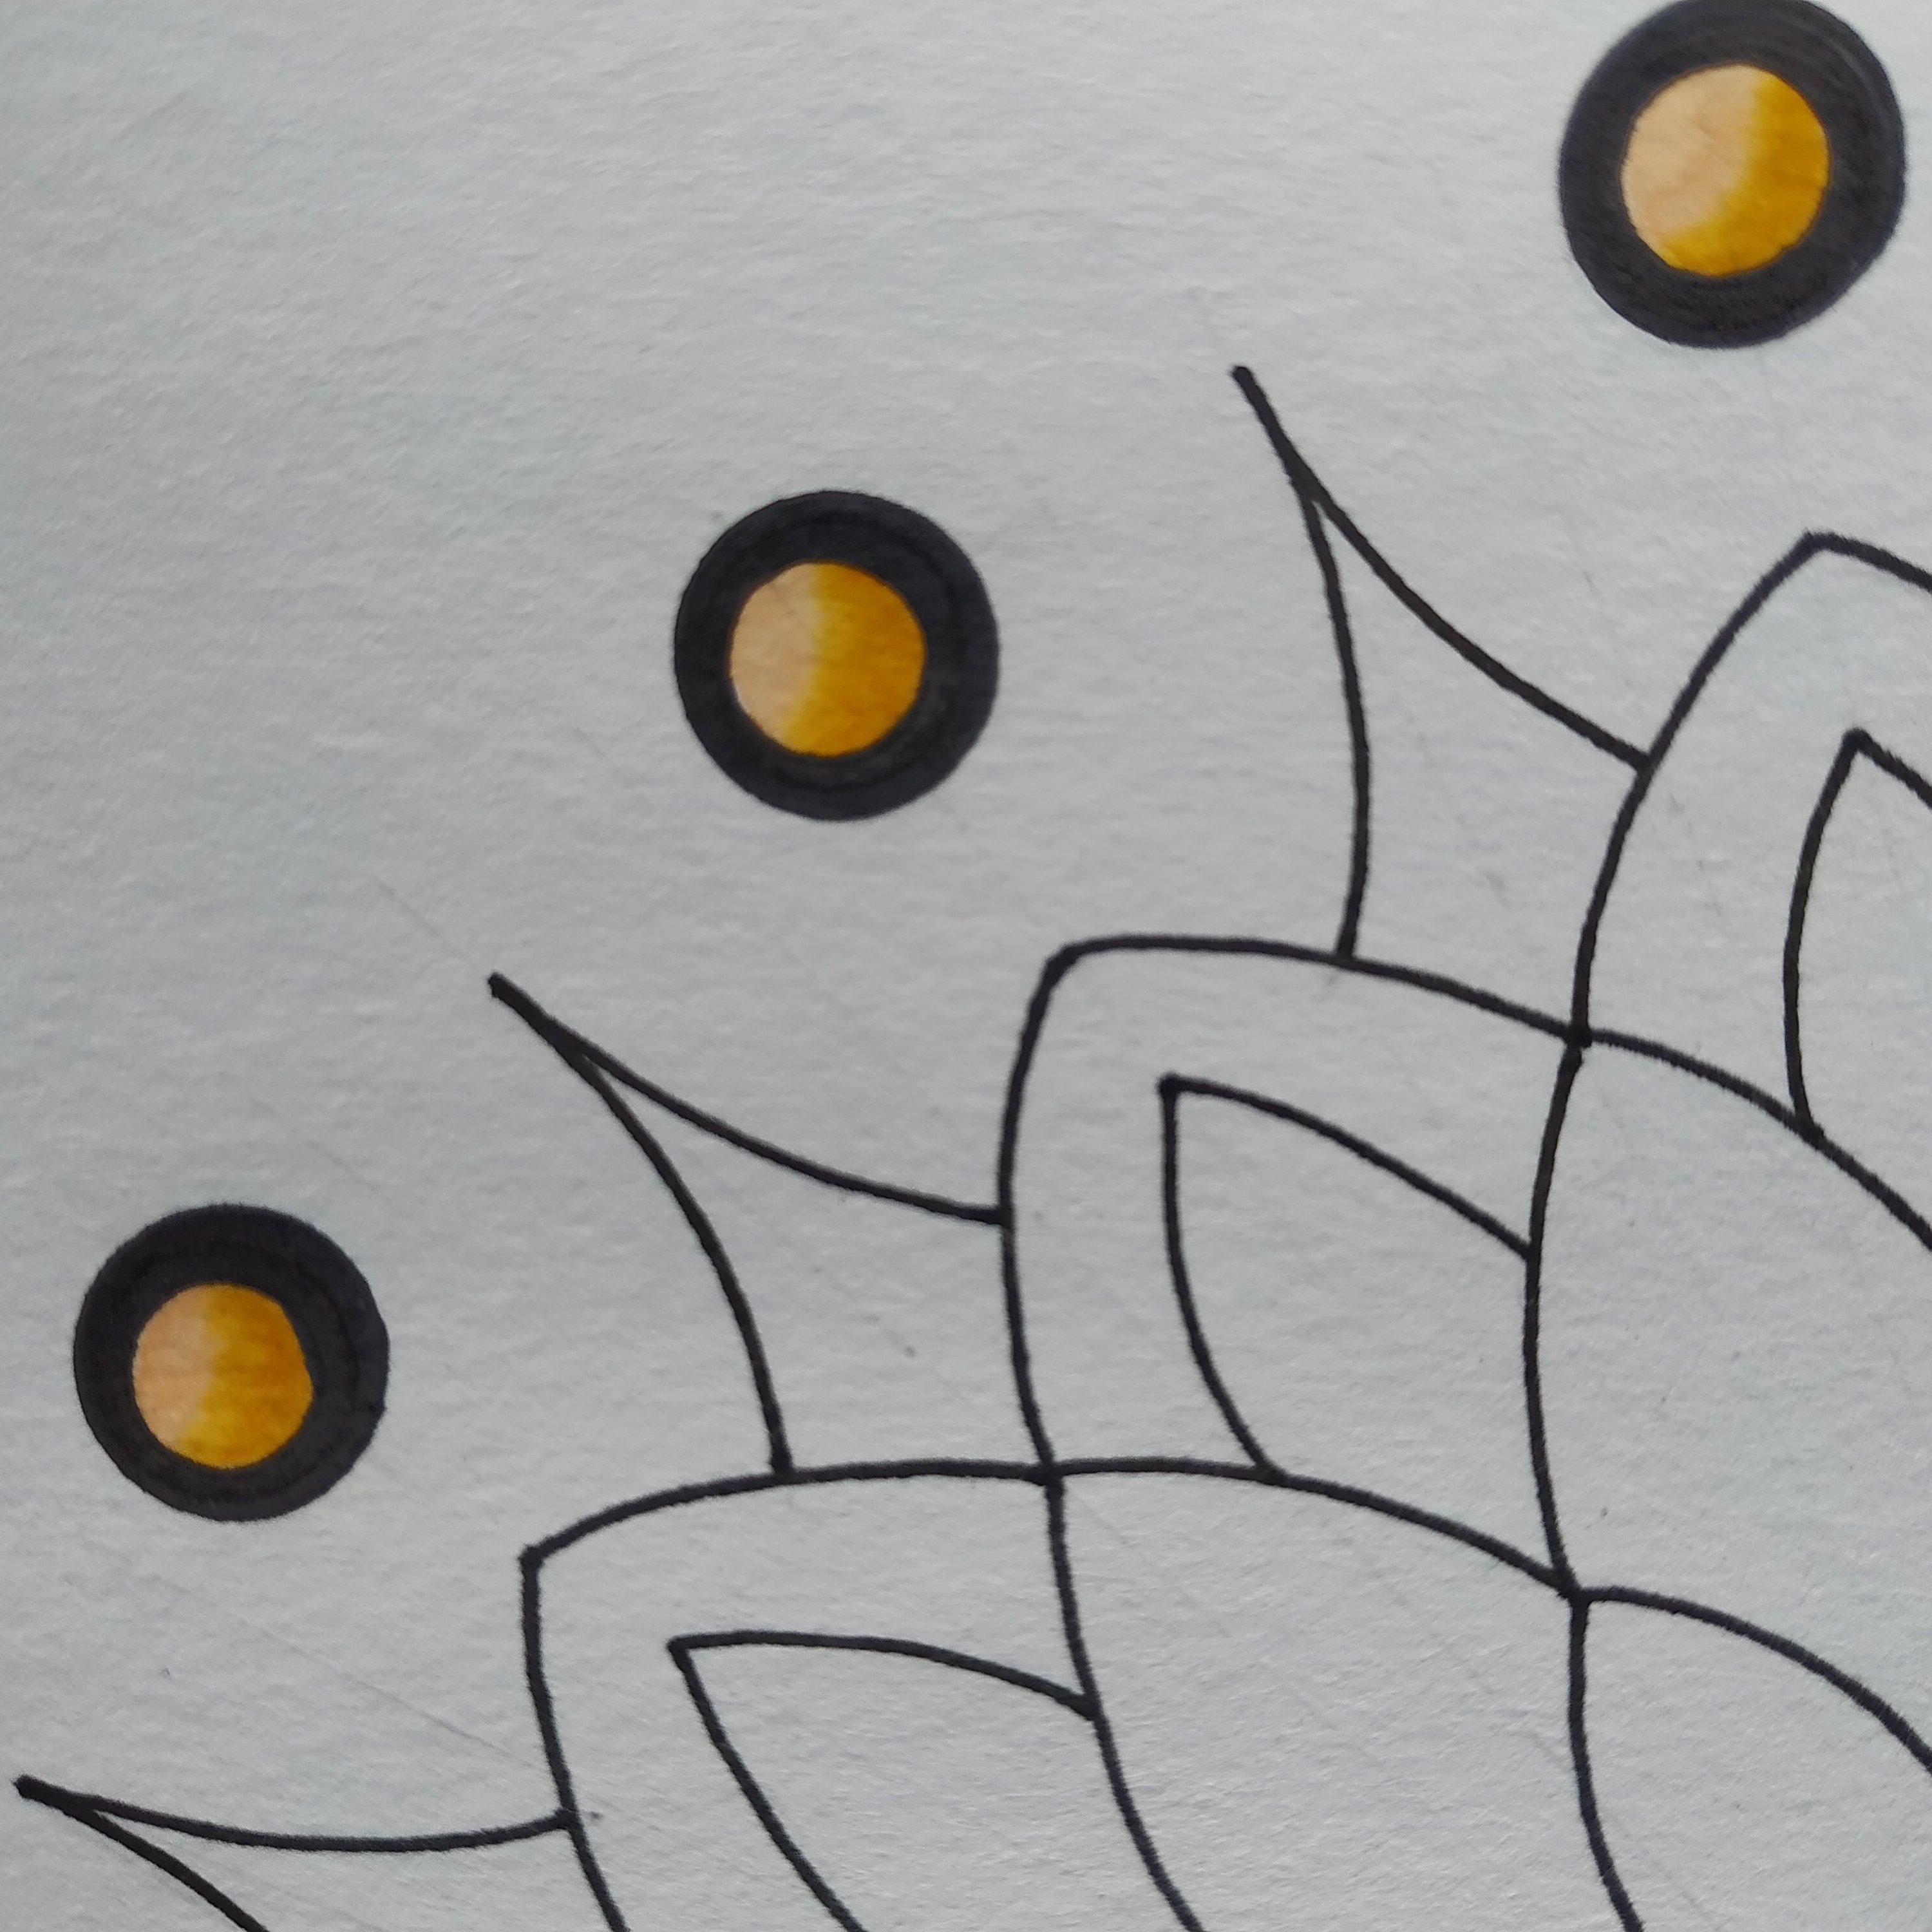
Darkening a Colour – If you apply another coat of the colour when the colour is wet, it will blend. So to create a dark line or make the same shade darker apply another coat after a few minutes. It will blend with the previous colour but will be darker. This works only for alcohol-based markers. For watercolour markers once dry the colour doesn’t blend. The green dot above has the dark colour done like that.
Creating Textures and Patterns – When we apply a stroke of two different colours next to each other, they blend. We can use these alternately and create fill textures. When we want the lines to stand out or want to create patterns without the colour blending. We can use a permanent ink marker before or after using the watercolour or alcohol-based marker. I use permanent ink pens for outlines during finish as well as my base sketch.
Colour Palettes – It is always better to think about the colour combinations beforehand. We get a lot of shades in the markers. Colour mixing isn’t possible. The paper can tear with excessive scribbling. This art has the yellow, orange, brown colour combination. Buying large boxes of markers is expensive, especially the professional or artist pens.
Selecting the right colour combination can make a huge difference to your artwork. If possible do a little research on the most popular colour palettes or international colour palettes frequently used before buying the markers. I recently bought a box of markers with the basic colours and then bought individual pens for the extra shades that I needed. It worked out to be cheaper than buying the larger box with colour shades that I didn’t need or wouldn’t use.
The colour combination in the artwork by artists of a particular region is influenced by the colours of their local surroundings. Further every colour conveys a meaning and emotion. For example, the colour red is considered auspicious in some cultures and it conveys love or anger as an emotion. I have done a post on understanding colours before this. You may want to take a look at it.
A close up of the artwork I recently did with watercolour brush pens
I normally draw my own sketches but you could print the colouring pages at home or with a printing service. Most of the large stores have a printing service. Do share your colouring experience with us. Have an Arty Week!
Clear lines, strokes and dots of Black Ink that make beautiful works of Art – Ink Work or Pen and Ink Drawings have been my forte. Original hand drawn Ink Art and Illustrations as well as Art Prints of my Pen and Ink Drawings are available at my Shops. I like to draw and paint Birds and Flowers the most. Sometimes I use Ink Pens along with Watercolour and Gouache colours for my Artworks. In this post I am going to share all about my favourite medium – Ink. Because it is Black Ink on White Paper usually, the Art works are also called Black and White Illustrations.
We have explored Zentangle Art, Doodle Art and Mandala Art in my previous posts. These Arts are mostly done in Ink. I have also shared about selecting Pens and Markers for your Art in another post. It is the main material for Ink Art. Ink and Paper are the only two materials required for Ink Art. For some techniques we may draw the initial sketch in pencil. Please refer to these posts for detailed information on these topics. It would be additional helpful information on Pen and Ink Drawings.
This time let’s take it a level higher. Explaining in simple words we can say – creating Drawings, Illustrations and Sketches using Ink Pens and/or Ink with bamboo sticks or brushes is called Pen and Ink Drawings. Very good quality Ink Pens with a variety of nibs are easily available. We don’t have to use brushes or Inks from bottles anymore. This has led to a lot of people taking up many of these Art styles.
Tattoo Designs, Ink Illustrations, Stippling Art, Mandala Art, Doodle Art and Zentangle Art are all very popular on Social Media. We have many artists sharing these works made with Ink. Botanical Illustrations in Ink are loved by many.
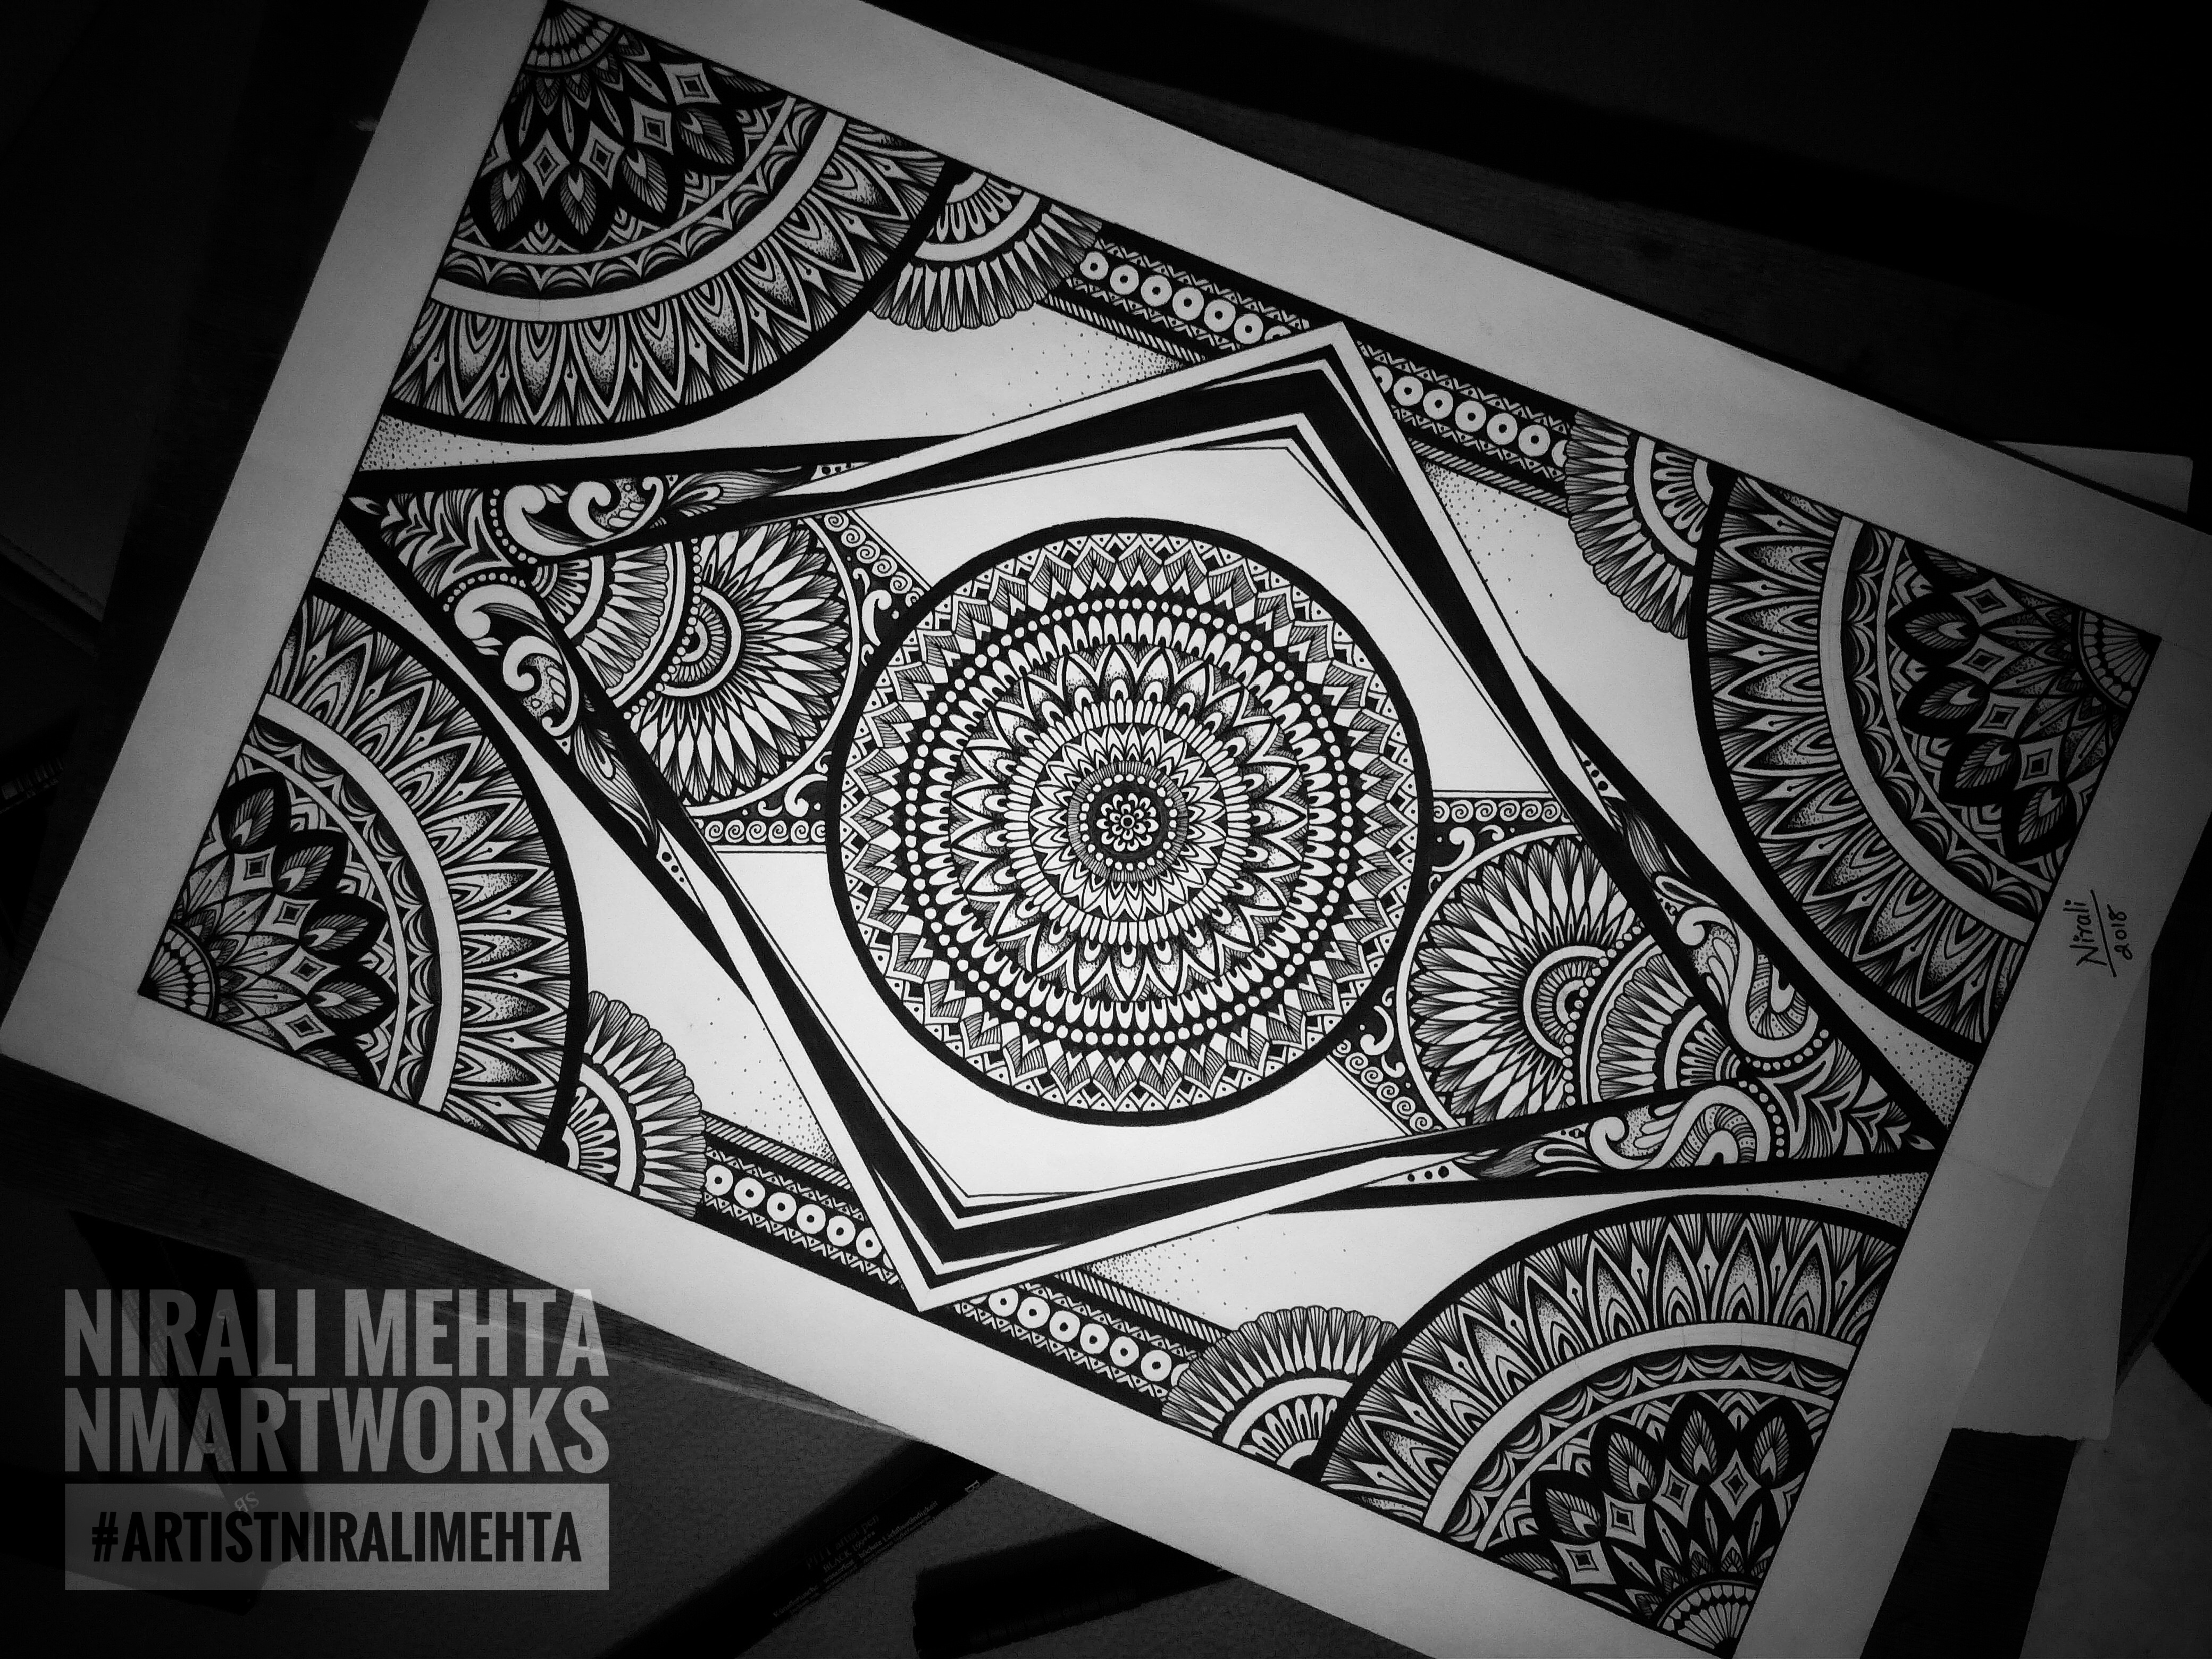
Mandala Art
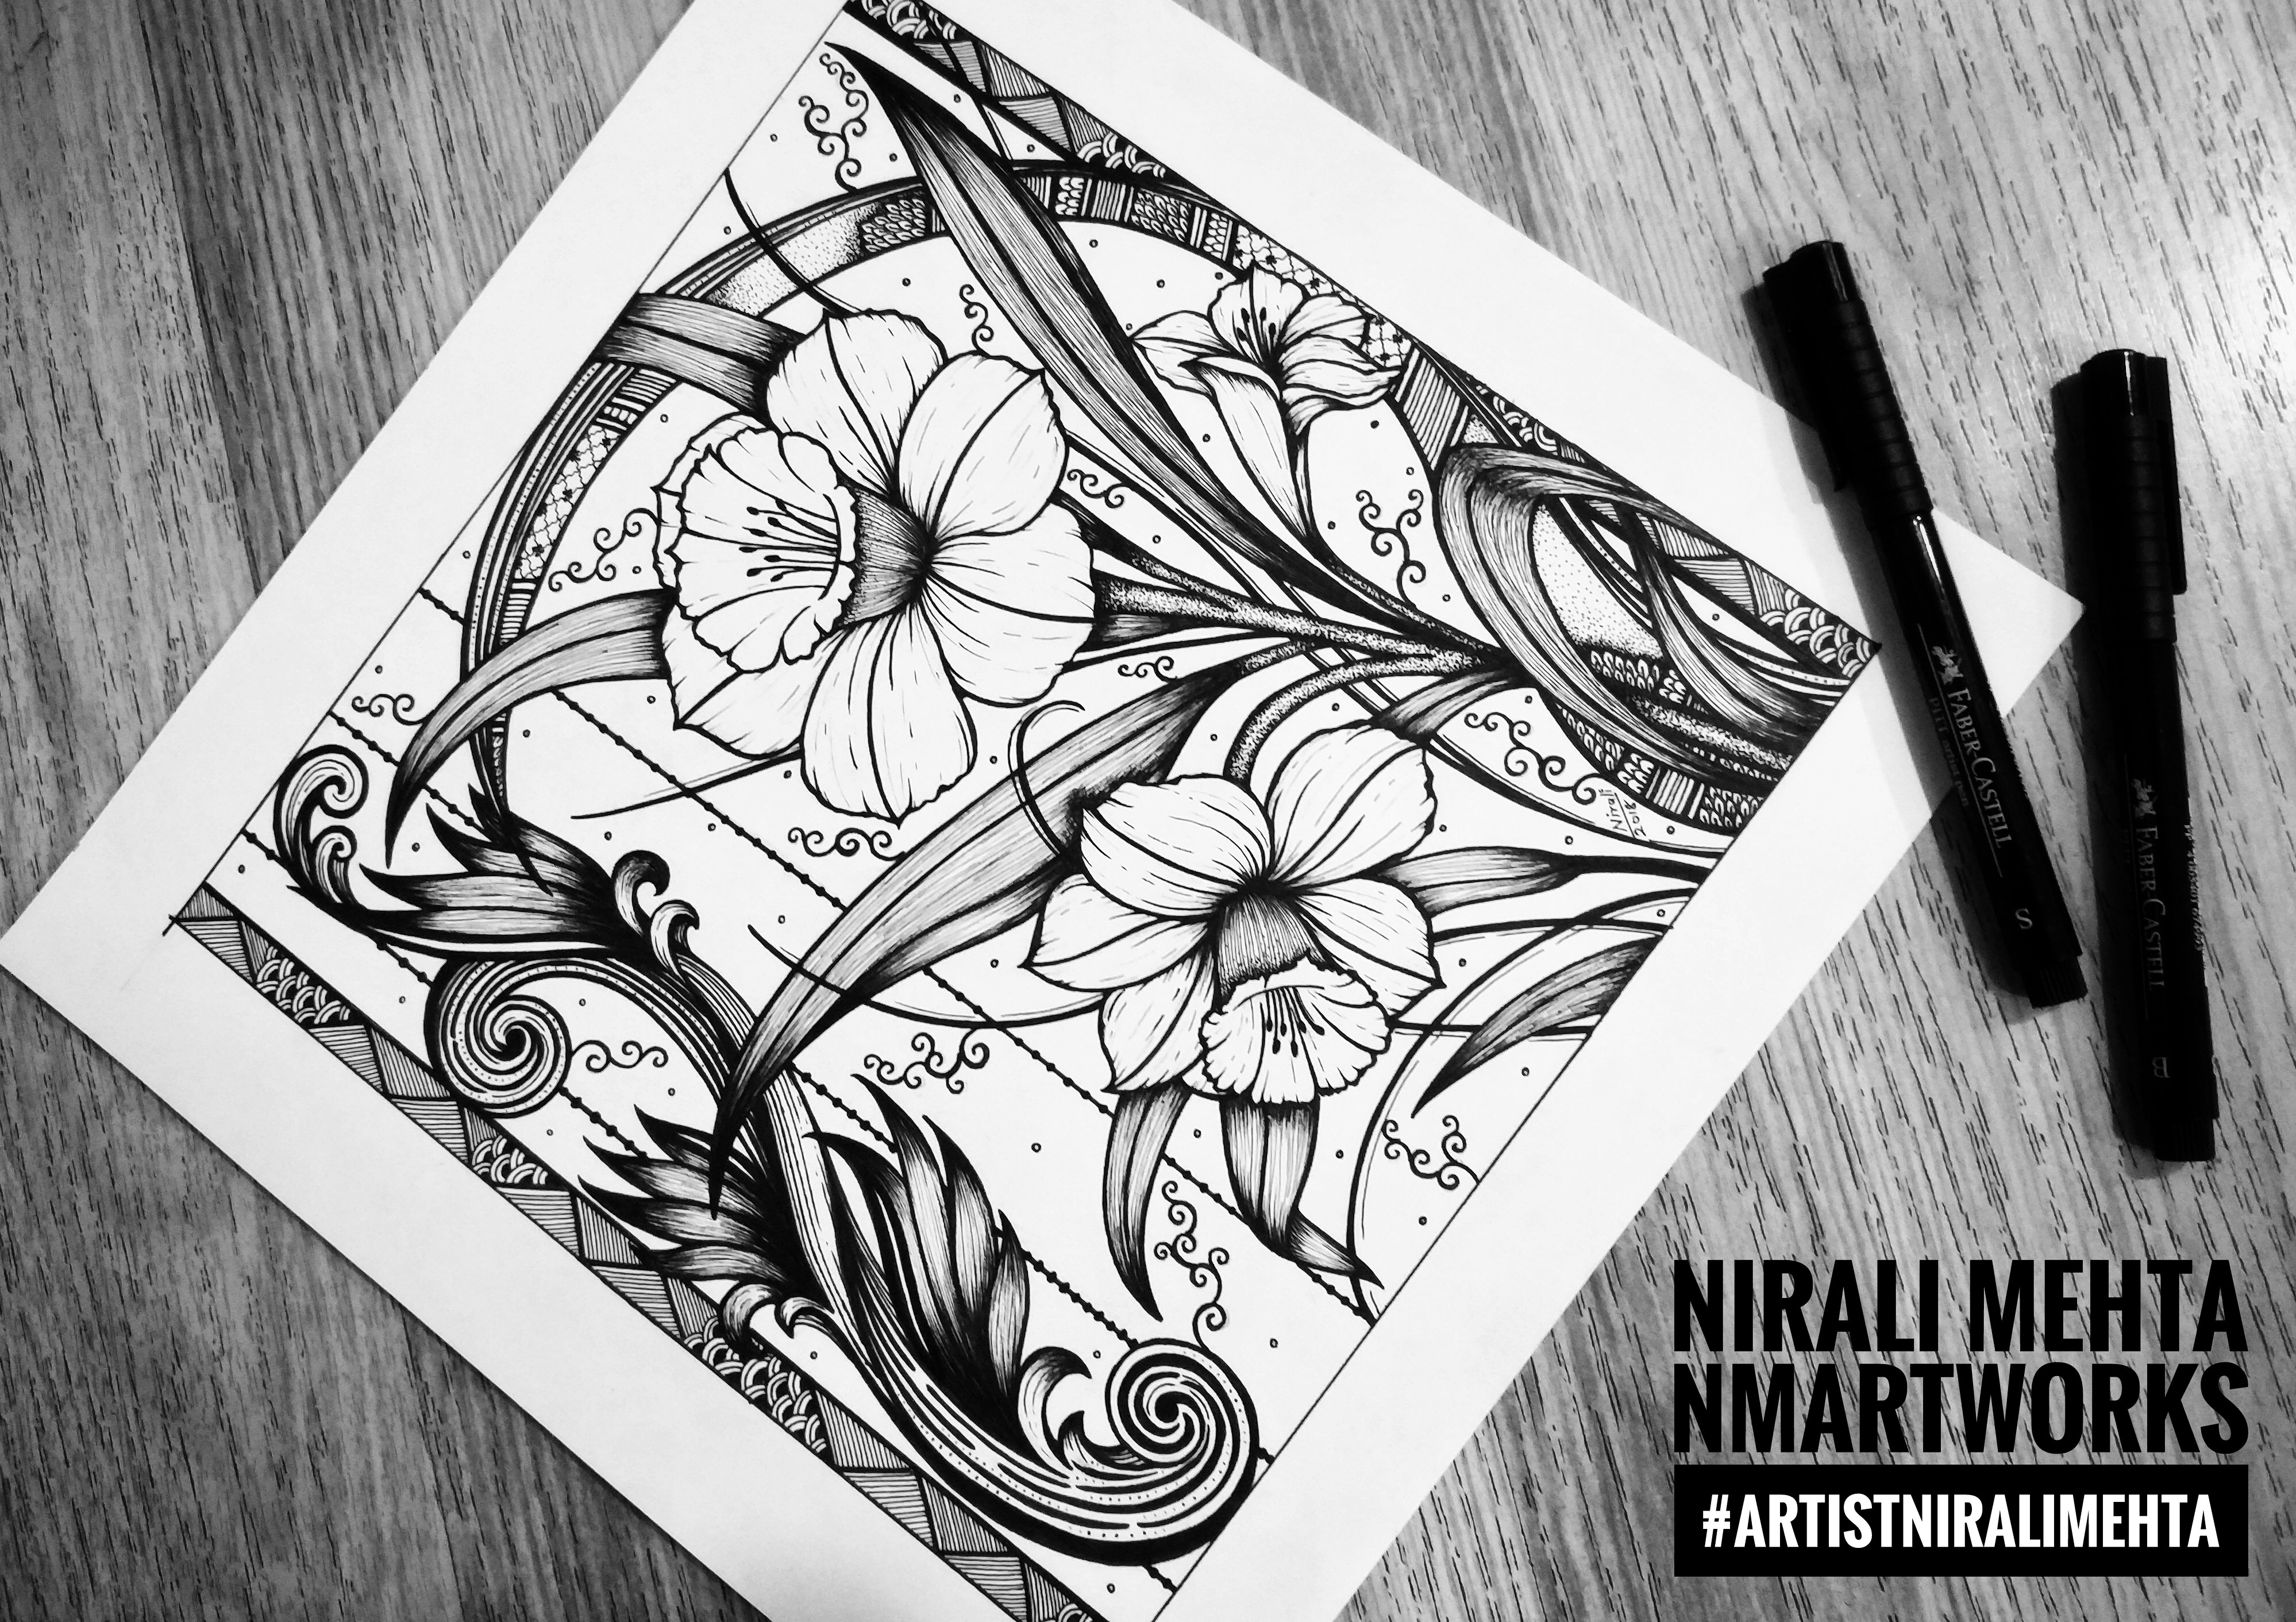
Floral Ink Illustration
Zentangle & Doodle Art
Stippling & Doodle Art
Mandala & Stippling Art
Floral Ink Drawing
Hand Drawn Ink Art by #artistniralimehta
Click here to view my virtual Art Gallery and see more of my Artworks. You may also visit my shops (links on the homepage) to buy my Art. My works of Art would make suitable Wall Art for contemporary spaces both Residential and Commercial.
Artist Pens have Inks that are fade-proof, water-proof and permanent and are available in all major colours. ‘Archival Inks’ as they are referred to are also fade-proof, water-proof and permanent Inks.
Earlier Ink artworks would be made using brushes or bamboo sticks dipped in Inks, just like Calligraphy. If it interests you, do read my earlier post on the Art of Calligraphy. Painting with those would have surely been more difficult. Pens that are available now make it much much easier to draw and paint. These Pens have become so much a part of our Artworks that we use them even for something like just giving an outline or darkening a pattern.
These Pens are available in a set as well as loose Pens. The ink, nibs and grip of Pens of all brands have a minor difference. I have used pens by almost all the major brands and have liked all of them. I use Micron Pens (Archival Inks) most often. I also use Pitt Artist Pens by Faber Castell for brush nibs and accented tips.
My other favourites would include Uni Pens and Winsor Newton Markers for a more Watercolour like finish. These are more like Artist choice Pens. It would be absolutely ok for students to do the same kind of Artwork with the other Pens or Markers that they regularly use. No problem at all. Permanent Ink is also available in bottles. We can still use the traditional method of writing or painting using Ink from bottles with brushes or bamboo sticks.
The Paper you select must be thick to absorb the Ink. Handmade Paper gives the authentic olden days look. If the Paper is thin the Ink bleeds or may move on the back side of the Paper too! The Pens should move smoothly and give a good finish to your bold and confident strokes.
A closer look at the making of one of my Ink Illustrations
Black and White does not mean just a dark black tone. It is important to shade and show dark light areas even in Ink drawings. For this we can use any one of the following techniques or we can create one of our own. The shading adds depth and makes it look 3D and more realistic. Sometimes people use a black colour pencil and shade the colour, it is an easier way out though. Like me you can also do a combination of two or more of these Ink Art techniques if you want. Here are some of the techniques :-
Ink Art Techniques
I am completely in awe of the Japanese Art of Ink Wash Painting. Also known as ‘Sumi-e’ Painting. It is typically monochrome, meaning it uses shades of black on handmade white paper. I was told that the Ink and brush and/or bamboo sticks used for this Painting are same as those that were used for the Art of Calligraphy in China in earlier days. ‘Ink Wash Painting’ as they called it is said to have began during the Tang Dynasty in China.
It was introduced to Japan by the Zen Buddhist Monks. Sumi-e Artists paint Nature, People and Places. Their brushes are special and different from regular brushes and it is all about these clear black strokes. I have been wanting to learn this Art since a long time. Let’s hope I get a chance soon, may be sometime in the future!
If you have any questions on how to use this medium, feel free to ask them in the comments below. Have an Arty Week!
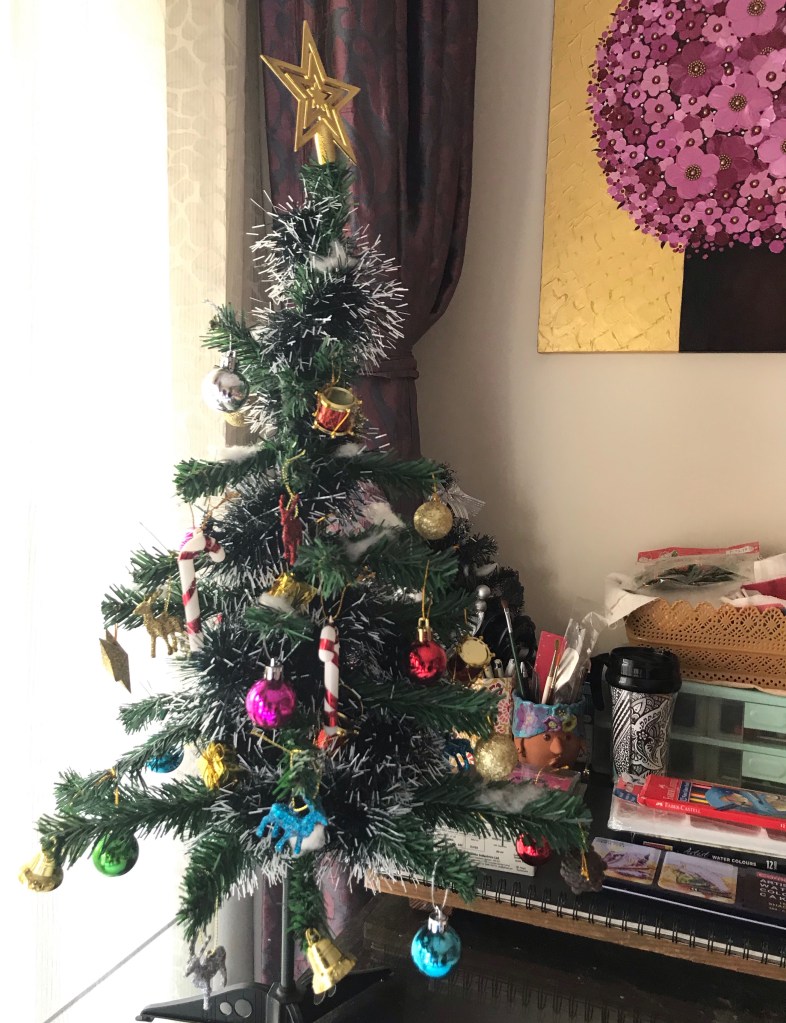
In the Holiday mood, I am also going to take a break next week. Most people have already signed off till New Years. As a shop owners, we are busy making products, posting on social media, settling accounts, packing, shipping and making new and the cycle continues year round. That makes us use our phones for long hours at work. A little digital detox to spend time with yourself, family and nature can rejuvenate us.
My Desk! It’s Christmas 🎄
And we can come back in the New Year refreshed and charged up for another year ahead. Many people also use this time to upgrade their skills, read up on books they always wanted to. I started my Blog this year in September 2020. I have 17 Posts by now. The response to the Blog has been overwhelming. It’s been a good journey with your love, support and encouragement.
So I thought I would do this year in a review post. Helps me connect with the new followers too! Here is a list of the posts I have done on Arts and Crafts so far. You may click on the title to go to the post. All these are listed on my Blog page – ‘The Art Life’
How to select Art Material for Charcoal and Pastels Painting? Explaining the technical names along with their similarities and differences with other Pencils used in Art.
Dr. Wilona Annunciation, a practising Psychiatrist is our Guest Blogger this week. She shares her experience and thoughts on Mental Health and healing with Art – Art Therapy.
Sharing what I learnt when I studied the Copyright Law in simple language for everyone to understand. Tried to keep it to our daily language of conversation while introducing the main topics to read up on.
Learning this beautiful unique visual art related to writing. Answering your questions on Calligraphy- What is it? Where to start? What materials to buy? And more
Four Books I can recommend for Arts and Crafts Lovers. You may want to buy these and learn a new skill – Sewing, Candle Making, Gift Wrapping and Napkin Folding.
Learn about the Art of Paper Quilling and it’s world of infinite possibilities. A Step-by-Step tutorial to making two basic types of beads with explanations to the other varieties. We make a Christmas Tree Ornament using the crafting methods we learn.
My Story and experience with the Japanese Art of Paper Folding – Origami
So just in case you missed out on reading any of them, you still can. Please note the Blog page shows only the last 10posts and so to see the previous ones you may use the links above or scroll to previous posts.
If you like reading my posts and wish to continue our association, you may click follow or subscribe to the Blog. This will make the posts come to your Email Inbox and you may read them at your convenience.
Wishing everyone a Merry Christmas and a Happy New Year!
December Calendar with a Christmas Wreath that I created Digitally
This is an Instant Digital Download (JPEG) File that can be purchased at my Etsy Shop NMARTWORKS Picture Format opens with any Photo Editing Software. Once you pay, you can instantly download and use.
Jingle Bells! Jingle Bells! Jingle all the way! Yay! Christmas is coming! And with Christmas comes creativity. I see such amazing Art and Craft ideas on social media. There is so much one can make and do. It is also the time for Gifts. What is the best gift for an Artist? Yes! Art Material. I did a post on Pencils and Pastels earlier. Based on that many friends asked me to do one on Pens and Markers.
We usually refer to Pens and Markers by the name of the brand. That makes it difficult to do a post without mentioning any of the names. In every country there is a particular brand that is popular and widely used by all Artists from that Country. Ink Artists, Illustrators, Manga Artists, Architects, Interior Designers, Fashion Designers, Calligraphers, Students, Crafters and maybe more – All of them use Pens and Markers for their rendering.
If you have read my previous post you would know that this is an all you want to know information post and not a product review or an endorsement post. I was thinking about how to do this post without sounding repetitive? So I thought it would be best to do this in a Q&A format. I have tried my best to answer all the questions that I think can pop up while buying Pens and Markers. In case you have more questions, please feel free to ask them in the comments.
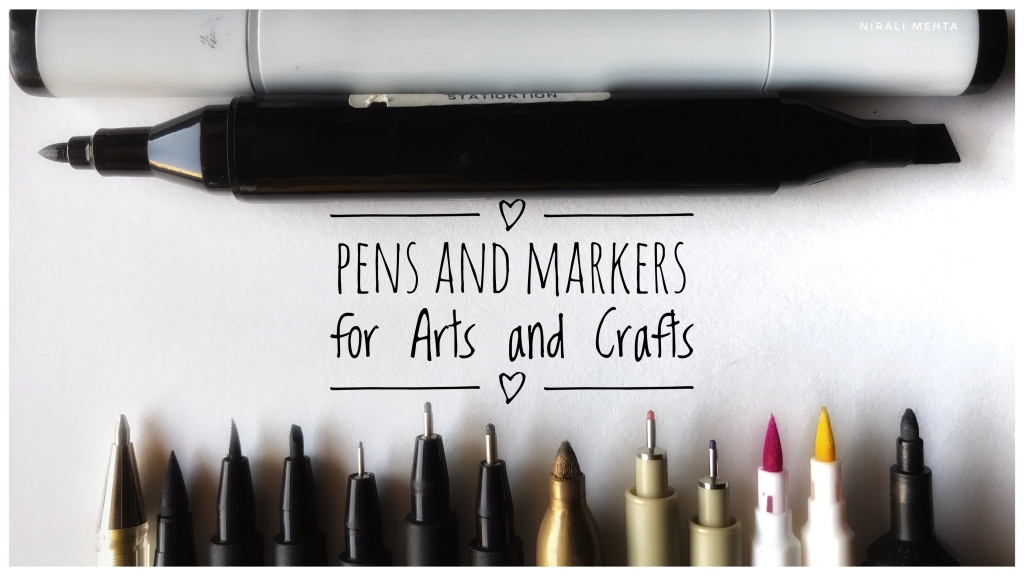
The different nibs of Pens and Markers
These are some of my Pens and Markers I arranged to click a picture.
1. Are Pens and Markers different? Hmm, well actually not. They are called Pens or Felt Pens or Sketch Pens or Markers – different names in different countries. They are all Pens available in colours, black, white, glitter and neon shades. The terms are used interchangeably. Like I said we usually call them by the brand name and not as Pens or Markers.
2. Do we get Artist Quality and Student Quality? Technically Yes! But they aren’t really labelled as such. Pens positioned as Artist Pens are Artist quality while the regular ones are Student quality. The pigment, colour and finish for an Artist Pen is better. We also get Industrial Grade Markers. This determines the price points.
3. What mediums are used? We get Oil Based, Water Based, Alcohol Based Pens and Markers. There are Gel Pens, Permanent Ink Pens, Waterproof Ink Pens, Washable Ink and Water Soluble Ink Pens and Markers. The Ink Technology and Ink is different in all of these. That is why two Pens of different brands – both with Waterproof Inks will give different results.
4. Individual or Set? If you are trying a new brand for the first time, it is best to buy different pens individually and try them out. They have testers kept with papers to try them at all stores. I even try the fresh pack Pen before buying to check the nib and ink. The manufacturing dates, import dates and other details are not clearly visible on single pieces. This makes it better to buy them in a set. The drawback is we are not allowed to open a set and try it out. It makes complete sense to buy individual pens to try and once you short list and select which brand you want, it is better to buy them in a set.
5. Which brands are good? I have tried Pens by almost all the well known brands. All of them are good. Brand Loyalty is very strong for Pens and Markers. I have understood that each Pen has Ink that works very well for a purpose. Depending on your use and Artwork you would have to select Pens that suit you by the Trial and Error method. The Art store usually stocks more of the popular ones and of course you know why. Further your location will play a big factor in your selection. Not all brands are available in all countries. Sometimes the Pens that are being imported regularly go out of stock or are priced too high.
6. What do they mean by the numbers on the Pens? The numbers indicate the nib size: for example 01 means a nib for drawing a 1mm thick line while 03 means a nib with 3mm thick line. We also get accented nibs, brush nibs, round nibs and felt nibs. As mentioned above the construction material of the nib and the ink is different in all pens. Further some brands use the numbers for colour coding. We also get dual tip Markers – meaning two different usable nibs on both sides top and bottom.
All in all, it is best to try different Pens on the Paper, carry your own page if you like where you have tried various Pens and buy the ones you think will work best for your work. I have already explained where and how to use each of the mediums in the previous post. Like, if you want the colours to blend: use the watercolour ones while if you don’t want the ink running, best to use the permanent waterproof ink Pens. Even in a simple brush nib Pen we get a lot of variety.
My scribbles trying out Pens in rough
The sponge of a brush tip Pen is different by all brands. I usually select a Pen with a medium hardness brush nib. I would like it to turn with pressure but not fray resulting the sponge in tatters. Constantly applying too much pressure on the Pens with very hard nibs can result in sore hands. That is what I meant when I said select Pens that one feels is most comfortable using.
Another important thing to see and note is how the Ink spreads on different papers. Do we get a smooth finish line or a dented one? Does the Ink bleed and spread or create blots and spots? When we apply two strokes next to each other – does the Ink mix or create patches? Does the Ink dry fast when applied or takes hours to dry? Artists would note all this. It makes a difference to their Artwork.
These are all small points but important to check before buying. Many times Art stores mix old and new pens when stocked in the individual Pens section. These pens are expensive and nobody wants to waste money buying a damaged nib or dried up ink Pen or Marker. It takes me at least 15-20mins selecting my Pens even when I know the brands. Last but not the least I compare prices and check for discounts if I buy more pieces. I run out of pens in about three to six months depending on how many Artworks I made. The Inks dry up after about three to five years, if kept lying around.
That lists about all the points I can think of that will help you make an informed purchase decision for the Pens and Markers. Ah! That’s too much. Give me one name and one set – if that is your buying style, I suggest pick any standard well known brand with other Stationery or Art Supplies and buy a set of their Markers. You can’t go wrong. It’s the same for students. However if Art and Craft is your passion, hobby or profession – the choice is yours! Have an Arty Weekend!
Special Tip: Always check the Cap is tightly closed before you put away your Pens and Markers after Use.